Friday, November 20, 2015

Populist Precursers: The Nickon

I guess at the time – circa 2006 – I thought that name was hilarious.


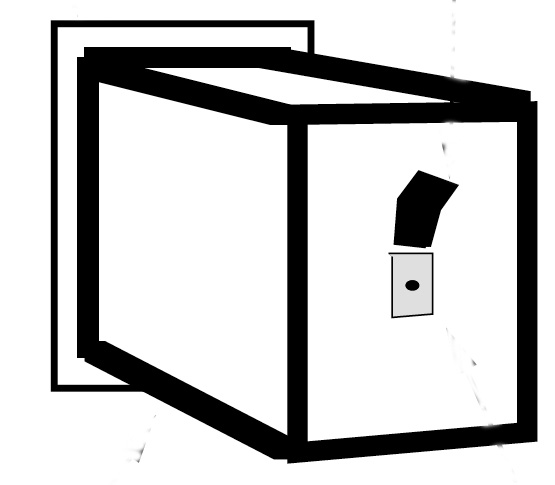
I'm a little vague on why I built this camera fairly soon after the one I made to take to Florida.  The lack of a tripod mount was irksome, and the back that would just fall off if the rubber bands weren't in place also bothered me.

One feature of 35mm I had gotten really intoxicated by was how portable it was so I also think I thought the foam core was a little overkill and I wanted to make a little more compact camera that would fit more easily into a pocket.

I only used this camera for a little while before I made the next one, and dug it out again for Worldwide Pinhole Photography Day in 2014 and made several upgrades.

Originally it just had a piece of tape for a shutter and I made and added this three layer simple slider no more than the day before WPPD. I did it in kind of a rush and aligned the top of the shutter channel assembly with the top of the box, rather than aligning the top with the top of the shutter itself. Sticking out over the top of the camera like this gets in the way of viewfinding and lets it flex back and forth a little more than I'd like.


The pinhole is 35mm from the film and I'm a little obscure on why I picked that.  I always associate 35mm lenses with point-and-shoot cameras, and maybe I had some idea that's what I wanted (although I prefer comparison to Leica's M series). When I used SLR's, I did have a 35mm lens, but I used 20, 28 and 105mm focal lengths a lot more.  I have an Olympus XA2, which I truly loved, that has a fixed 35mm lens. My sister-in-law referred to it as my spy camera.  People have referred to the Populist that way.

Once again, I had the foresight to put a label on it specifying it was f219. How's that for specific. That makes the pinhole 0.15981735159817mm. That's starting to look like a repeating decimal. I don't think I measured it that precisely.  It must have been .16 and I rounded up the f ratio.  Mr. Pinhole says .248mm is optimal, but I had been using too small pinholes successfully (which actually are better for closeups), although I have seen evidence of diffraction in images with this camera (see below).

The pinhole is drilled in the same just-barely-thicker-than-foil brass as the one in the Florida camera and I just pricked it with the tip of a needle as little as I could.  It looks like it might be a little non-circular, but that could be a little flare effect on this iPhone photo. It's too inset in the camera body to get a sharp scan. It looks OK through a loupe, but I can't seem to get photo of that.

The back is a box that fits snugly over the front. I wanted the camera to be light tight without rubber bands (You can see from the first photo above that I used the rubber bands anyway.)  This is the basic plan I've continued to use for the Populist and its variants.


I put some spacers to keep the film cassettes up toward the back. The tripod mount at the bottom is  a layer of foam core with a 1/4" x 20 square nut inset into it, glued to the bottom and capped with a piece of card stock. Again, this is the design I've used from then on with all my cameras.
The bolt on my otherwise excellent Bogen/Manfrotto tripod is particularly short and wouldn't engage the nut through two layers of card stock, so to use it in 2014, I had to make a cutout for the quick release adapter.

Another 2014 mod was the addition of a clicker.

The image format is the standard 24x36mm.  I remember not liking verticals in the longer 24x50 format and returned to the conventional aspect ratio.

It still had the take-up cassette inside.  I assembled it in reverse of the normal orientation, with the knob down and film going out left, so I didn't have to construct a one-knob-up – one-knob-down solution.  I'm pretty sure I just intended to unload and rewind in the darkroom, and I didn't put a second winder hole for rewinding (most people use a whole additional winder).

BTW, I checked once with my local film processor and they said they could process the film with the cassette backward in any event.  The disadvantage to no rewind method is you can't reload in the field without sacrificing the last frame.

Note the clicker sticking through the top right sprocket hole – eight clicks per frame.

The winder is the same as the Florida camera, 3/8" wooden dowel with a collar to help with light leaks through the winder hole, and if you put a rubber band over it,  that helps keep it from falling out and getting lost. Same scheme for most of my cameras since.

For viewfinding I just put dots.  I think putting something 3D like beads is more effective for accurate composition, but this gets the job done.


I didn't take many photographs with this camera and I lost the scans in the great hard drive crash of 2007 (I thought I had it all backed-up) but I uploaded this one to Flickr.

I had quite a good time with it on Worldwide Pinhole Photography Day in 2014.

– the footstool by the window in the sunroom


– a crocus poking out of last year's undergrowth.


– the promised photograph with evidence of diffraction from a too small pinhole.  Note the rainbows in the spikes around the candle flames.


And the picture I submitted to the WPPD gallery - it was a cold rainy day and Sarah in a hoodie and huddled underneath the blankets seem to capture the day.


Next in the run up to the Populist: Alspix' matchbox camera.

Sunday, November 15, 2015

Sténopé Chanel No. 5

This year for Worldwide Pinhole Photography Day, I built special cameras for Sarah and I. However, both had problems and I've been reworking them ever since.

Sarah's is made of out of the box from Chanel No. 5 perfume.


In the early '80's, Ruth Thorne-Thomsen was the juror for the student art show at the small liberal arts college on the praire where I was teaching photography (as well as running the AV department). 

She also gave a Saturday workshop where we built and used cameras similar to the one she had been using.  It was made of of matte board that was black on one side (the inside of course) and white on the other.  The seams were lightproofed with 3M #235 black opaque photographic tape.

The minute Sarah saw it, she thought it looked like Chanel packaging. and ever since considered the boxes she acquired as potential cameras.

Finally, for Pinhole Day in 2012,  I built her a 35mm camera out of the box for a No. 5 spray refill and the top of a nail polish brush and the little box the nail polish came in, which she also used for Pinhole Day in '13 and '14.  It's about 50mm pinhole to film with a 24x50mm image format, determined by the dimensions of the box.  It's pretty narrow angle (for a pinhole camera), and a bit difficult to accurately compose with.

This new perfume box was a little bigger and would just accomodate a 6x6cm frame on 120 film and would be much wider angle.

I wanted to preserve the design of the box and not cover it with an external shutter, so I made a three layer sliding shutter out of black card stock,  but used brass for the slider itself in order to match the black, white and gold scheme of the box, and attached it inside with the shutter coming out a slot on the side.


There is an identical shutter for the film counter in the back.

The tripod mount is a brass nut inlaid into a piece of foam core that's glued to the bottom.

I made a carrier for the film and exposure chamber out of foam core and card stock. Because the box wasn't quite wide enough, I had to flare out the inside dividers over the film a little to make the image 6x6.


The film is loaded about how you would expect.


The film carrier is then inserted into the box.


The front shutter assembly extends just to the top of the exposure chamber on the top and the top of the front of the film carrier extends out a little so it seals the exposure chamber when the film carrier is inserted.  Since the front and back were covered by the shutters, the bottom by the tripod mount, and both sides of the film carrier were black foam core and the top was covered with 3M #235, I thought the camera would be light tight.  It turns out the sun shining on the white exterior creates a powerful source to sneak in through the smallest cracks, and on WPPD, the whole roll was completely exposed.

So I completely covered the inside of the camera with 3M #235.  This made the film carrier fit too tightly so the film wouldn't advance, and I had to completely remake make it slightly smaller.  I also left room for an extra light baffle at the top.

 The winders are 3/8 inch oak dowels with the end sculpted to stick into the slot of a 120 spool.  They're only held in by friction, but they're pretty tight and they're still a little hard to pull out.
\
Viewfinding is done with black sighting beads at the pinhole and the limits of the film in the back.

The 30mm pinhole to film distance (determined by the dimensions of the box, of course) is pretty close for 6x6cm images, so it's quite wide angle, 90 degrees.

I installed a .2mm Gilder electron microscope aperture (Mr. Pinhole says .231 is optimum) so it's f150, pretty fast.

So, how's it work?  Not bad. The film advances like butter, and the shutter's are smooth and stop convincingly at full open and full close.

Here's the first shot after the upgrades with that most convenient and cooperative model. One of my attractions to the larger format is that highlights don't seem to block up and overflow as badly as they do on 35mm, so effectively you have a little more dynamic range.  I shoot in some pretty contrasty places and my objective is to mimic human eyesight as best I can, so that's a positive attribute, although I can't say I get an impression of additional sharpness otherwise over the Populist - maybe with big enlargements.


Of course there still are limits, but sometimes a little more contrast is called for as with this portrait of a visitor during the Halloween season.


And, Sarah and I enjoying lunch on the porch on one of the last days warm days of the fall.  There's a little bit of vignetting in the corners (I expected it to be much worse), but overall I'm pretty pleased with the evenness of the exposure.


It looks like there's still a bit of a problem with light leaking when the camera is left a long time.  It sat in the kitchen window quite a bit so the sun shown directly on the top quite often.  I think I'll put some felt on the flap of the top of the box to try to seal that up, and with this camera, maybe a nice felt bag with some gold lettering to keep it in between uses would be appropriate.  I'll have to check the Chanel catalog to see if something like that comes with something I could get Sarah for Christmas.

Update:
Sarah already had a bag exactly like I was looking for.


Friday, November 6, 2015

Populist precursers - My first homemade 35mm camera.


Although I've been carrying the Populist around and using it almost exclusively for 8 years now, I had been doing pinhole since the 1980's using 4x5 cameras made from cardboard, foamcore and the occasional cylindrical can using black and white photographic paper as a negative.

I was aware of people using 35mm, generally with body caps on SLR's, but that just didn't seem pinholey enough, and like most others, accepted the common wisdom that 35mm wasn't appropriate for pinhole (I still hear this a lot).

In 2005, I helped my father move from Wisconsin to Florida.  At the time on f295, the possibly erstwhile internet forum, there was a participant (Hi, Darrell!) who assumed the persona of a drill sergeant and constantly exhorted everyone to shoot more film wherever they found themselves. Traveling with my single shot foamcore cameras, and hauling along paper and a changing bag seemed impractical, on top of the exposures of at least a minute in sunshine, and struck me like more than I could deal with on the road in the cab of a 27 foot U-Haul truck. Film is a lot faster and would get exposures down to seconds. As kind of a joke for Darrell, I decided to build a 35mm camera for the trip.


I was familiar with the Dirkon and I think I even downloaded the plans, but it's got a lot of parts and is pretty fussy to build and everything I read from people using it said it was really tough to prevent light leaks. It's big advantage is that it has the appearance of an SLR and I didn't really care about that. Sounded like a hassle and not a particularly good road camera.

A 35mm camera is basically a box with a chamber for the supply cassette, a chamber where the film is exposed, and a chamber for the take-up reel.

I built this first camera out of foam core held together with glue and good old 3M #235 opaque photographic tape.  I don't quite remember why I chose the 50mm focal length. When I was using lenses, I almost never used a normal lens, but the 6 inch 4x5 camera which I primarily used is pretty close to normal.  I thought the conventional 24x36mm format of 35mm film was a little too common and boring, so I made it a little wider -  24x50mm. That prevents getting prints made by the standard photo processors, but I had my own scanner which accommodated wider formats and never really intended to print them anyway.

I didn't bother with a shutter, just covering the pinhole with tape like I had with my photo paper cameras. I did put a piece of tape on the front to keep from ripping off the surface of the foamcore each time I made an exposure.  3M #235 is some pretty sticky stuff.

I didn't include a tripod mount either. For my 4x5 cameras I had made a little wooden platform for the tripod and attached the camera to that with rubber bands, so I just continued that way.


I drilled the pinhole by hand, and I don't remember much about that either.I put a label on the top identifying it as f278, so that makes the pinhole .18mm (which I just confirmed with my scanner) - rather small for the 50mm distance to the film.  Mr. Pinhole says .298mm is the optimum for that distance. I had been using a too small .5mm pinhole on a 250mm 4x5 inch camera and getting good results so I probably thought I would get the same in this case.

Pinholes that small are pretty tricky to drill, but it looks very circular. It's in some very thin brass just barely thicker than foil that came in a package of assorted thicknesses I had laying around and I think I just pricked the smallest hole I could with the tip of a #10 needle. (Later edit: I lost a lot of pictures on the blog once, this is a new microscope image. It does look circular, but with a pretty ragged edge.)

The back is just a piece of foamcore with a smaller piece on top which fits snuggly into the opening. It has to be held on by rubber bands. A lot of people build cameras with backs like this with clever mechanisms to lock the back on, but rubber bands are equally effective, and I never really cared about my cameras looking professional and finished.  I'm kind of an oafish craftsman anyway.

To protect the film from scratches, I glued felt to the back and the internal dividers that the film would ride over.  I now think that's a little overkill, which I discovered when I was working on the minimalist Populist design.

The winder is a piece of 3/8" dowel with a slot in the end.  I put the collar on it to provide a little extra protection from light leaks.

I created the take-up chamber to hold an empty film cassette, as in the Dirkon, out of an abundance of caution to protect against light leaks, and because I didn't create a way to rewind the film into the original cassette and I would have to take the film for processing in the take-up cassette. The disadvantage of this is that you don't know you're at the end of the film until it stops winding, and then to get the film out of the camera you have to sacrifice the last frame.  That kind of bothered me and I ended up going into the darkroom to unload the film and rewind it into the original cassette.


Also as in the Dirkon, I set up spacers so the portion of the reel that sticks out of the cassette faced up on the take-up side and as normal with it facing down on the supply side.

There's no way to determine how far the film is advanced, but led by the Dirkon instructions, I determined that rotating it a revolution and a half would sufficiently advance to the next frame.  As the film wraps around the supply side the diameter of that revolution and a half increases the farther into the roll you get so the gaps between frames get wider,  but, it's a compromise you have to make.

In order to determine what was in the frame, I put white map tacks at the position of the pinhole in the front and at the width of the film at the back to sight along as I had done on my 4x5 cameras.

I viewed all this as somewhat of a lark and I never really intended on continuing to use this camera except for this road trip, but then a funny thing happened.

My Dad's new place in Florida was in a Retirement Park on the shore of Lake Griffin.  My Dad's house was the closest one to the lake.  While we were there, I took these two photographs of the lake at dawn and dusk that are pretty close to my favorite pinhole photographs ever, and got me really hooked on 35mm color pinhole photography.


I've lost both the negatives and the high resolution scans of these pictures, but I had prints made that I exhibited in a group show in Minneapolis which I gave away to the guy who organized the show (Thanks, Tom!), and also made prints for my Dad which hung in his house until he died, and which now hang in my stairway.


I continued to use this camera for a while and once pulled off by the side of the road just south of Hudson, Wisconsin and got this rather dramatic photograph of a shelf cloud which is the only one I've ever seen.


Although Sarah and I had been going to Mosquito Hill Nature Center since we moved to Wisconsin in 1985,  this camera was what I used to begin taking pinhole photographs there which I continue to do to this day (although not with this camera).


In 2013, in order to do something different for Worldwide Pinhole Photography Day,  I pulled out the camera again, and submitted this shot for the gallery.


I subsequently built several other 35mm cameras on my way to the Populist.  Next up: The Nickon.

Wednesday, November 4, 2015

October at Mosquito Hill

This post consists of three trips to Mosquito Hill, pretty much covering the autumnal transition.

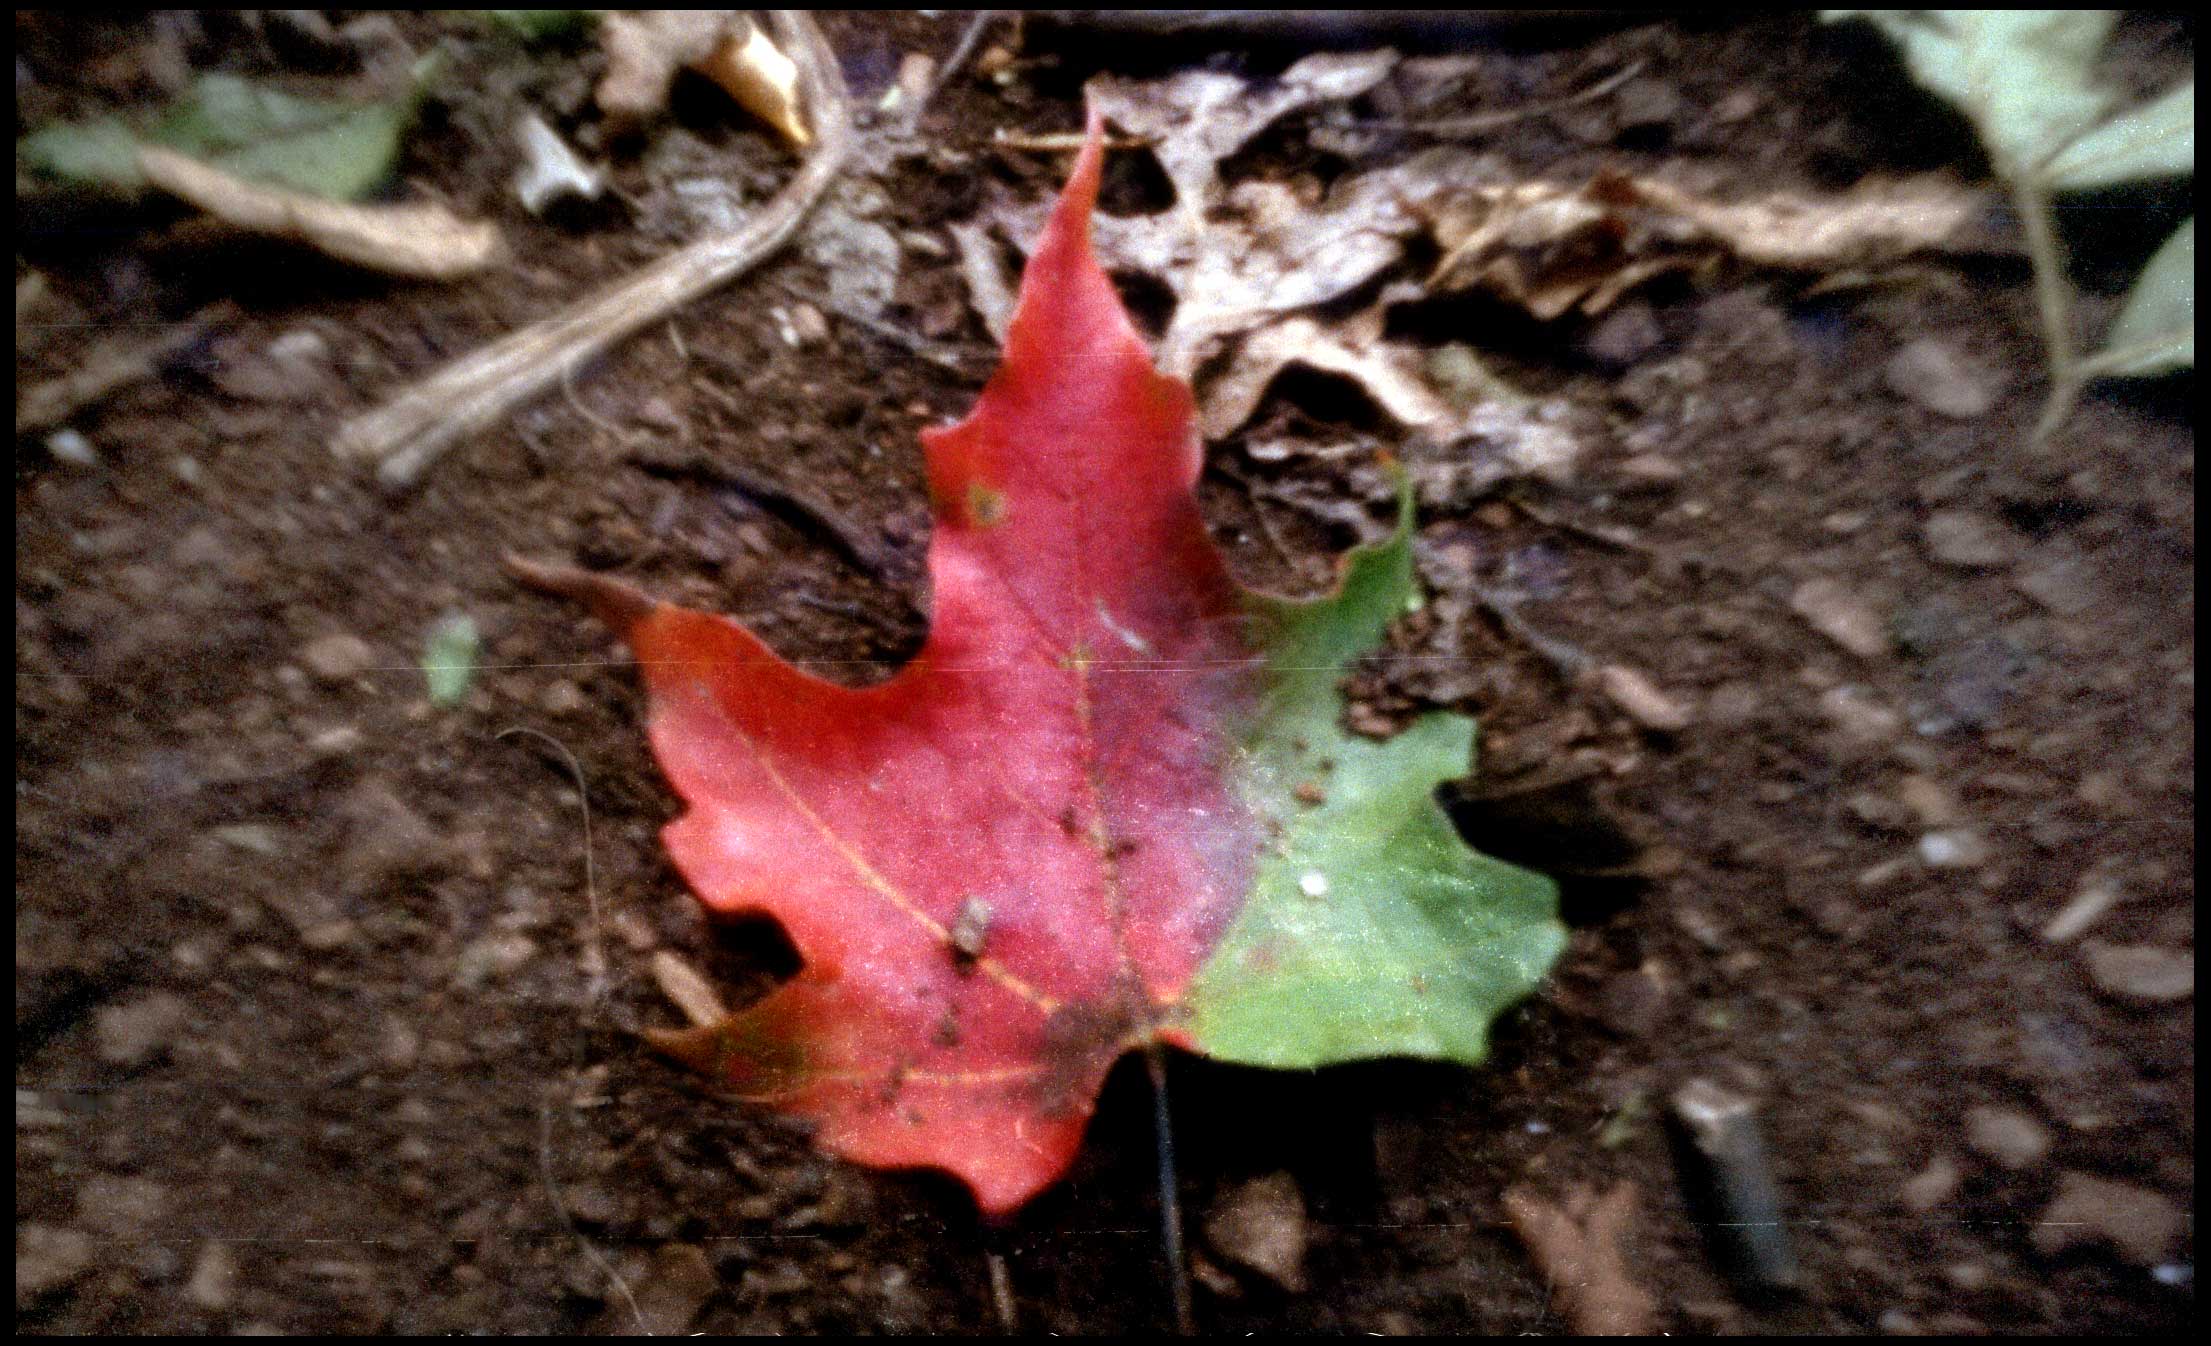
I'm a sucker for two toned leaves.


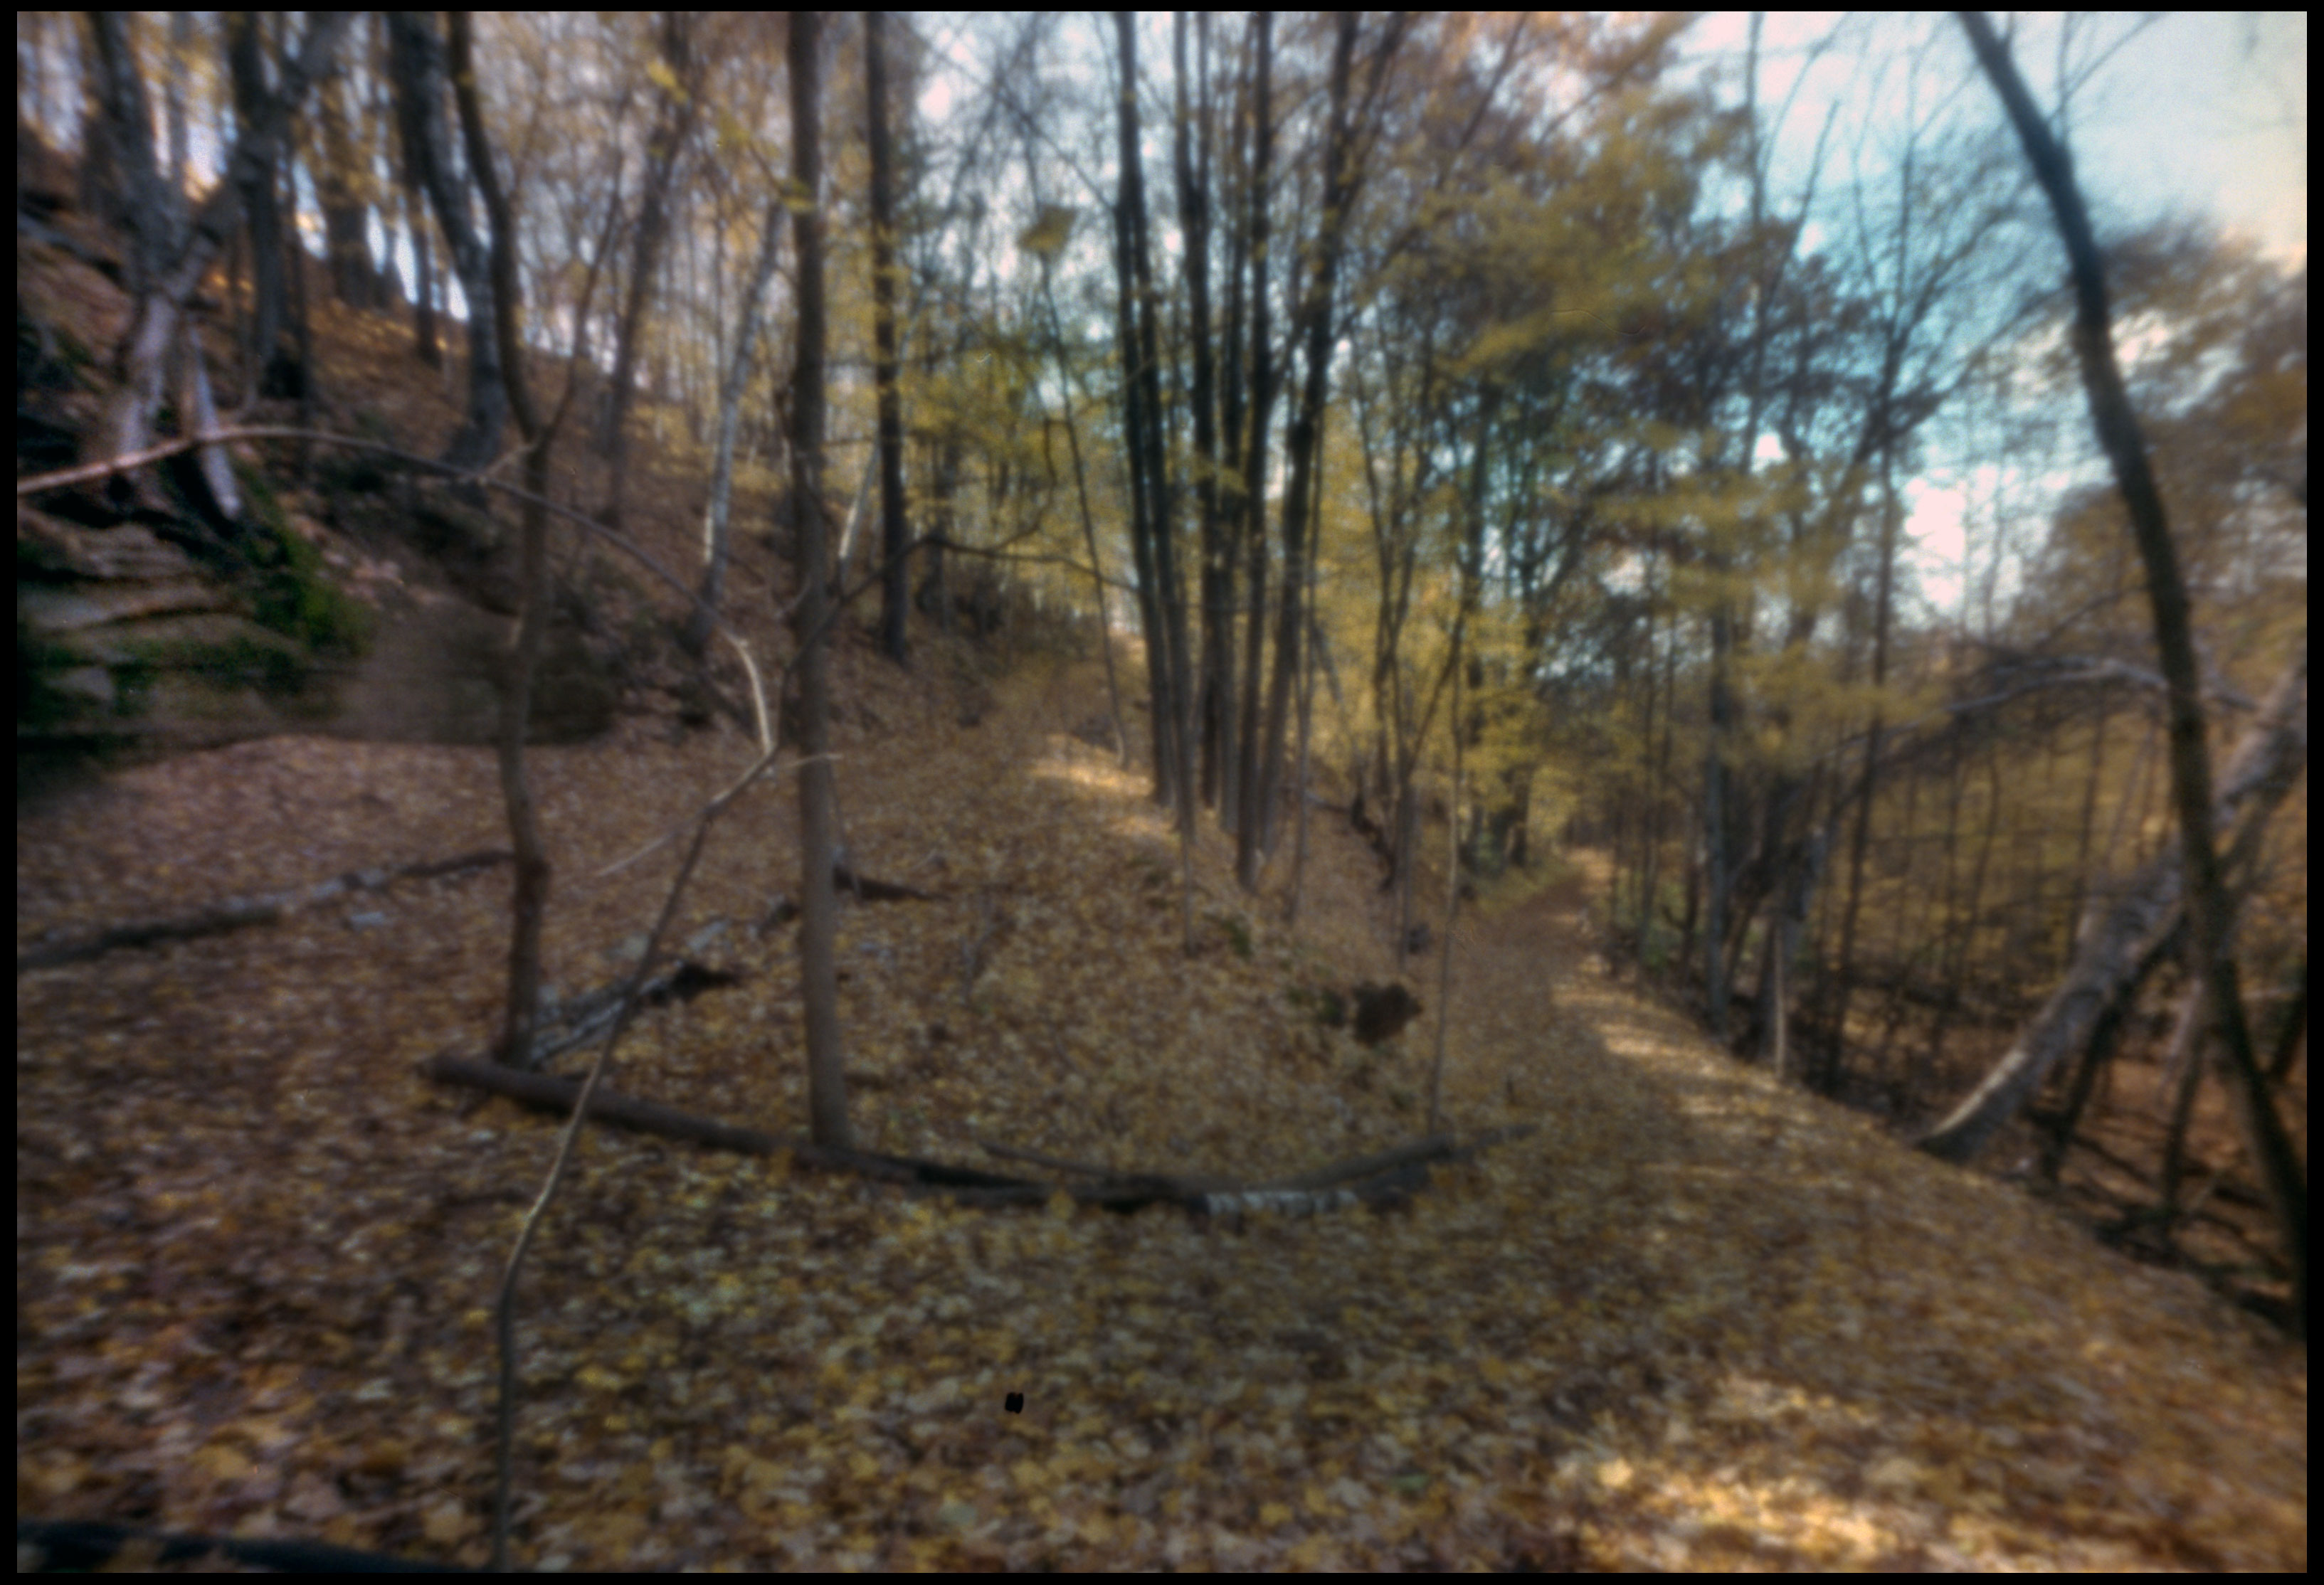
For the last 8 years I've been selecting one view and following it through the seasons.  This year it was the switchback on the north path up the hill. Here's three images spanning the month of October. (We missed one week when we were in Boston between the first and second image)


Here's a more comprehensive view of that rock face to the left.


I'm always fascinated by the birches growing directly out of the rock.


For some reason, for about a twenty yard stretch up the north side of the hill this year, the ground has been covered with these maple seedlings, which also contribute a little to the autumn color.


The trees get most of the credit for autumn color, but there are other contributors nearer the ground.


There's a grand view looking southeast over the Wolf River valley, but it usually just seems to flatten out, but this day there was a dramatic sky with the foreground in shadow and the valley lit by the sun that gave more of the idea.


The other scene I've been following this year is the meadow south of the hill.  I've only got two weeks of that.  It's at the end of the walk and I came to the end of the roll on the last trip just before we got to it. I was having trouble with the tripod mount on the Populist and didn't want to reload so I could do surgery at  home, and I'm afraid I missed the most colorful week on the hill. (The surgery was successful and the Populist is back in action.)


\


All with the Populist. .15mm pinhole 24mm from 24x36mm frame.