Sunday, April 19, 2020

Hello, walls.

I was contacted a few weeks ago by Emmet Brown of emulsive.org who was working on an article he was planning about inspiring people and giving tips about how to celebrate Worldwide Pinhole Photography Day under the pandemic stay-at-home orders, which he published today.

You may not have to limit yourself to home. In many places, it’s alright to go outside for recreational activities as long as you stay away from other people. I realize that in other locations, even that may not be possible or allowed within the pandemic restrictions.

My first thought was why is it such a unusual thing to take pinhole photographs in your house or garden? When I was working exclusively with photographic paper using single shot cameras, I never made photographs anywhere but in and around my home. I’ll bet half the pictures here at Pinholica are done there. I’ve never understood people who felt they had to go to Monument Valley in order to take photographs.

However, from looking at other people’s pinhole photographs for years, it is kind of rare that they take pinhole photographs at home so maybe some inspiration is in order.

Maybe it’s the extended exposures that put people off in doing interiors. My advice is usually to just do something else while the shutter is open.

Another scheme is to use faster film. I have been using mostly ISO 100 films lately because with higher speed emulsions when I do go out, it’s almost impossible to make exposures short enough with my hand operated shutters. My local camera store has been posting that if anybody needs anything, to call ahead and they’ll do curbside delivery. In the spirit of supporting local businesses, I went down and got a few rolls of Ilford Delta 400.

Trying to think of a project without repeating myself too badly, it occurred to me that I have been hearing the phrase “staring at these four walls” repeated over and over in describing the experience of waiting out the pandemic. I did a Google search for that phrase limited to the last 30 days and came up with 23 pages of results.

So here are 12 walls in my house.  I restricted my little project to capturing the entire wall.

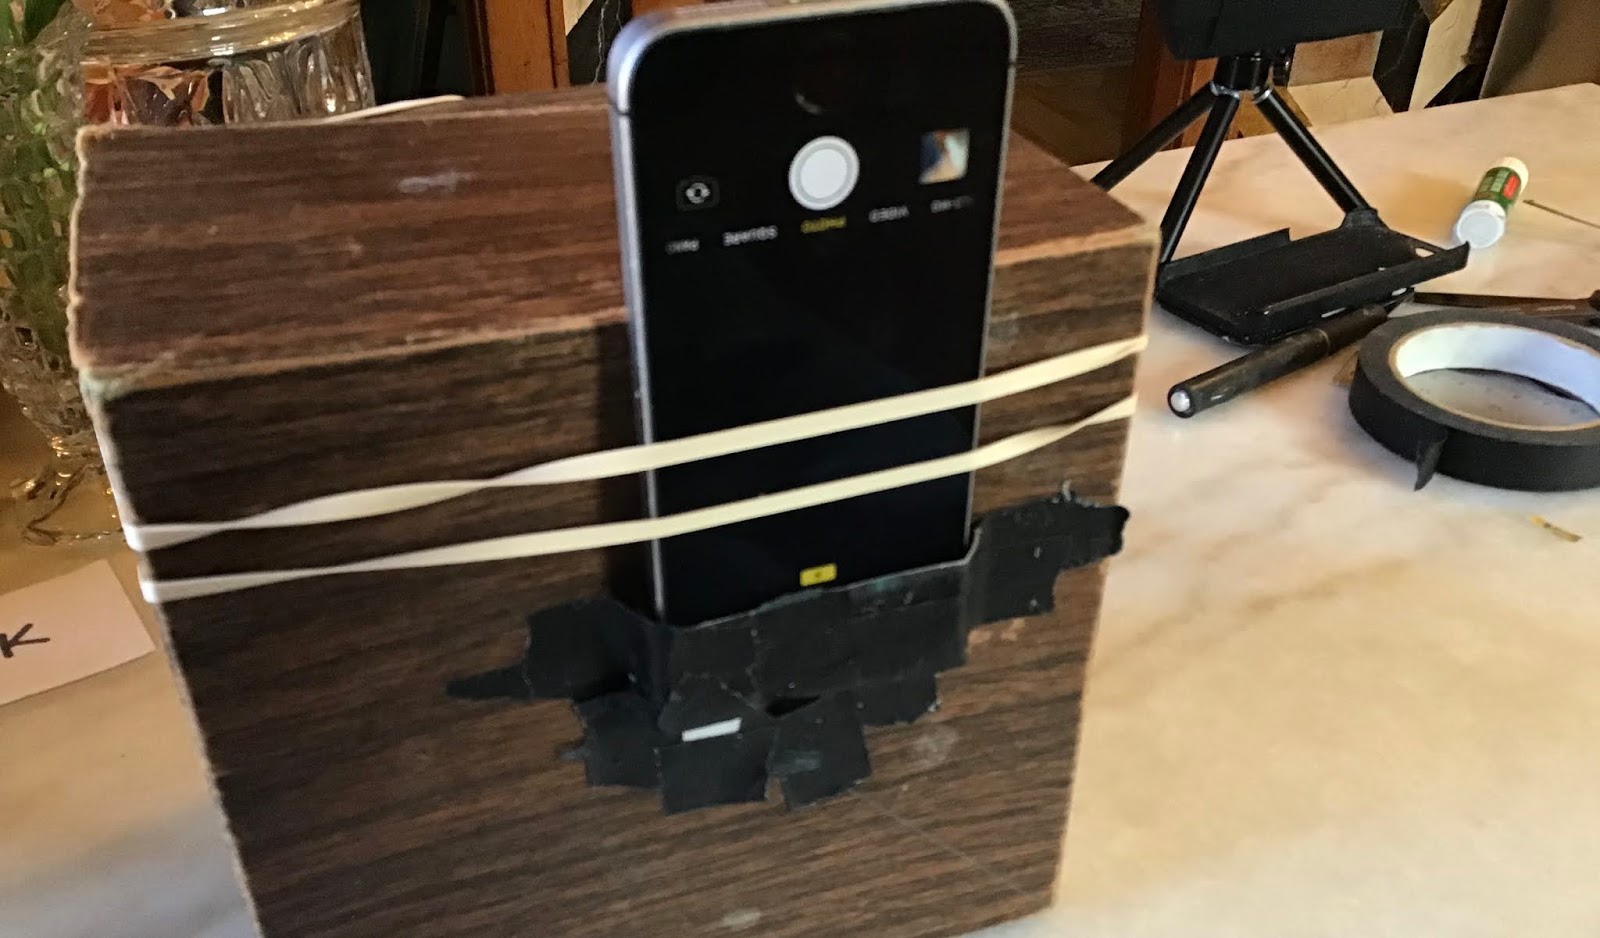
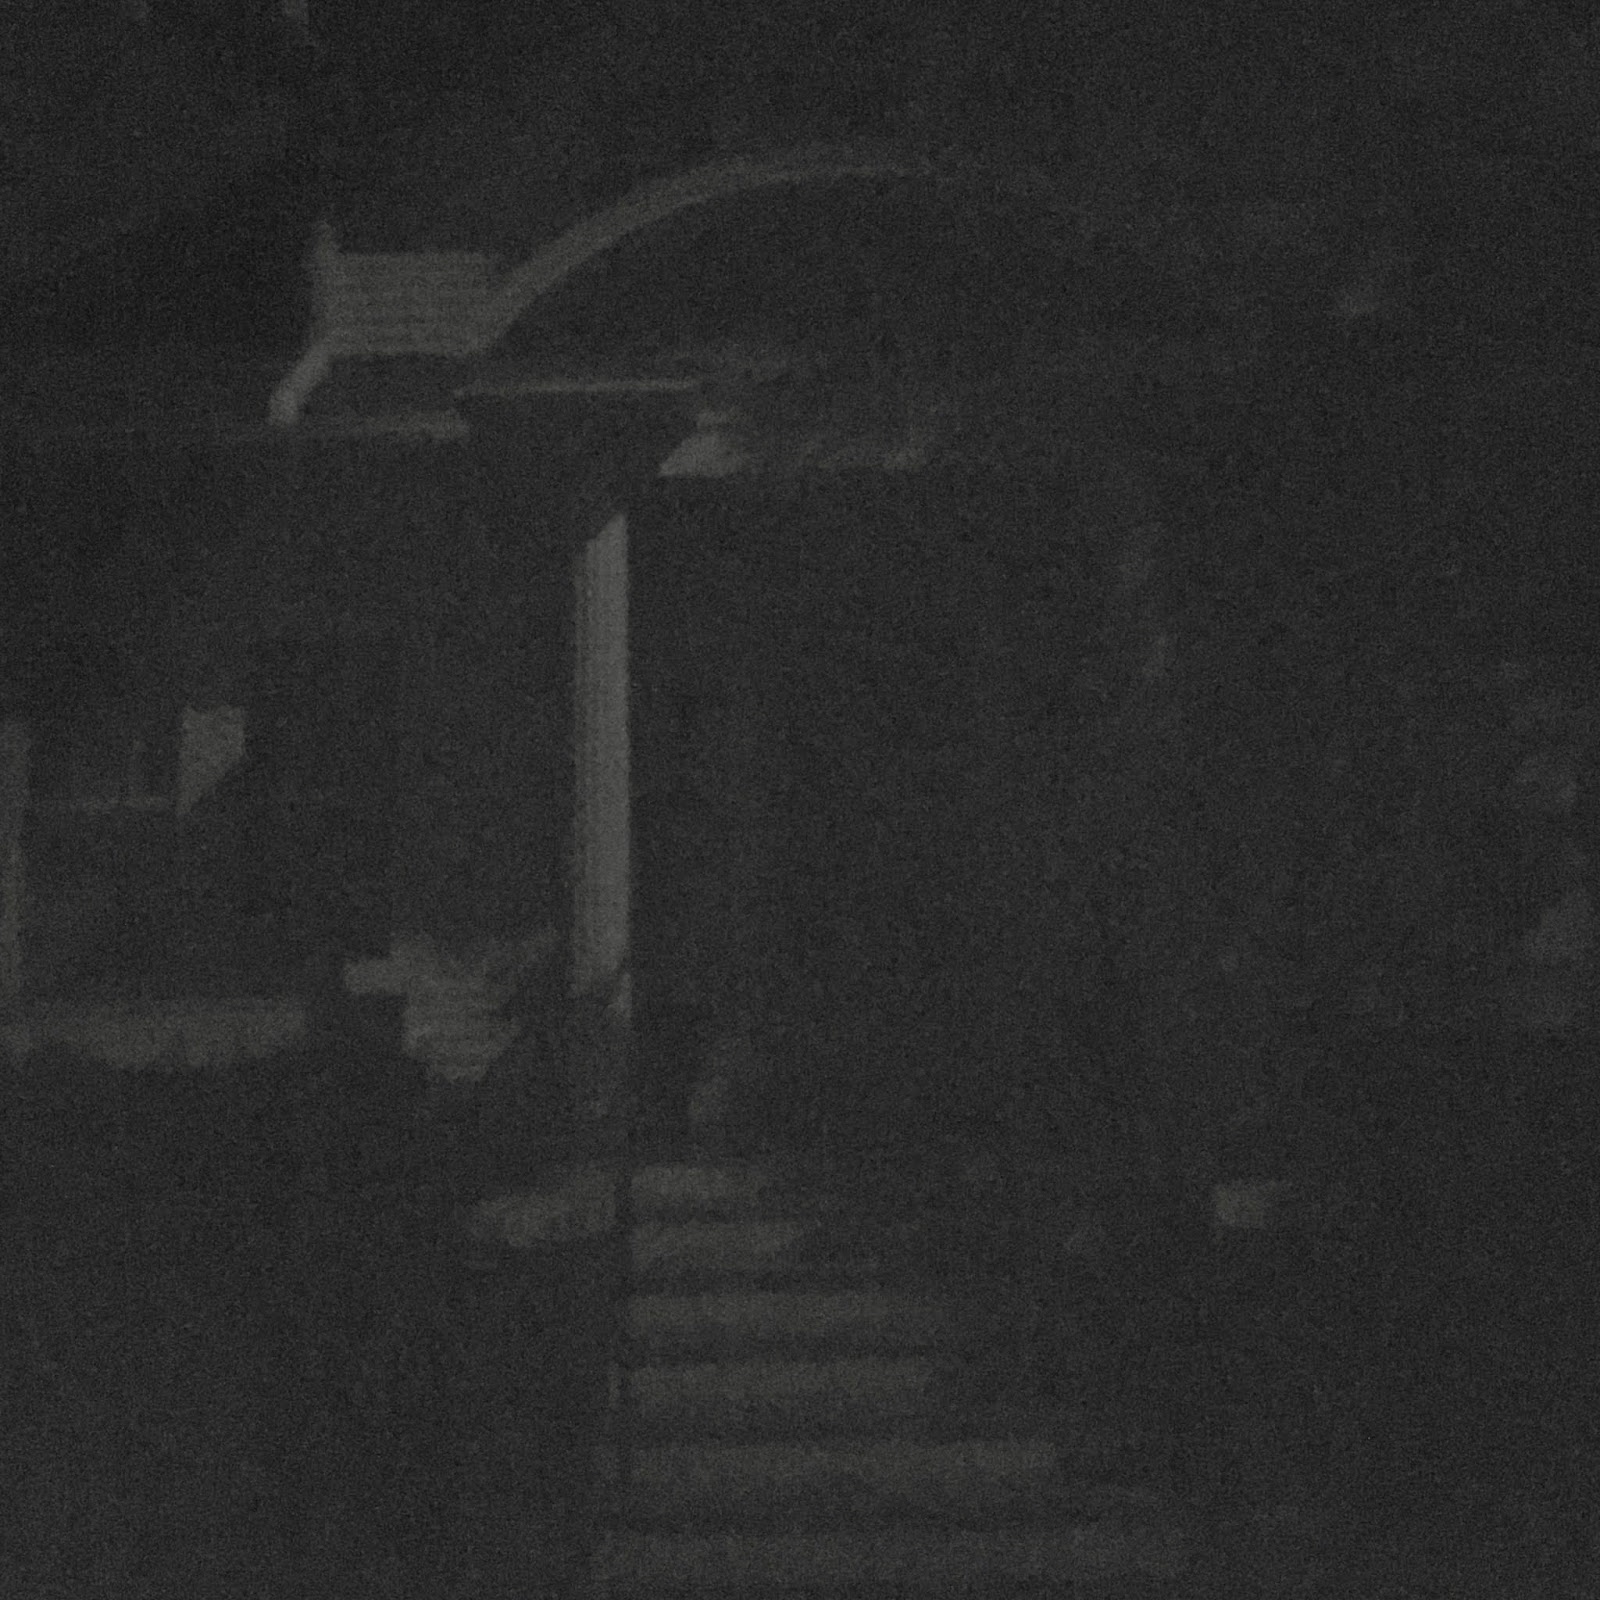
Speaking of looking at something you’re very familiar with, I started with the north wall of my living room which I photograph when testing just about every camera I’ve made. I started with the 45mm front on the Variable Cuboid.


Turning to the south and not wanting to include the couch, I switched to the 35mm front.


Going through the French doors and turning around, the north wall of the Sun room


Turning to the right, the east wall of the Sun room while checking on the latest news of the pandemic.


And another right turn to get the south wall.


The west wall of the dining room.


I couldn’t get the north wall in without including a lot of the dining room table.


By now it was about noon, so I did the south wall of the kitchen while making lunch. That vague darkening on the cabinets to the left of the sink is me.


The north wall of our bedroom. Just after I opened the shutter Spenser came out from under the bedside table to see what I was doing.  He gave the camera a few sniffs and laid down for the rest of the exposure.


In order to capture the entire north wall of the bathroom, I had to switch to the 20mm front. This scene with the white bathtub at one side and the door well illuminated by the window light reflected in the mirror with the dark cabinet in the middle was well suited to the vignetting of the extreme wide angle.


Since the dining room table had been featured in the west and north walls of the dining room, to avoid having it in this picture I stuck with the 20mm for the south wall.


I had plenty of room to use a longer front for the east wall of the kitchen, but didn’t bother to change it.  With the brilliant reflection of the window on the stainless steel of the stove and the dimly lit corners, it did not fair so well with the vignetting, but it does give the kind of waiting-for-the-apocalypse feeling that is perchance appropriate to the project.


The 45mm front has a .27mm pinhole.
The 35mm front has a .25mm pinhole.
The 20 mm front has .23mm pinhole.
The Variable Cuboid has a 6x6cm format.
The longest exposure was 20 minutes.
The Ilford Delta 400 was stand developed in Rodinal 1:100.

Tuesday, April 7, 2020

At a distance

Although it’s very unusual for anyone to be within six feet of me when I’m taking a pinhole photograph, with the term “social distancing” being repeated in every other sentence lately, I kept thinking about the 200mm front for the Variable Cuboid.

Also, once again, there was recently one of those discussions on Facebook where a rookie was asking about “the ideal size of the pinhole at 45 and 810?” (I think they probably meant 4x5 and 8x10 inch formats.) Among the explanations in response someone stated that “the bigger your focal length the less sharp your image,” and then later “the more you respect the rules the better your images are going to be.”  While technically true, that attitude strikes me as discouraging even trying longer distances to the pinhole.

So paying strict heed to keep my distance from anyone (not hard to do in a town like Oshkosh), I went out to find scenes at the appropriate distance for my long camera.

Until some ten story dorms at the University were built in the 1960’s, the tallest building in Oshkosh was the 1927 Raulf Hotel, now the Mainview Apartments. You can see it rising over the view from just about anywhere on the north side of downtown. My eye is always drawn to the zig-zag juxtapositions with the rooflines of the smaller buildings. If you get near enough to frame it with a wide-angle camera, the nearer buildings obscure the taller structure. The long camera allows me to get the angle I need.


For only one year, the 1926 First National Bank Building was the tallest building in town.


Downtown Oshkosh, like the centers of most industrial cities, has gone through a lot of changes and there are occasionally abandoned buildings right in the middle of the commercial district. On the street side of this one, the ground floor has a mid-century modern retail facade with the historical windows on the upper floor covered with boards. This second story opening in the warehouse in the back is open to the elements.


During boating season, the massive railroad draw bridge over the Fox is kept raised except when a train is crossing but from October until May it stays lowered.


Another composition of roofs and random additions at South Park Middle School.


The lighthouse at Asylum Point is on a small island. The wooden footbridge leading to it was destroyed by an ice shove two years ago, so the only way you can get near it is with a long camera.


Some things you really don’t want to get near. This place gives some perspective to having to deal with the current pandemic lockdown.


Just around the corner from my house, the angular entry of the Glad Tidings Tabernacle contrasts with the gothic window in the belfry.


A narrow angle camera encourages tight cropping. A shadow zig-zagging down the stairs.


It’s a little surprising that they let this giant oak remain just feet from the corner of Merrill Middle School.


At the nearby soccer field, some of that oak’s contemporaries cast shadows on one of the little utility buildings.


The 200mm front for the 6x6cm format Variable Cuboid has a single on-axis .5mm pinhole (f400). The film is the surprisingly grainy Fomapan 100, stand developed in Rodinal 1:100.

Thursday, April 2, 2020

Desperate measures for extraordinary times


Worldwide Pinhole Photography Day can be celebrated during times of social distancing for those who are equipped and supplied for it, but a lot of people participate by attending group sessions which are not going to happen this year.

I’m the first one to say that you can build a very capable camera with stuff you probably already have around the house and analog methods are the most fulfilling way to experience pinhole photography. However except for solargraphy, any method using analog/chemical capture of an image is going to require development. A lot of rookies are not going to be able to do that without access to one of those public or school events.

So is there any way to create a pinhole image that could be shared in the Pinhole Day gallery that could be created without development?

You can, of course, replace the lens of a digital camera with a pinhole body cap, but you need an SLR or mirrorless camera to do that.

In recent years, the Pinhole Day gallery has included numerous images of room sized camera obscuras where the image was recorded with a lensed digital camera that allows total control of shutter speed. I did this myself once in 2006 with a 30 second exposure using Nikon’s first digital SLR.


My first thought is that’s not going to be an option for many people. I would guess that very few individuals would have access to a digital camera that would allow a shutter speed of over 1 second.

A room sized camera also pretty severely limits the scene you can capture to the view out your chosen window. And think of your mother’s response under a stay-at-home order when you say you want to tape up all the windows in your room.

I’ve seen this sort of thing done with a box-sized camera obscura.

My objective was to find a method any kid (with a little help from Mom and Dad) could recreate this idea with.

Everyone has a cell phone with a camera. I have an iPhone SE which is several years old so I think it would be comparable to what most people have. I don’t have an Android phone but there are similar apps available for those. I have no way to try them.

The basic concept is to make a pretty standard pinhole camera which will form an image on the back of the camera, then position your cell phone camera so that it can take a picture of the pinhole image. I’ve seen this done with a high end digital camera with pretty good results.

I took an old box I had which was 6.5 inches square and 4.25 inches deep.  I needed to make sure it was far enough from pinhole to image plane that the phone camera would focus on it (Aren’t lenses a hassle?)

To make sure I had the most contrasty image, I lined the box with black construction paper. Although the box interior was already white, on the back of the box, I put the whitest card stock I had for the image plane.


I drilled the easiest pinhole possible by completely piercing a piece of drinking can aluminum with a #10 quilting needle to make a .56mm pinhole. My experience is that anyone can make a pinhole like this on the first try.


I mounted this on the axis of the box.  I extended the hole so I could mount the cell phone as near as possible to the pinhole.


I made a cardboard sleeve so I could just slide the phone in and out with the camera positioned in the hole.


I taped it all on the box with the phone holder far enough away from the pinhole so that it didn’t block part of the image.


This puts the area that the phone captures a little off axis, so when viewfinding you want to use the camera’s position rather than the pinhole at the front of the camera, and any viewfinding marks on the back have to be offset in that direction as well. In order to keep the phone pressed tightly up against the box as well as keeping it from falling off and getting destroyed, I held it under a couple rubber bands.


Since the box was square I originally used it pointing up and chose the square format of the phone image, but quickly discovered that I could only capture about a 5 inch field with the phone at this distance, and later discovered that the standard rectangular “photo” setting had a useful function not available in the square format. Of course there’s no need for a shutter since taking a picture with the phone is going to control that. You can’t see a thing on the screen when using the camera.

My first attempt, even after as much editing to brighten the image as I could do on the phone was a little disappointing.


I supposed I could have gone to the computer and pulled out those highlights a little, but in the interests of universality, I wanted to limit the editing options to the phone.

I went back in and did a little googling about low light photography with the phone and came up with this article on MacPaw.com. It describes how to alter the “live” function of the iPhone. That function takes a rapid sequence of ten exposures. If you swipe up on a photograph made with this function, it offers several effects, one of which is “long exposure” which effectively combines all the images into one. The intended use of this is to create trails and blurs which we are all so familiar with in pinhole photography, but it also tries to auto correct the exposure on that stack, and effectively adds up all the photons captured by those ten frames. This is a common technique in astrophotography.

Although the original image looks totally black, after applying this long exposure effect you can see the beginnings of the image.


After using just about every one of the functions in the edit toolbox,  I got a reasonable image out of it - probably as good as many of the images we see submitted to the Pinhole Day gallery using photo paper. (n.b. The highlight just in front of the driveway on the left house was because the card I used for the back of the camera was slightly glossy and created a hot spot directly under the pinhole)


This was done under sunny conditions. I tried this later on a cloudy day and couldn’t even pick up highlights.  It might work better with a newer phone, and you could try using a bigger pinhole.

A limitation on this is the slowest exposure the phone makes is about 1/40th of a second, so even with them all stacked that’s only 1/4 second.  Apps exist that will allow you manually control the exposure, so I downloaded a bunch of those.  Again, in the interest of universality, I limited it to ones that were free to download.

Unfortunately, all those are extremely limited versions with only a few of their functions available and require viewing a five second ad for every exposure. I got extremely frustrated and eventually paid the $1.99 (USD) for the cheapest one Slow Shutter Cam, which had gotten good reviews.

It allows adjustment of shutter speed and ISO. It took a few tries to dial in the right exposure, but it did yield better results.


This was a 4 second exposure at ISO 400.

I tried again on a cloudy day. One important feature under lower light levels is to lock the focus. I just held the phone against the box focused on my hand at the other side.  The focus lock is a button at the top of the screen. You have to be very careful putting the phone into position because virtually any touch on the screen will cancel the focus lock. It’s also easy to accidentally zoom in. But it’s digital so you can tell right away that you’ve done either of these.

These were at 15 seconds at ISO 800.


The maximum shutter speed is 60 seconds, but it also has a bulb setting. You touch the shutter button to open it, and then touch it again to close it.  I tried up to a half hour exposure on my dining room table and didn’t get so much as a highlight.

The image quality is very noisy, but pretty distinctive. I can imagine with a little experimentation getting some creative imagery.

As long as the original image is created with a pinhole, images captured with a lensed camera like an iPhone are acceptable for the Worldwide Pinhole Photography Day gallery.

 If you don’t have any other option.