

 |
| Evil Cube film path |
However if you could put the film plane in front of the reels, you could make the camera as short as you want.
So in order to figure out how to do this, the obvious thing was to check out how it's done in a medium format SLR, my youthful envy of which is driving this whole thing.
In most film cameras you've ever seen with the film plane in the back of the camera, the film path is pretty straight from one reel to the other, although as above, it might have to make two turns.
In most film cameras you've ever seen with the film plane in the back of the camera, the film path is pretty straight from one reel to the other, although as above, it might have to make two turns.
 |
| Medium format SLR film path |
Hasselblads have exquisitely integrated, precisely engineered mechanisms made from the best material to make the film move through the camera smoothly. I have a slightly more limited repertoire.
Experience has taught me that the 90° turn the film has to take in the Evil Cube required a little more engineering than the straight path of a Populist, so this meandering path was going to be another step up. That usually means more layers of cardboard.
Another revelation was that once the film was behind the film plane, the camera could be any length you wanted, shorter or longer. If it included a Pinhole Lab Camera style light trap, you could make interchangeable fronts with a variety of distances from pinhole to film. Don't even think about calling them lenses.
Suddenly I have a Variable Cuboid Pinhole Camera System. Take that, youthful envy!
The back is designed sort of like the Evil Cube Template: a film carrier assembly, inserted into a back-of-the-camera box, with the front box overlapping the back.
 The first attempt just used cardboard for the edge that the film rides over. I'm always impressed by how rugged film is being dragged across my cardboard dividers, but this was too much. I could barely nudge it a few millimeters at a time and I was sure there would be marks on the negatives from the compression.
Since 3/8 inch dowels are already part of my pinhole pantry, they might provide a more gentle curve for the film to follow. I thought about placing plastic drinking straws around them, but they're narrower and I didn't want to reduce the radius of that curve. I did sand the dowel as smooth as I could and gave it a good coat of pencil graphite to make it as slippery as possible.
These are held in place by layers of foamcore above and below the film holder.
 The film reels have to be kept parallel, and even with the lubricated dowels, the forces on the take-up reel to twist out of line are considerable. To keep the bottom of the reels in place, I whittled a shorter version of the winders and held them in a double layer of foamcore, and applied more graphite since it has to rotate with the film. This violates my dislike for small pieces that can get misplaced, but I'll just have to be careful when loading.
One issue with having the film on the image plane in front of the box is that the back of the film with the numbers on it is now an inch and half inside the box with the film reels. I made light proof dividers for the film chambers with as wide a middle bay as possible and used a double-wide shutter to let more light in to see the numbers. In the first prototype, out on a sunny day, it was hard to see them when winding so I glued white paper to the sides to reflect more light.

This part also provides a little structure which helps keep the reels from wandering while you're loading the camera. A t-nut tripod mount is installed in the foamcore layers at the bottom.
The film holder goes into a frame which has a film gate in front of the film to keep it from spooling out into the front of the camera. It also provides an exactly 6x6cm opening so images don't overlap.

The winders are inserted and the frame is placed into the camera back which overlaps the winder collars.

The internal frame extends 10mm out from the back.
The fronts are made to the length you want optically, which slides over the frame and right up against the back. There's a layer of foamcore (or a couple layers of corrugated cardboard) in the front, 10 mm shorter than the outside, which stops the two parts from sliding any further together. The entire joint is covered by a light trap which extends over the back all the way to the winders to make it that much more difficult for the sun to sneak through to make mischief.

The camera fronts need to each have a shutter, but Hasselblad does it that way as well. They can, of course, have pinholes sized appropriately for the distance to the film. The viewfinders have to go on the front as well.
The film moves easily enough. It requires a loosen-first-then-wind technique and I've found that it tends to jam up if you tighten the take-up too much so it tries to pull film off the supply. Better to let it stay loose until you get to the number, and then retighten the supply to flatten the film against the image plane.
When the camera is loaded with film, the fronts have to be changed in the darkroom or a changing bag. I didn't have any trouble doing it in the dark. I get a little dizzy thinking about trying to make a removable dark slide that would allow the front to be changed in the daylight.
I made three fronts.
A 45mm, which started the whole thing, has one of my double shutters and two .29mm pinholes, one on-axis and the other rising 10mm. There is a cardboard triangle on the top for viewfinding. On the sides the axial and rising pinholes are marked with beaded pins and the image plane with cardboard lines.

Here's the back of The Ruby Owl Tap Room and an acupucturist/holistic health store, with nicely parallel verticals.

The loading bays of the new addition to the Oshkosh Public Library. The film gate is something I have to work on because it obviously didn't prevent the film from bowing out. The rising front isn't really worth it, to keep your verticals parallel, if the horizontals are wonky.

Another neoclassical building in Oshkosh with a modern addition is the Wisconsin National Life Building, now housing more of the Winnebago Dept. of Human Services. More pinhole fun with the curvy film. A guy came out of the building and we spoke about the contrast between the two structures, but he never mentioned I had a cardboard box on the tripod.

I made a 20mm front as an extreme example, although you could go as short as a 10mm. At this short a distance, in a regular camera with a 24mm film reel limiting the depth of the camera, you'd have to inset your pinhole into the camera body. I have seen this done. While trying to make the matched pair of pinholes for the 45, I made a .23mm, so I just used it for this one despite it being a hair big for this distance. At a 117° angle of view, it didn't seem worth it to put a rising pinhole on it. I reused the original shutter of Long John Pinhole and was surprised to find the edges of the shutter appeared in the images.


It's always fun to see how close you can get. This is about two and a quarter inches from Minnie's Nose.

The camera is just over my head with the tripod strapped to the shelf of the baker's rack with a bungee cord. This was adjusted for overall brightness and contrast, but otherwise left alone so it's a fair representation of the the degree of vignetting. I was expecting a circle with totally black edges.

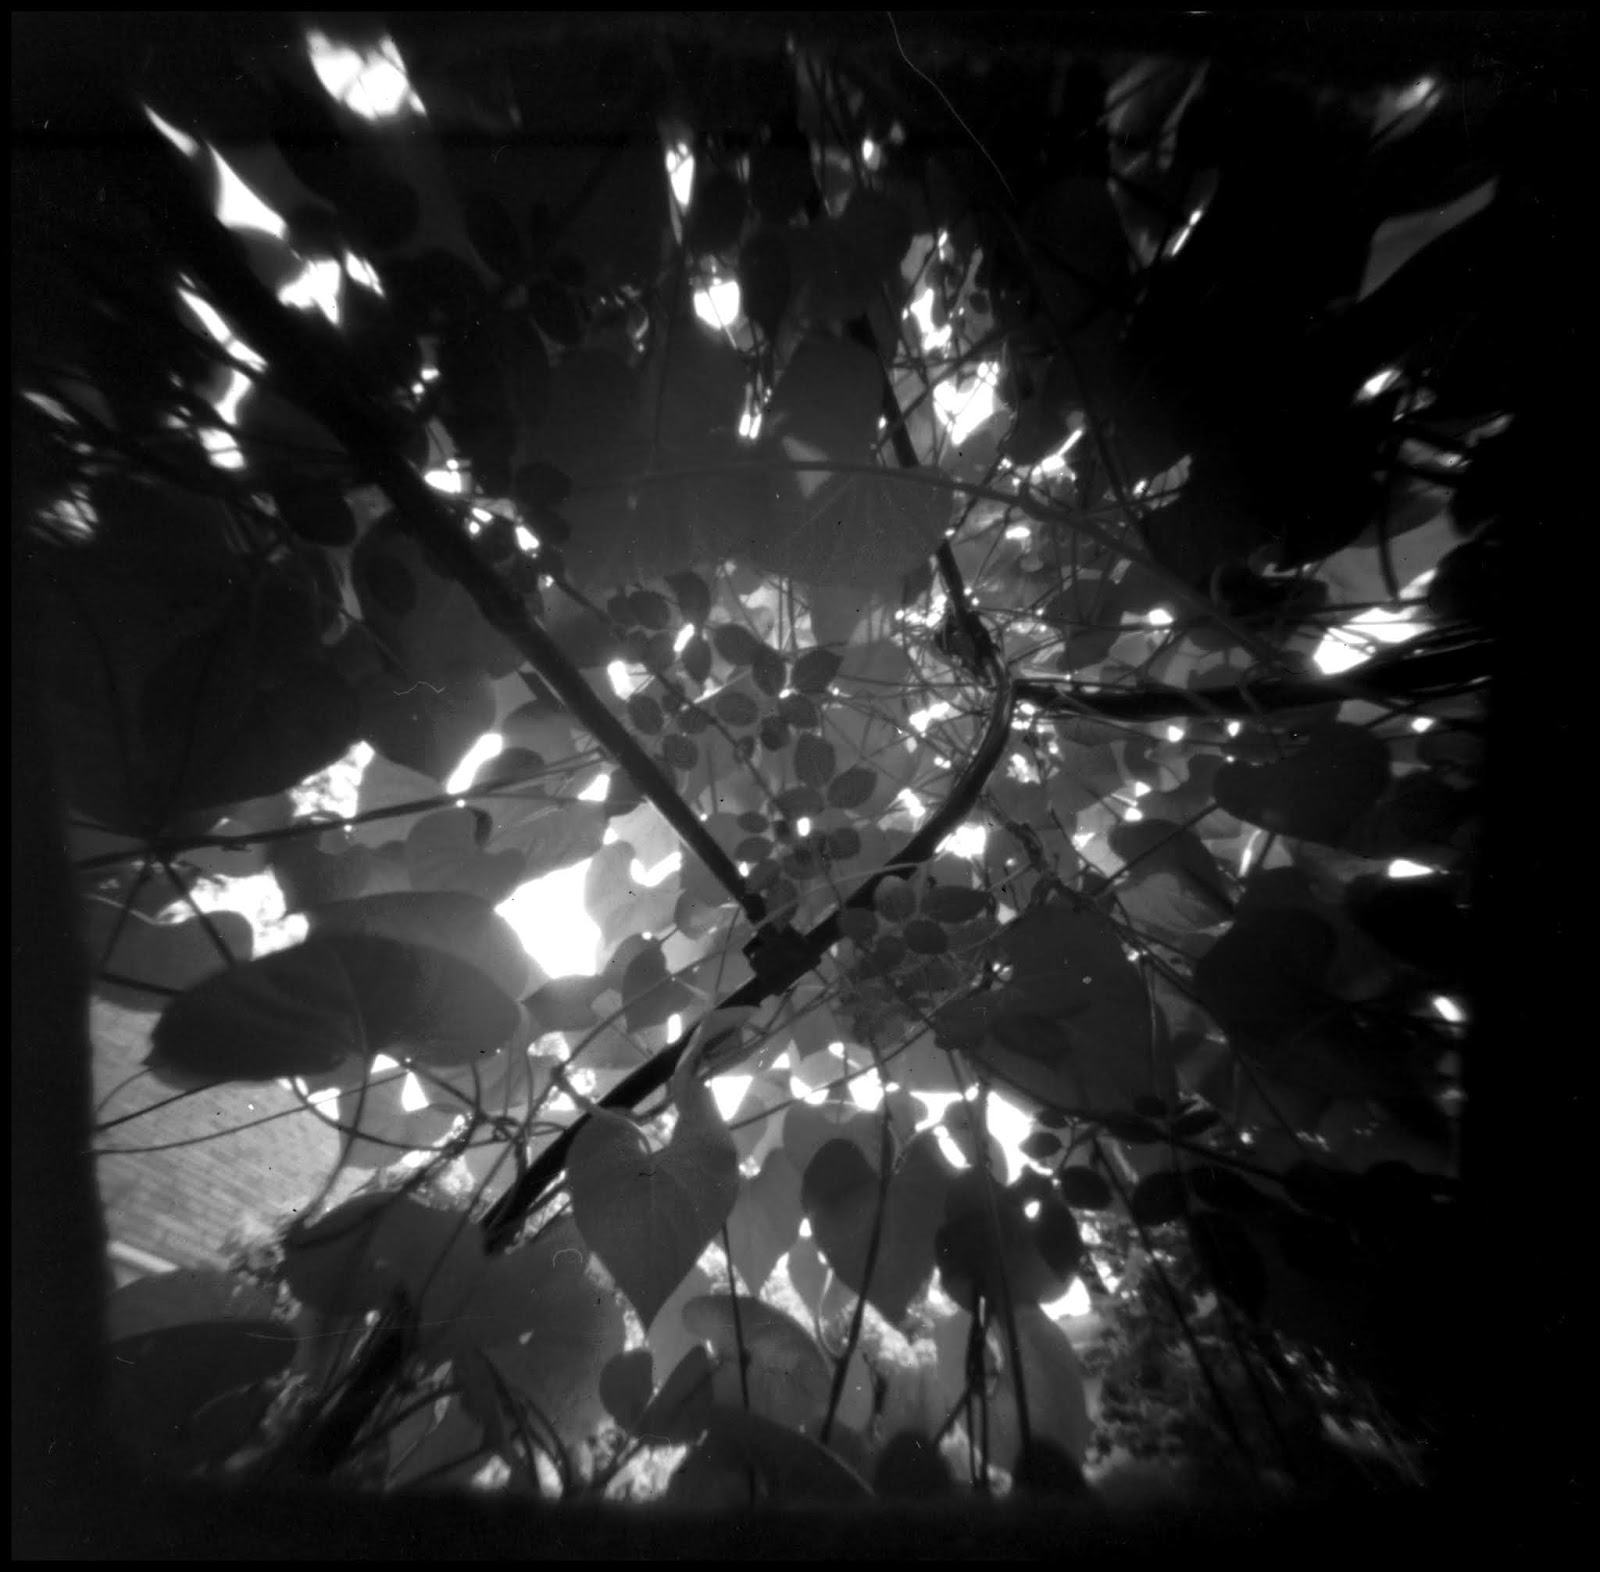
As high as the tripod would go looking up under the arbor covered with morning glory vines. Surprisingly it was close enough to not have the rest of the yard visible.
On the extreme other end, I made a 200mm. In the Some Assembly Required column on the Boston based Don't Take Pictures website, I saw a 600mm long 6x7cm format pinhole camera with a Pro back and an old box camera front. The camera maker, Jeff McConnell, had a really big pinhole on it because he wanted it fast enough to hand hold for street photography. That's the only other pinhole camera I've seen with a length to film format ratio this extreme. I just used a trusty #10 needle-diameter .5mm pinhole, which really isn't that small for this long a camera.

A long camera let's you close in to relatively distant compositions. The camera is tilted up a bit but the slightly converging verticals aren't the first thing you notice. I didn't think it worth it to put a rising front on this long a camera either.

Don't Take Pictures did a post on Long John Pinhole. She used a photo I took of a water feature in the Paine Garden and quipped that the long camera allowed me to get the shot without getting into the pool. Well, I had one leg of the tripod in the water for this one. The thing that caught my eye were the reflections of the vines in the water, and with a shorter camera, I would have had to have suspended the camera on a boom to get it to the right spot. This is at f400 with Arista.edu 100 so this was about an hour exposure. I made lunch.

Long cameras also make getting closer easier without getting the camera in your light (although I didn't have any trouble with Minnie and Mickey). Not really a problem with this backlit dahlia in any case. The flower is about 120mm across so this is a 2:1 macro shot. This is probably heresy but I'd like it to be a little crisper. I think I'm going to change to a .4mm pinhole and see what develops.

I found several dumb errors in the template which I have to fix, and then the ultimate test will be to see if I can build a new back that fits into the fronts I already made and new fronts fitting into this back as well.
I'll probably do a "building-of" post when I make those, but it might be awhile. This much engineering takes a lot of cardboard and we have to eat enough cereal and crackers to get the materials. (Here’s the link to that “building of” post)
No comments:
Post a Comment