The distinguishing feature of the Compact series is that they are about the smallest 6x6cm medium format cameras possible. Just barely taller than the 60mm width of 120 film and only 95mm wide. A Populist of similar format is 130mm wide. They also have a feature to keep the winders in place without a separate WinderMinder. I think, if put together correctly, they are about the most reliable and light tight cameras I've ever made.
I've made templates for 30mm, 45mm and 60mm cameras.
It is very handy to print the template on self-adhesive label sheets, but the template can be glued as well. For tips on glueing, as well as general cardboard crafting see The 10th Anniversary edition Populist plans. It is critical with glue to clamp parts appropriately and wait until they're dry to continue. Double sided self adhesive sheets can be used to adhere the templates as well as assemble the camera. If you're using double sided adhesive sheets to adhere the templates, apply the adhesive first, then trim the part to it's finished size. In some cases you'll have to cut out the holes so there's not adhesive exposed while you're working on a part. When assembling the camera, adhere and trim those adhesive sheets when the part is flat and remove the second release layer after folding just before adhering it in its final form. See this post on Self-adhesive labels and double-sided adhesive sheets for notes on their use.
Some parts of this camera need to be glued.
The pinholes and winders are exactly like those in the Populist as described in the The 10th Anniversary edition Populist plans, already referred to. I can't figure out how to make a anchor link in blogger, so you'll have to scroll down a bit. You won't need them for a while, but the winders are necessary when assembling the camera and of course you need pinholes to take pictures.
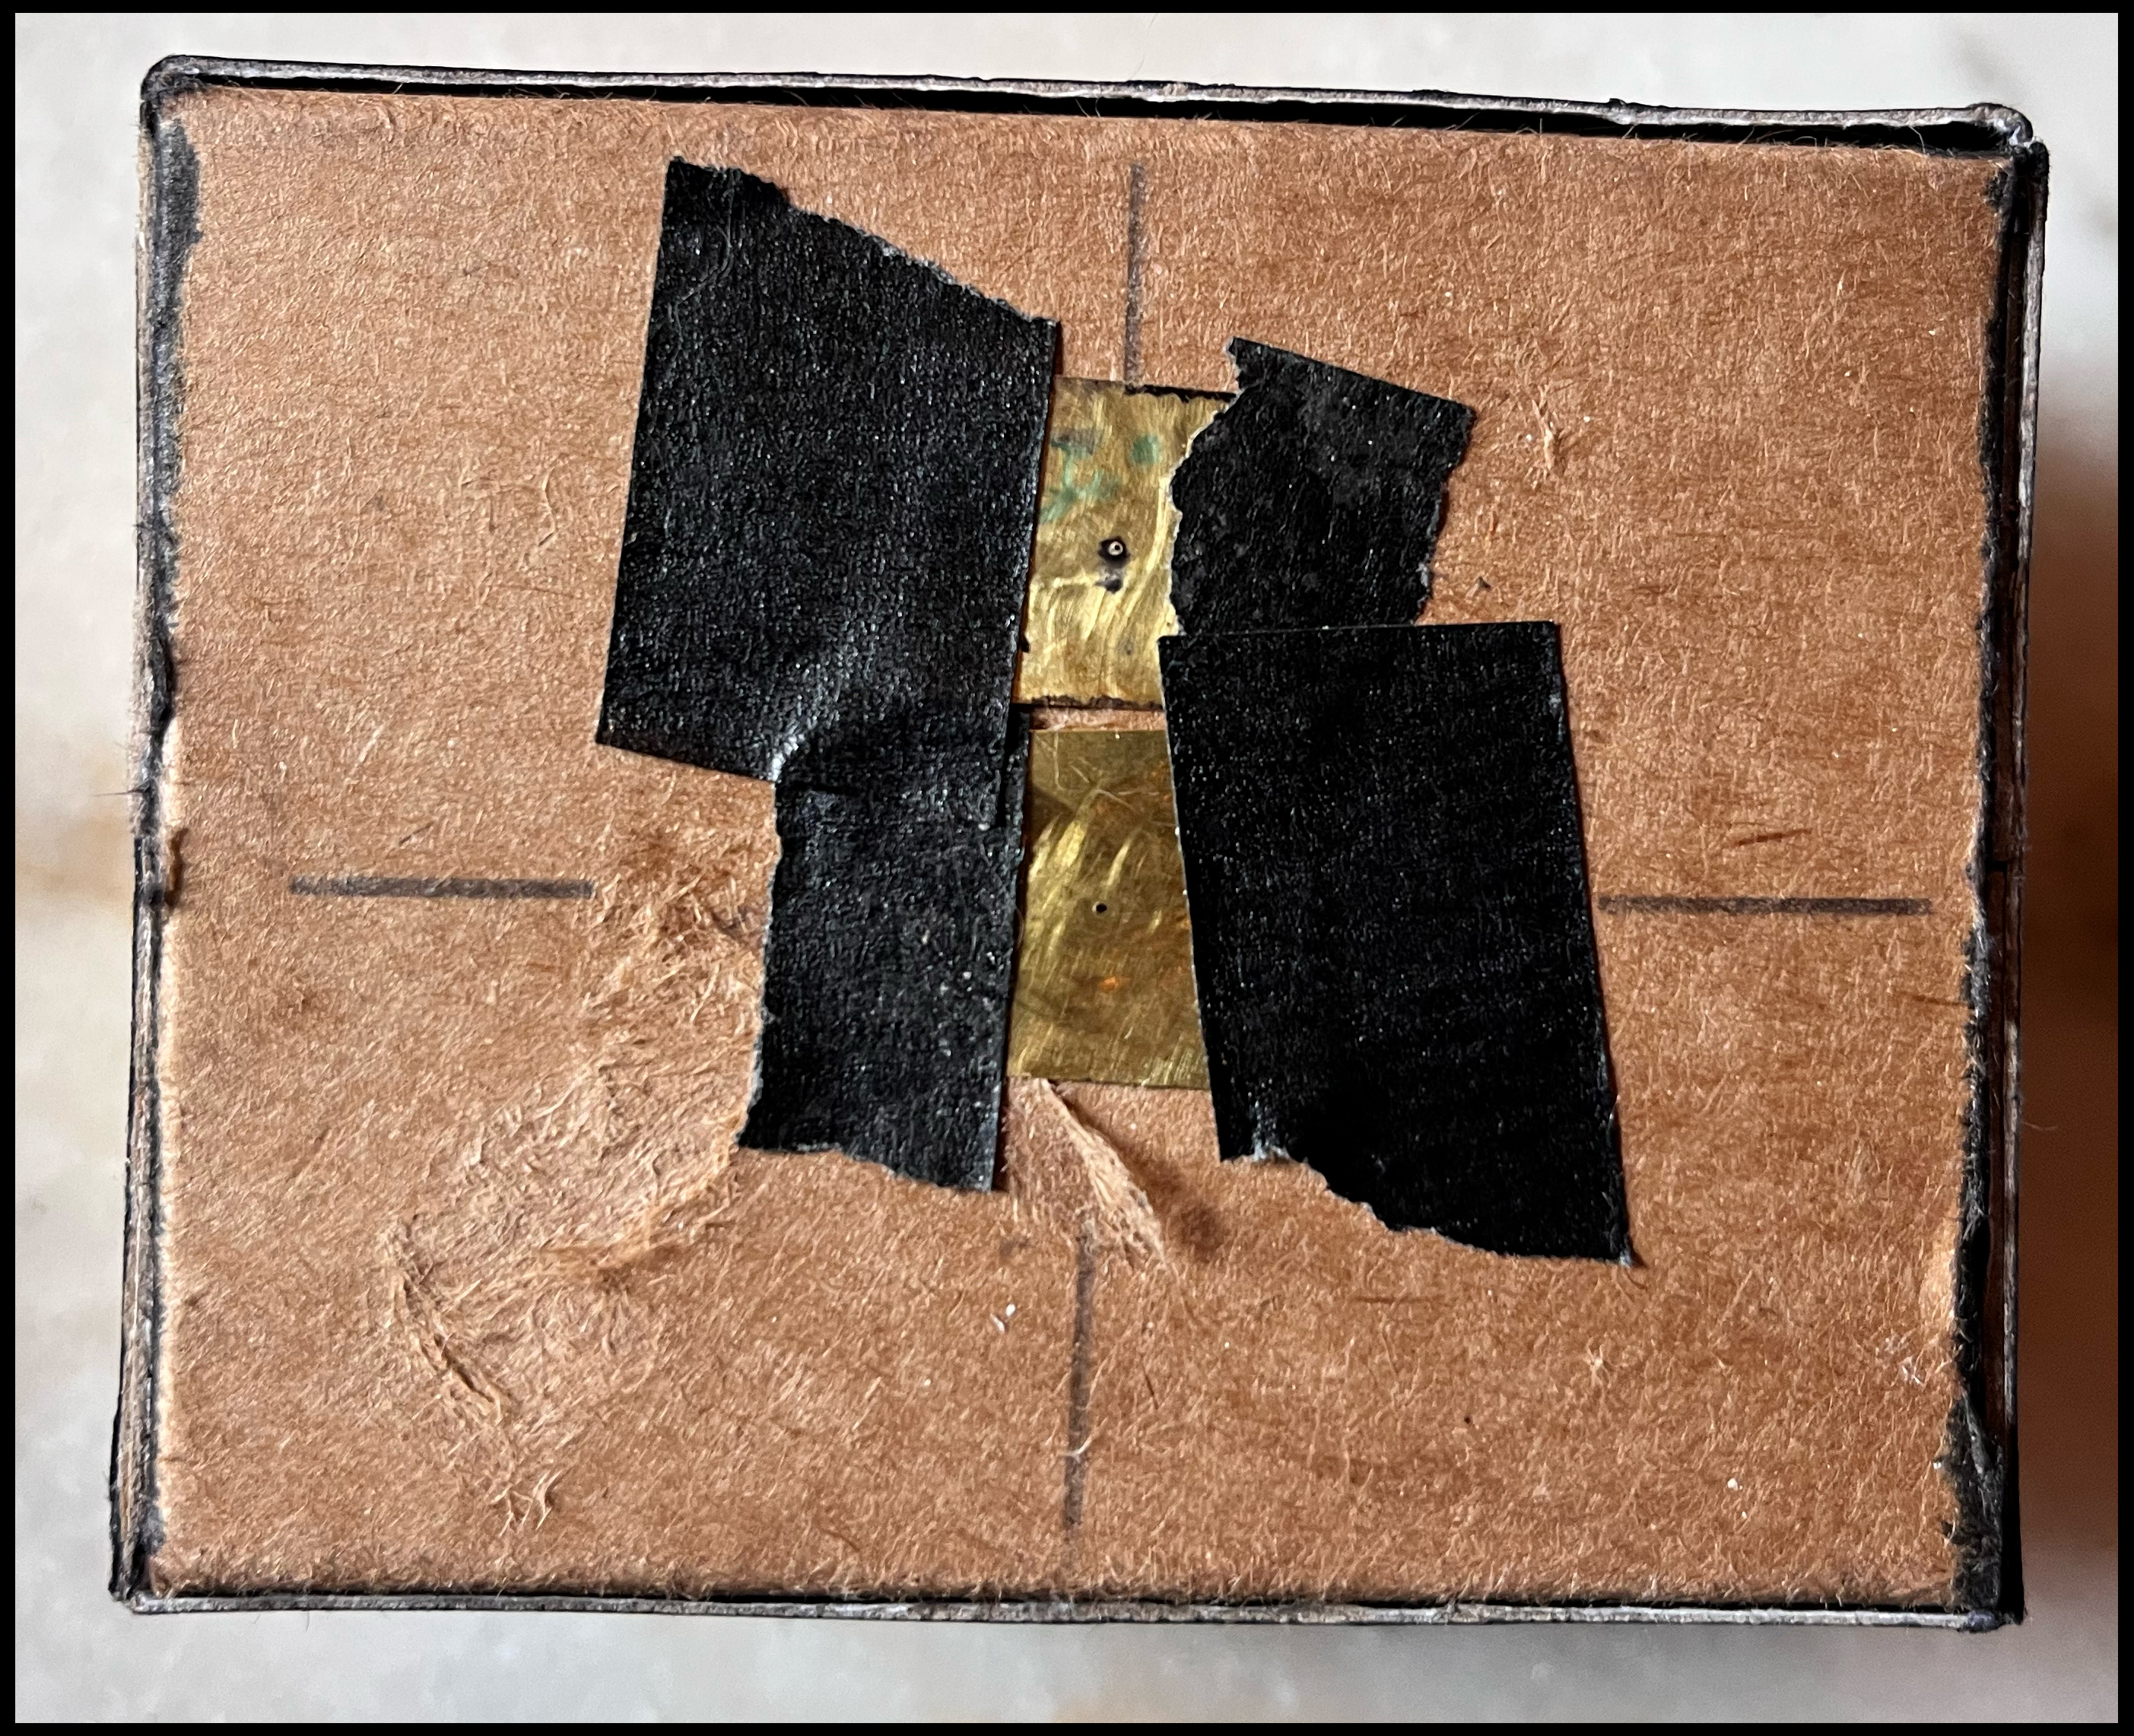
Start by laying out all the parts on the appropriate cardstock to make sure you have enough for everything.
The pictures in this post might be from 3 different cameras, 30mm, 45mm and 60mm. The shapes of some parts may look different. I'll mention it when it makes a difference.
If you want the printed design on your box, the template will be on the inside. The camera front, camera back, front shutter top, rear shutter top, the top viewfinder as well as two small rectangles for the shutter handle will be visible on the outside of your camera. If you are interested in placing specific design elements in particular places on the outside, you can position things fairly exactly by carefully cutting out the holes in the template, tracing them on the design on the cardboard and cutting them out, then placing the template on the other side with those holes lined up. (Save the inside cut outs of the shutter covers if you're aligning patterns on the shutter cover and sliders.)
The template is horizontally symetrical so it can be aligned with the holes when it's placed on the inside of the box.
Several parts need to be stiffer and have to be attached to a double layer of your cardstock laminated together: the base of the viewfinder, the inside shutter channel, the moving shutter, the winder collars and the top inside of the film chamber. I recently decided the top inside is better done with foamcore, but four layers of cardstock would probably work as well.
The rest of the parts can be adhered onto any cardstock. I find it handy to attach the template to the printed side so when I'm assembling I have a matte paper surface to glue and blacken if necessary. Remember to roughen a glossy printed surface with sandpaper before trying to glue something to it. That's not necessary with self-adhesive labels (which I used for this picture). Two parts, the tripod mount and the film holder top, needs to be cut from 1/4 inch (5mm) foamcore. (I only did the tripod mount for this picture, but now think the film holder top is also better out of foamcore.)
It's your decision whether to cut out all the parts first, or keep them in large pieces until you need them. Remember to throw away any scraps you cut out so they don't get confused with the parts.
With smaller parts it's a good idea to cut or punch the holes before cutting out the part. The winder holes are just slightly too small so they will seal tightly when you push a ⅜"/10mm dowel through it.
The first part is the image chamber interior.
Using a straight edge, with the tip of a ball point pen, score all the lines. It's important that all these fold up aligned so take care to keep everything square.
Fold the top and bottom inward, and the two small flaps on the bottom outward.
The sides of the film holder are made with compound folds which are then glued back together. Try to score them as accurately as possible, crease them firmly and fold them carefully so everything stays square. Start with the fold next to the front. The sequence of folds is in, out, out, in, in, in. This is a little tricky with the little 30mm camera.
The plain cardboard side of the last flap gets glued against the grey strip on the template side. I prefer glue to adhesive sheets for this so the position can be adjusted and clamped when it's in the right place. I think a fully dried glue joint is probably stronger in this case where it can't be squeegeed well. The second to last fold should form a right triangle which will create the bay for the film. The folds should match the shape of the top and bottom of the film holder.
There are four parts to the tripod mount, the cap, the spacer for the the t-nut, the t-nut with a 3/8" shaft (10mm), and the tripod mount base, which has been cut out of foamcore.
Press the t-nut into the foamcore as far as you can. Adhere the spacer to the top, with the fronts aligned.
Then glue on the cap. Each of these parts is a little less deep. If you wish your images to reach the bottom of the film, trim off the angle between the bottom of the tripod mount and the t-nut so it's not in the pinhole's way.
It's not unusual to get these parts not perfectly matching. You may have to trim the spacer and the cover to exactly match the shape of the tripod mount.
Adhere the tripod mount to the bottom of the film holder. If you're using double sided adhesive, give it a good squeeze with a pliers.
There's a layer for the top inside of the film holder to double it's stiffness and provide a bit of glue surface for the next step. If this part is cut out of foamcore it provides a little bracing and surface to glue to. Adhere it to the top of the film holder. (Forgot to take a picture of this.) Remember to also make an angled cut in the back edge so it doesn't block part of your film.
If you're using double-sided adhesive, even though the next step will be glued, it's easier to adhere and trim the adhesive for the following step before the film holder is glued together.
Remember to dry fit and practice clamping before getting any glue on it or pulling off the release layer!
For clamps, rubber bands that fit around the film holder just tightly enough to hold it together, but which won't crush it (which doesn't take much). I use rubber bands that are 3 1/2 inches/9cm, but you might find some that are thinner that do the trick.
First place two rubber bands around the sides of the film holder so they're just held onto tripod mount and bottom, and on the top against that double layer. There should be a tiny corner of the top that comes over the extra layer. This is where dry fitting is necessary. Your folds may not be perfect. It may require a little custom work with your fingers to get that joint as close as possible.
When this is held together fitting as well as they can, place two more rubber bands around the sides of the camera, in the front and back. After practicing all this and making adjustments, apply glue to the edges of the top and bottom of the film holder and clamp in these two steps. You may be able to see gaps. Add additional glue and try to bring them together. Even after the glue is dry and the clamps are off, it may be worthwhile to apply some additional glue where things come together.
This is admittedly the trickiest part of the build and you may find that your pieces don't match exactly. It's important that the back and top and bottom of the film holder is a single plane but it's easy to adjust after the fact (see below). Get everything aligned and glued and wait for it to dry. Then check to see if anything needs to be trimmed or other wise adjusted or if additional glue would make a more stable joint.
Fold the film holder front and practice aligning it over the interior and clamping them together. Then, one side at a time, apply glue or peel off the release layer and adhere them together.
Make sure you also glue the little flaps against what now are the bottoms of the film bays.
Small errors can add up so that the back end of the film holder might not meet exactly with the film holder cover. It's relatively easy to fix and might even provide a better edge for your images.
Cut a rectangle of card stock about 40mm by the distance from the top of the tripod mount to the top of the camera. Fold the rectangle in half and sharply crease it. You might want to make it the whole distance from the top of the camera and cut out the places where the tripod mount and film holder top get in the way.
Then clamp it on the holder aligned with the top and bottom. Check that it doesn't extend into your image. Trim if necessary. Make sure it's glued very flat.
Cover this edge with tape or some other material that won't scratch the film when it's pulled over it.
Fold the camera back. Note that the black flaps go on the inside.
If you're using glue, you'll have to wrap the film holder, with two 120 reels in place, with wax paper like a very neat Christmas gift so any stray glue won't permanently adhere them together and so the protective layer won't create gaps that may become light leaks. I did this camera with double sided adhesives, but here's a picture of that step with a Populist. You may have to pick pieces of this off with a tweezers after you separate them later. Also you'll be gluing against the glossy exterior of your material, so those flaps (the other side of the black ones) need to be roughened with a bit of sandpaper or the tip of your craft knife.
If you're using double-sided adhesive, remember it's going to stick pretty firmly the first time in contact. If it's not tight, it may be hard to try again. Fold carefully and practice. The sides should meet together. Make sure you squeeqee it with your fingers so it stays stuck and if using glue, clamp with multiple rubber bands. When you're dry fitting it, check that the tripod mount and the winder holes are unobscured and aligned and trim as necessary. This is where you need the winders mentioned above. Use them to enlarge the holes just to fit, and make sure the holes on the film holder and the back align. Adjust as necessary. The whole point of the winder collars is to cover a little error here, but it's best not to tempt fate. That may require clamping with rubber bands even if you are using double sided adhesive. Note that there are little flaps on the sides of film holder that get inserted inside the back.
Fold the camera front. Again, the black flaps go inside.
Again taking precautions with waxed paper if you're glueing, fold the front of the camera over the back, with the film holder and reels in place, with the winders inserted with the collars between the two parts. (I forgot when I did this picture.) Make sure you're not crushing the back or the film holder. Even if you're using double sided adhesive, clamp this with four rubber bands, which will keep it in place while you do the flaps one at a time.
If you're using glue, clamp the flaps with a few rubber bands. (Again, the winders should have been inserted for this step.)
The Shutters.
On the latest template, I've made the shutters to cover the entire front and back of the camera, but the procedure is exactly the same.
There are two shutters, a double one for the pinholes, and a single for the counter window on the back.
Cut out the shutter bases and tops for taking and counting shutters. If you're using double-sided adhesive, apply adhesive to one side of the shutter bases. Do not apply adhesive to the shutter tops.
The shutter channels should be made from two layers of cardstock laminated together. Make sure your craft knife is sharp and use multiple light strokes. If you're using double-sided adhesive, attach it to one side of the channel and cut it out. Then attach it to the other side, and cut out the empty spot. Save these interior parts for use later.
Adhere that bit of adhesive you cut out of the shutter channel so you have a bit of double layer stock with adhesive on both sides which you will use when making the shutter handle.
Using the Shutter Handle Cover to determine the size, cut a piece of this double layered, double adhesive piece. Adhere it to the shutter handle cover, and then attach that to the grey area on the Shutter Slider.
If you wish, you can mark the area on the Shutter Slider where it will be in the finished Shutter, engrave out a layer in that area, and inset the piece you cut out making the opening on the the Shutter Cover.
If you have chosen to use two pinholes, you'll have to cut the slider along the dashed line before completing the shutter. It's important that this cut is straight and smooth so when you open one half of the shutter, it doesn't pull the other one open with it. If the cut is made after the handle is adhered, it's more likely this edge will be smooth and straight. Cutting through the five layers of card of the shutter handle is tricky. Use a new blade and make sure it's held down firmly under the straight edge and use many light strokes.
Cover this edge with the pencil graphite which makes it slide smoothly.
Adhere the Shutter Channel to the Shutter Back and place the slider in place.
Adhere the Shutter Covers on the top of the Shutter Channels. If using glue, be very careful about not gluing them into imobility.
Adhere the Shutters in place on the back and front of the camera. If using glue, make sure your rubber band clamps don't move the Shutters out of place when you put them on while the glue is wet.
The Top Finder
Adhere the Top Finder Base to the Top Finder Cover aligned with the longest edge. The cover should extend out from the base by a few millimeters.
Adhere the Top Finder so that Cover extends over the Camera Front and holds it in place.
Because it would get in the way of the winders, the viewfinder and top holder are a little different on the 30mm camera.
If using two pinholes, place a beaded pin at the position of each pinhole on the sides. Make sure you cover the pointy pins on the inside. If using only one pinhole, adhere the guides in place.
The rear shutter is exactly the same size as the negative, so I generally use that to determine angle of view with the beads in the front, but you may want to put some marks or beads to indicate the ends of the negative on the side of the camera.
Mount the Pinholes.
Mount the pinholes on the front of the Film Holder. Make sure not to cover one hole while placing the other.
Lately I've been using a leather punch to drill holes through wine corks and gluing the winders in them to make something easier to grip with more effective torque. I have done this with just an Xacto knife in the past.
When loading and advancing this camera it is necessary to loosen the supply and then advance the take up in about half turn steps. It's pretty tedious loading, but advancing between frames is only a couple turns. If you try to advance past if it tightens up, you'll break the winder. Rewind it a bit and take up any slack you've created and try again. This rarely happens with the latest design and a few of the cameras just advance with the take up winder alone.
Here's a video I did loading the first Compact 45, even before I improved the loading and film transport.
As before, if anyone actually tries to build one of these I would really love to hear about it and share the story and pictures here on Pinholica. And please, if you find an error, think of a better way to do something or have questions, communicate that to me.


No comments:
Post a Comment