Wednesday, August 25, 2021

Another try with a Little Guinness


The first camera I made to try out the self-adhesive labels and double sided adhesive sheets was this Little Guinness 35mm Populist. With just a single layer of the template in the back, the white Guinness logo passed enough light to be imprinted on almost every negative. I added a layer of backing paper from 120 film to the back, and to my great surprise, I still got light leaks on some of the negatives.


It only happened when the camera was in the sun for a long time and doesn’t match the design on the packaging. I thought the front of the camera was sufficiently light proofed by the tape holding the pinhole on, but there may be a small gap. The entire interior is going to get a layer of 3M#235 Opaque Photographic tape before it gets another roll of film.

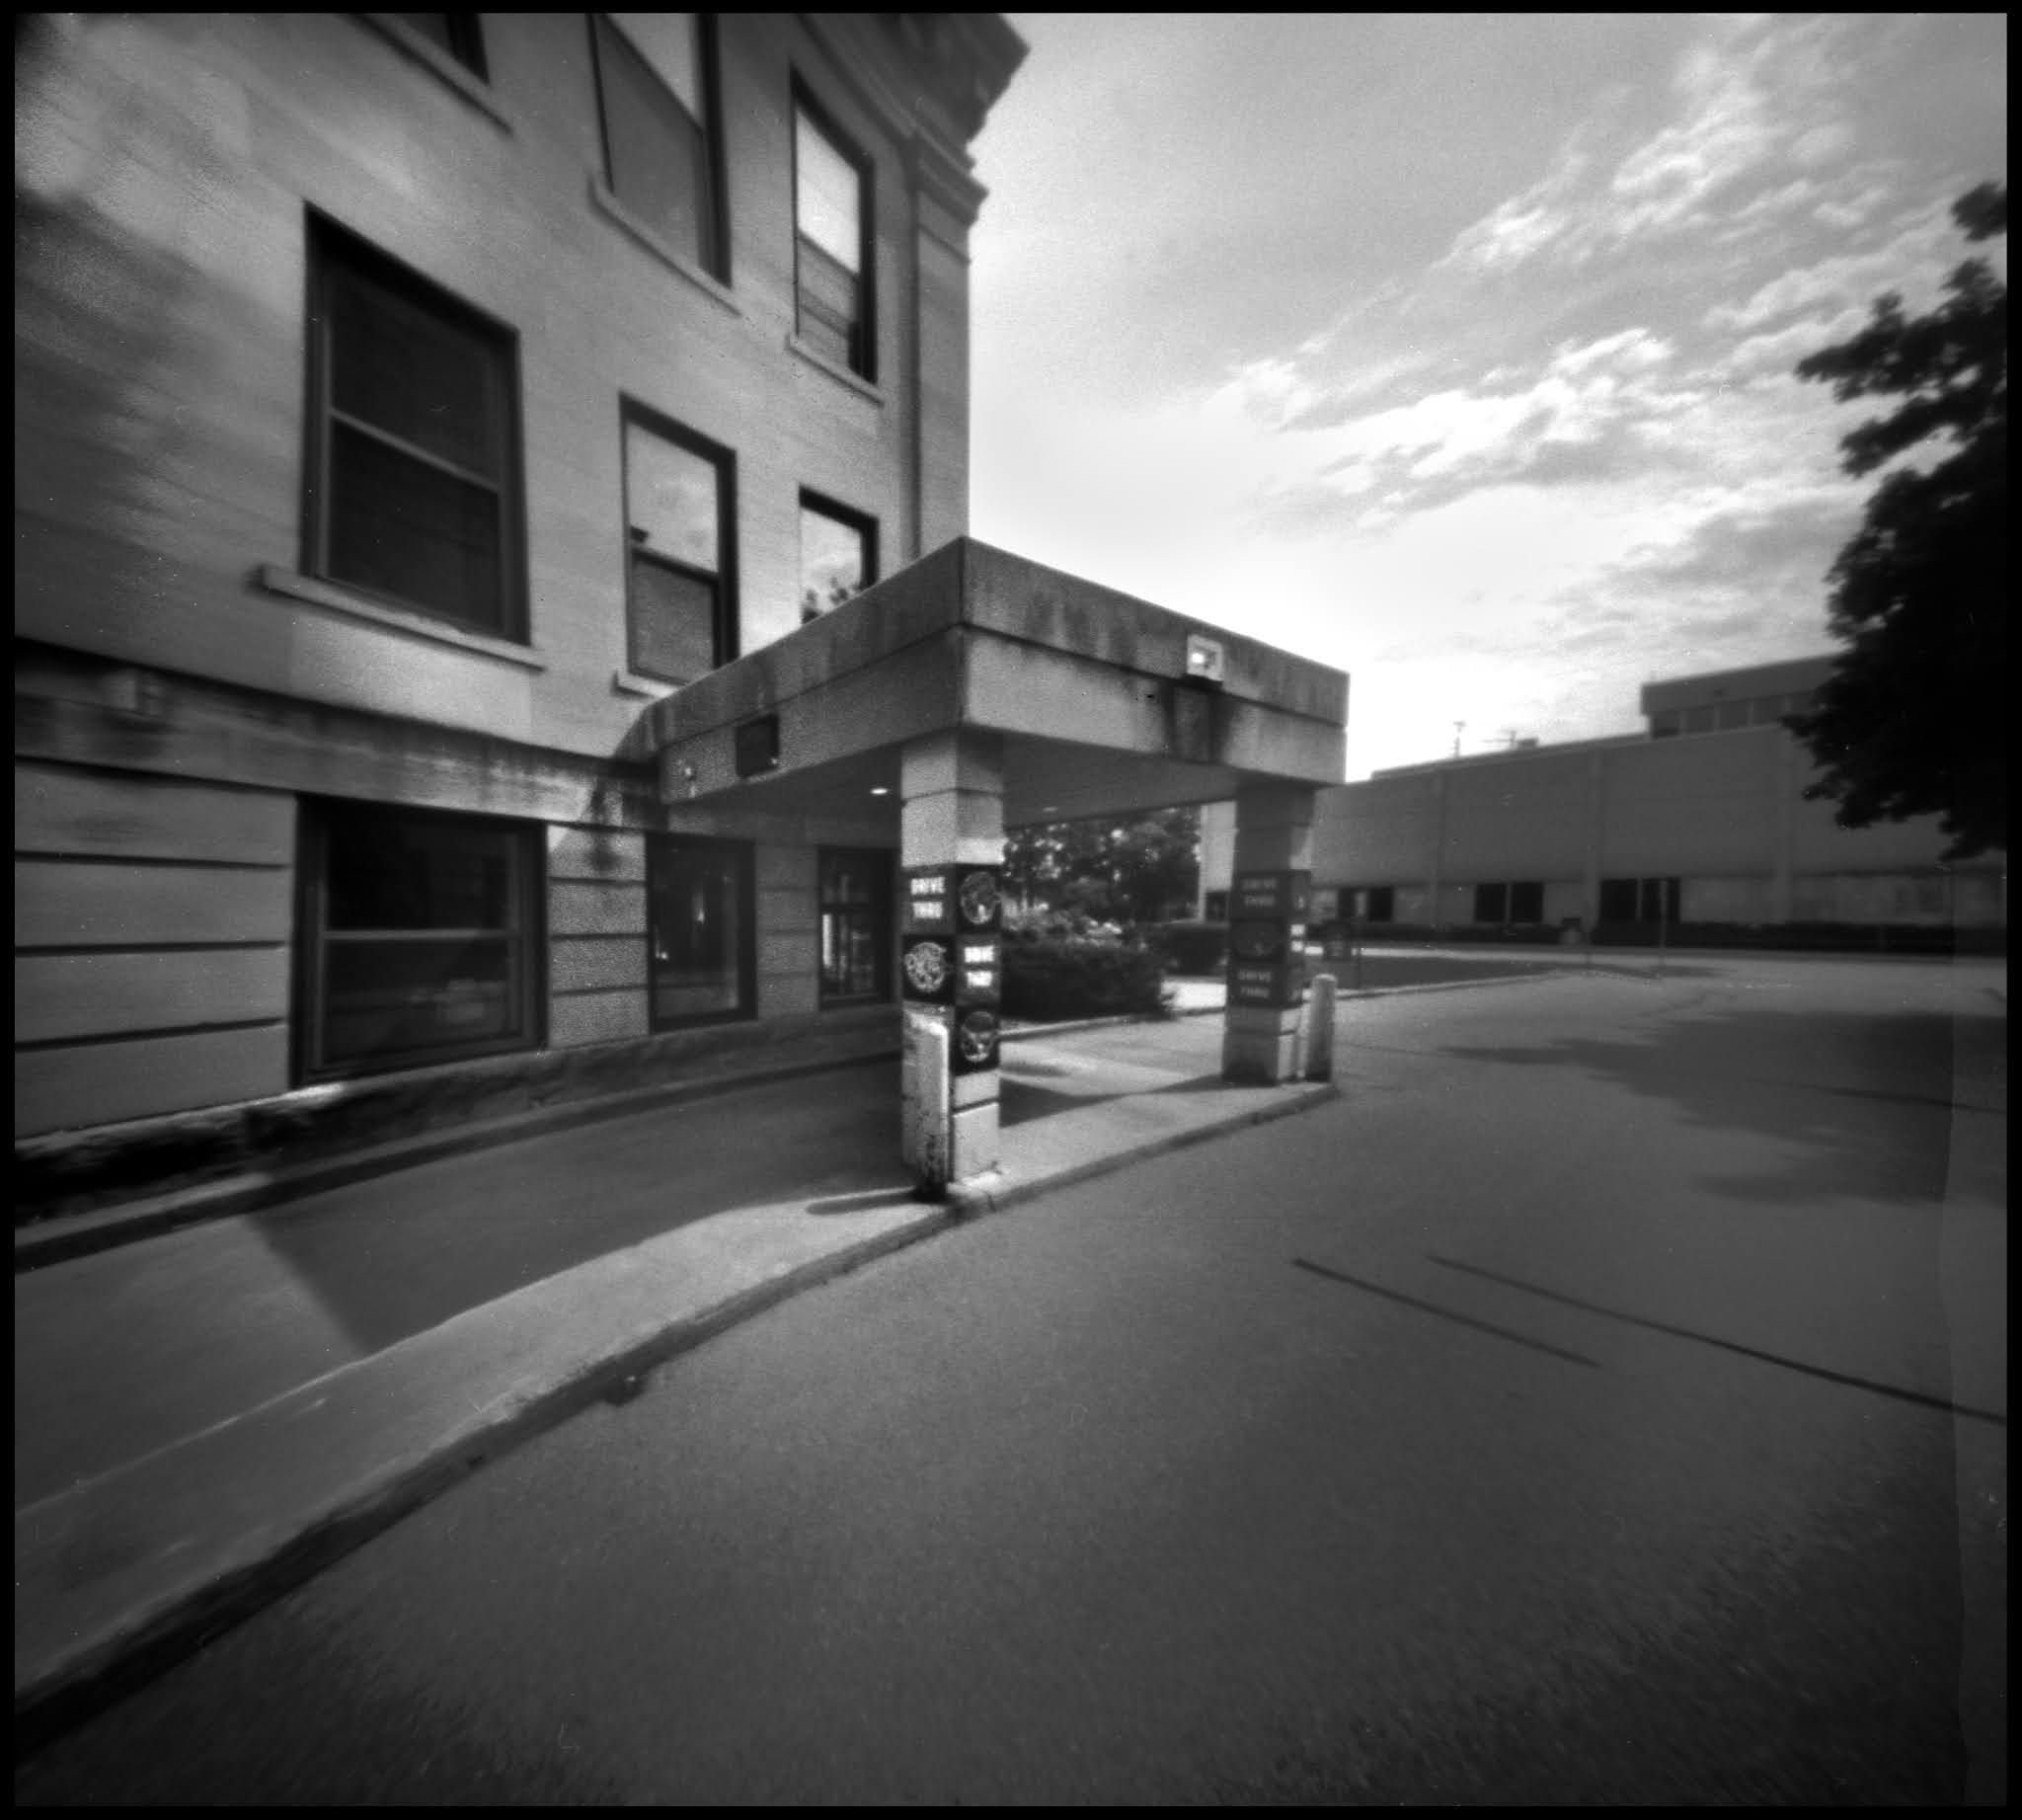
But it did take a pretty extreme exposure to cause the light leak so I did get a few images. It is kind of a nice pinhole - hand drilled, .17mm.

We went to Olbrich Gardens in Madison. They have lots of exotic flowers.

An exotic potted plant on a brick courtyard double exposed on a hen and chicks.


Andy and Kristin came for a visit. I set the camera up when were having breakfast in the dining room. Andy is completely obscured by my figure and Kristin is totally cropped off at the left!


I did a better job when we went to lunch at Beckets, on the Fox River where we could watch the drawbridge.


Another day we went to lunch at the Fox River Brewing Company which has outdoor seating on the Fox.


It’s also right next to another drawbridge. This was the middle of the week so not much boat traffic, so neither drawbridge went up while we were watching.


The main disadvantage to the outdoor seating at Fox River Brewing is you have to get your beer in plastic glasses.


We went to see the Paine Gardens nearby.


Kaleidoscopes pointed at potted plants are a popular feature in public gardens. The kaleidoscope was invented by Sir David Brewster, who was also the first person to mention that he had taken a photograph with a pinhole. This is with the pinhole held up to the eyepiece of the kaleidoscope. 


A low angled view of a stone globe decorating the paths through the gardens.


The new formal garden.


While we were there a rather large and elaborate wedding ceremony was in it’s early stages despite it being Thursday afternoon. A team of three professional photographers were taking close-ups of the bouquets. They eyed me quizzically while I wrapped the little Joby tripod around an arbor, but they kept working on the flowers.


Little Guinness has a .17mm pinhole 24mm from a 24x36mm frame. Kodacolor 200.

Wednesday, August 18, 2021

Another 120 Populist at 45mm


The first 6x6cm format camera I made was the Glenlivet Vertical Populist. It was 45mm from pinhole to film because of the dimensions of the box it was made out of. When I started working on making a new template for the 10th Anniversary Populist, my first experiment was a 6x6cm camera at 45mm. I just cut down a template for a 6x9cm 60mm camera, altered the sides and added the flaps. For the original blog post about making the 10th Anniversary Populist design, I made two cameras out of Cheerios boxes to photograph for the how-to directions, a 60mm and a 45mm. I’ve since lost the 45. I also made a 45mm Populist out of a MacAllen Scotch box for my son about this time. As a result of a terms-of-service misunderstanding I lost the pictures from the how-to blog post when the University deleted my account and I built another 45 for a new set of pictures. The first photograph done with that camera ended up in a juried art show and they wanted to display the camera along with the picture. When someone bought the picture, I included the camera with it. Pondering my next project with self-adhesive labels and two sided adhesive sheets, a 45mm Populist seemed like a logical choice.

 My original plan was to make one without any modifications to see how long it took but that’s no fun. This one does have some unique features. When I first put a second risen pinhole on the Evil Cube, I mentioned that you could use the double shutter on any of the 120 Populists, but I had never done it. It turns out the shutter template for the Evil Cube sticks out a bit above the top of a Populist, but there’s enough extra there that you can trim it off. In that last camera, I had made a shade for the pinhole so it could point more toward the sun without creating reflections off the edge of the pinhole. This new one lets me point to within 45 degrees of the sun with the pinhole in the shade. I’d never made a double shade before either.

There is one odd thing about the pinholes. When trying to drill a matched set of optimally diffracted .28mm holes, I came up with very nice looking ones at .24mm and at .26mm. I called it good and averaged them to determine f at 180. The larger one went on top because it might compensate a little for vignetting. There didn’t seem to be any unusual deviation in the exposures beyond what I usually get.

 The WinderMinder normally goes over the viewfinder on top the camera. I built it up both on the camera top and the WinderMinder for a nice straight line to sight down.

One thing you can’t see is that it’s light-proofed by covering the inside of the back with the backing paper from T-Max 100. The adhesive sheets make this sort of thing quick and easy.

The blue beads for the side finders were chosen because they were all that was left that wasn’t kind of dayglo in the assorted packs I’ve been getting white and black beads out of.

The templates for these projects were printed by DPI Printing, a local digital press. Normally I drop off a project and pick it up the next day, but these adhesive labels were run on a machine in the lobby and were ready right away. I hadn’t brought a backpack and asked for some chipboard sheets to protect them when strapped to the bicycle rack. This camera is made out of those two sheets. I had to take a picture of their shop with it. Of course I started with the rising front pinhole. One of the tripod legs wasn’t completely locked and when I went to close the shutter it moved and got a bit of second exposure for a dynamic effect.


Read Elementary is the oldest operating school in Oshkosh. Perennially in danger of closing, it was rescued by a referendum last fall.


The previous exposure on that roll of film, on that dark, cold day was this arrangement of fire escapes. It wasn’t necessary to sit through long exposures this time but for both of these had to wait for a cloud to get out the way of the sun.


Next, the axial pinhole. Water lilies on Lake Butte des Mortes.


They’ve been repairing sidewalks, curbs and driveways all around us this summer. This is the junction between the arm and the body of a small digger they left down the block.


Andy playing my Alvarez acoustic which I had played in anti-war rallies through a bull horn. He had a terrible teacher for American History in high school. To freak him out, when they studied the Vietnam War, he took it for a class report and played “Feel Like I’m Fixin’ to Die Rag.” Here he’s playing the riff from Fleetwood Mac’s “Oh, Well,” from about the same era. 


He’s had a wide angle camera pointed right in his face since seconds after his birth so he’s well habituated to being photographed and is a pinhole practitioner himself. He makes the internet for the New England Historic Geneological Society and is the webmaster for Worldwide Pinhole Photography Day (He volunteered without telling me). He plays lead guitar for Alternate Weekends.

The film is T-Max 100 semi-stand developed in Rodinal 1:100.


Wednesday, August 4, 2021

Wisconsin Amber Ultra Wide Angle


One of the fun things about the Populist design is that the angle of view can be easily changed by just making the sides of the camera a different length. For 120 film, I’ve only provided templates for 45mm and 60mm distances to the pinhole for 6x6cm and at just 60mm for 6x9cm, but it’s easy to modify them to any length.

The minimum distance is the diameter of a reel of 120 film, 24mm. The widest angle Populist I’ve ever made was Thin Lizzie at 30mm. Since ultra wide angle is something else I’ve been exploring lately, to continue my work with self-adhesive labels and double-faced adhesive sheets, I thought I’d take the next camera to the limit.


On the bottom of the camera the template can be just sliced off to the distance you want. The location of the tripod mount has to be adjusted. For the top of the camera, since the winders have to be in the back, you have to remove the space from between them and the front of the camera.


Then when you attach the template to the cardboard, you line them up again.  If you were making a longer camera, you would just leave extra room in theses places.


You also have to cut the side tabs to the correct length.


Otherwise it’s made exactly the same.

If you are doing any other length you also have to either shorten or lengthen the film spacers.

One problem I encountered that’s unique to this distance is that I made the front box just slightly too short, a bit less than the reel’s diameter. That makes for a pretty tight wind when the rubber bands are around the camera. With a longer camera you could just pry out the film spacers and trim off a millimeter or so. There are no film spacers in this camera. The film did advance but it took a little muscle.


The WinderMinder extends the entire width of the camera so I put the viewfinder on top of it. Since it’s so wide angle, to make sure the shutter didn’t get in the picture, I made it with only two layers, as in the Pinhole Lab Camera with the camera front acting as the back of the shutter. It was really easy to do with the double faced adhesive by taping the slider in place in it’s channel from the outside to keep it lined up. With glue there’s always a danger you’re going to glue it shut. The advantage of three layers is you have a finished working shutter before you stick it on the camera.


For lightproofing, I just used one layer of card on the back of the camera, but two layers of the template. With the opaque backing paper of the film, that seems to have worked. I didn’t see any imprint of the map of Wisconsin on the negatives.

It was an extraordinarily still day when I got it finished.

A cabbage head just developing.


Vignetting is always an issue at this wide an angle so a white pumpkin among the dark green leaves wasn’t the best choice.


Down the garden path again.


I’m still having trouble pre-visualizing what I’m getting a lot of the time. I was concentrating on the arrangement these trees made behind the rocks, but the expansion of depth changes the composition. It also seems the difficult winding leads to some curvy film occasionally.


A concrete table in dappled light in the courtyard behind the Beech Building.


The drive through pickup at Planet Perk. I had to do this from the curb. There was a barista watching me or I probably would have gotten closer.


The back of a clearly labeled pub. The camera pretty level and square to the wall for this one. The tripod legs were closed as much as they could be without it falling over in order to get it a few more inches off the ground. When I was collapsing the tripod and putting it on the bike, a heavily tattooed couple on motorcycles pulled up and went in but didn’t seem to notice me. Andy's band use to play in this place.


Extreme wide angle combined with over exposure and a warped piece of film can give a psychedelic effect, if you know what I mean. 


With a  hand-drilled .22mm Pinhole 24mm from a 6x6cm frame. The film is T-Max 100 semi-stand developed in Rodinal 1:100.