

For a future project I needed to practice processing stereo views. There were a few other things I was curious about. The stereo effect is based on parallax which gets smaller with distance. With a wide angle camera, which makes everything seem farther away, you have to be very close to get the 3D to really pop. I'm interested in stereo views of buildings, which you have to be kind of far away from to include the whole structure in the picture. A way to get around this is with a narrower angle of view that has a compressed perspective so depth isn't as obvious and you have to get farther away to get the whole building in the picture as well. The solution is to have an extended baseline between the images in your stereo pairs.
This can be done with two cameras very carefully placed so they're at exactly the same height, or by taking one picture after another, moving a single camera between exposures, again being very careful about being at the same level. I wondered if I could a make a stereo camera with an extended baseline. The most common baseline for medium format stereo cameras is 6cm, which matches the distance between our human eyes and is conveniently accomplished by placing two 6x6cm chambers right next to each other.
By spacing those chambers separated by exactly one frame, you can make pairs on every other negative and get a 120mm baseline. For example, frames 1 and 3, then 2 and 4. Then you have to advance to frame 5 for a pair with frame 7 and so on. This is how it's often done with 35mm stereo cameras to achieve the normal 60mm baseline. I made two cameras - at superwide 90 degree 30mm, and "normal" 36 degree 90mm.

You only need one counter shutter. I accidentally put the counters on opposite sides, but it doesn't make any difference as long as you advance to the right number.

In order to get it loaded you have to extend the paper out a little longer than the arrow on the backing paper indicates.

I also had lots of other irritating problems with flare, sticky shutters and bumping the camera trying to open and close the shutter. Almost all of the pairs had some kind of issue.
I'm going to display them here in two formats, arranged for crosseyed viewing and as anaglyphs.
My favorite format is crosseyed viewing. Crossing your eyes makes a double image. When the left and right images meet in the middle, you refocus on some element in the image and see the depth. Because your eye muscles can adjust the overlap of the images, it's very forgiving of images that aren't perfectly matched and kind of tricks your brain into seeing depth even where the images don't overlap. It's also in full color, which if the images don't exactly color match is blended together by your brain. Here's a lesson with simplified graphics to learn how to do crosseyed viewing.
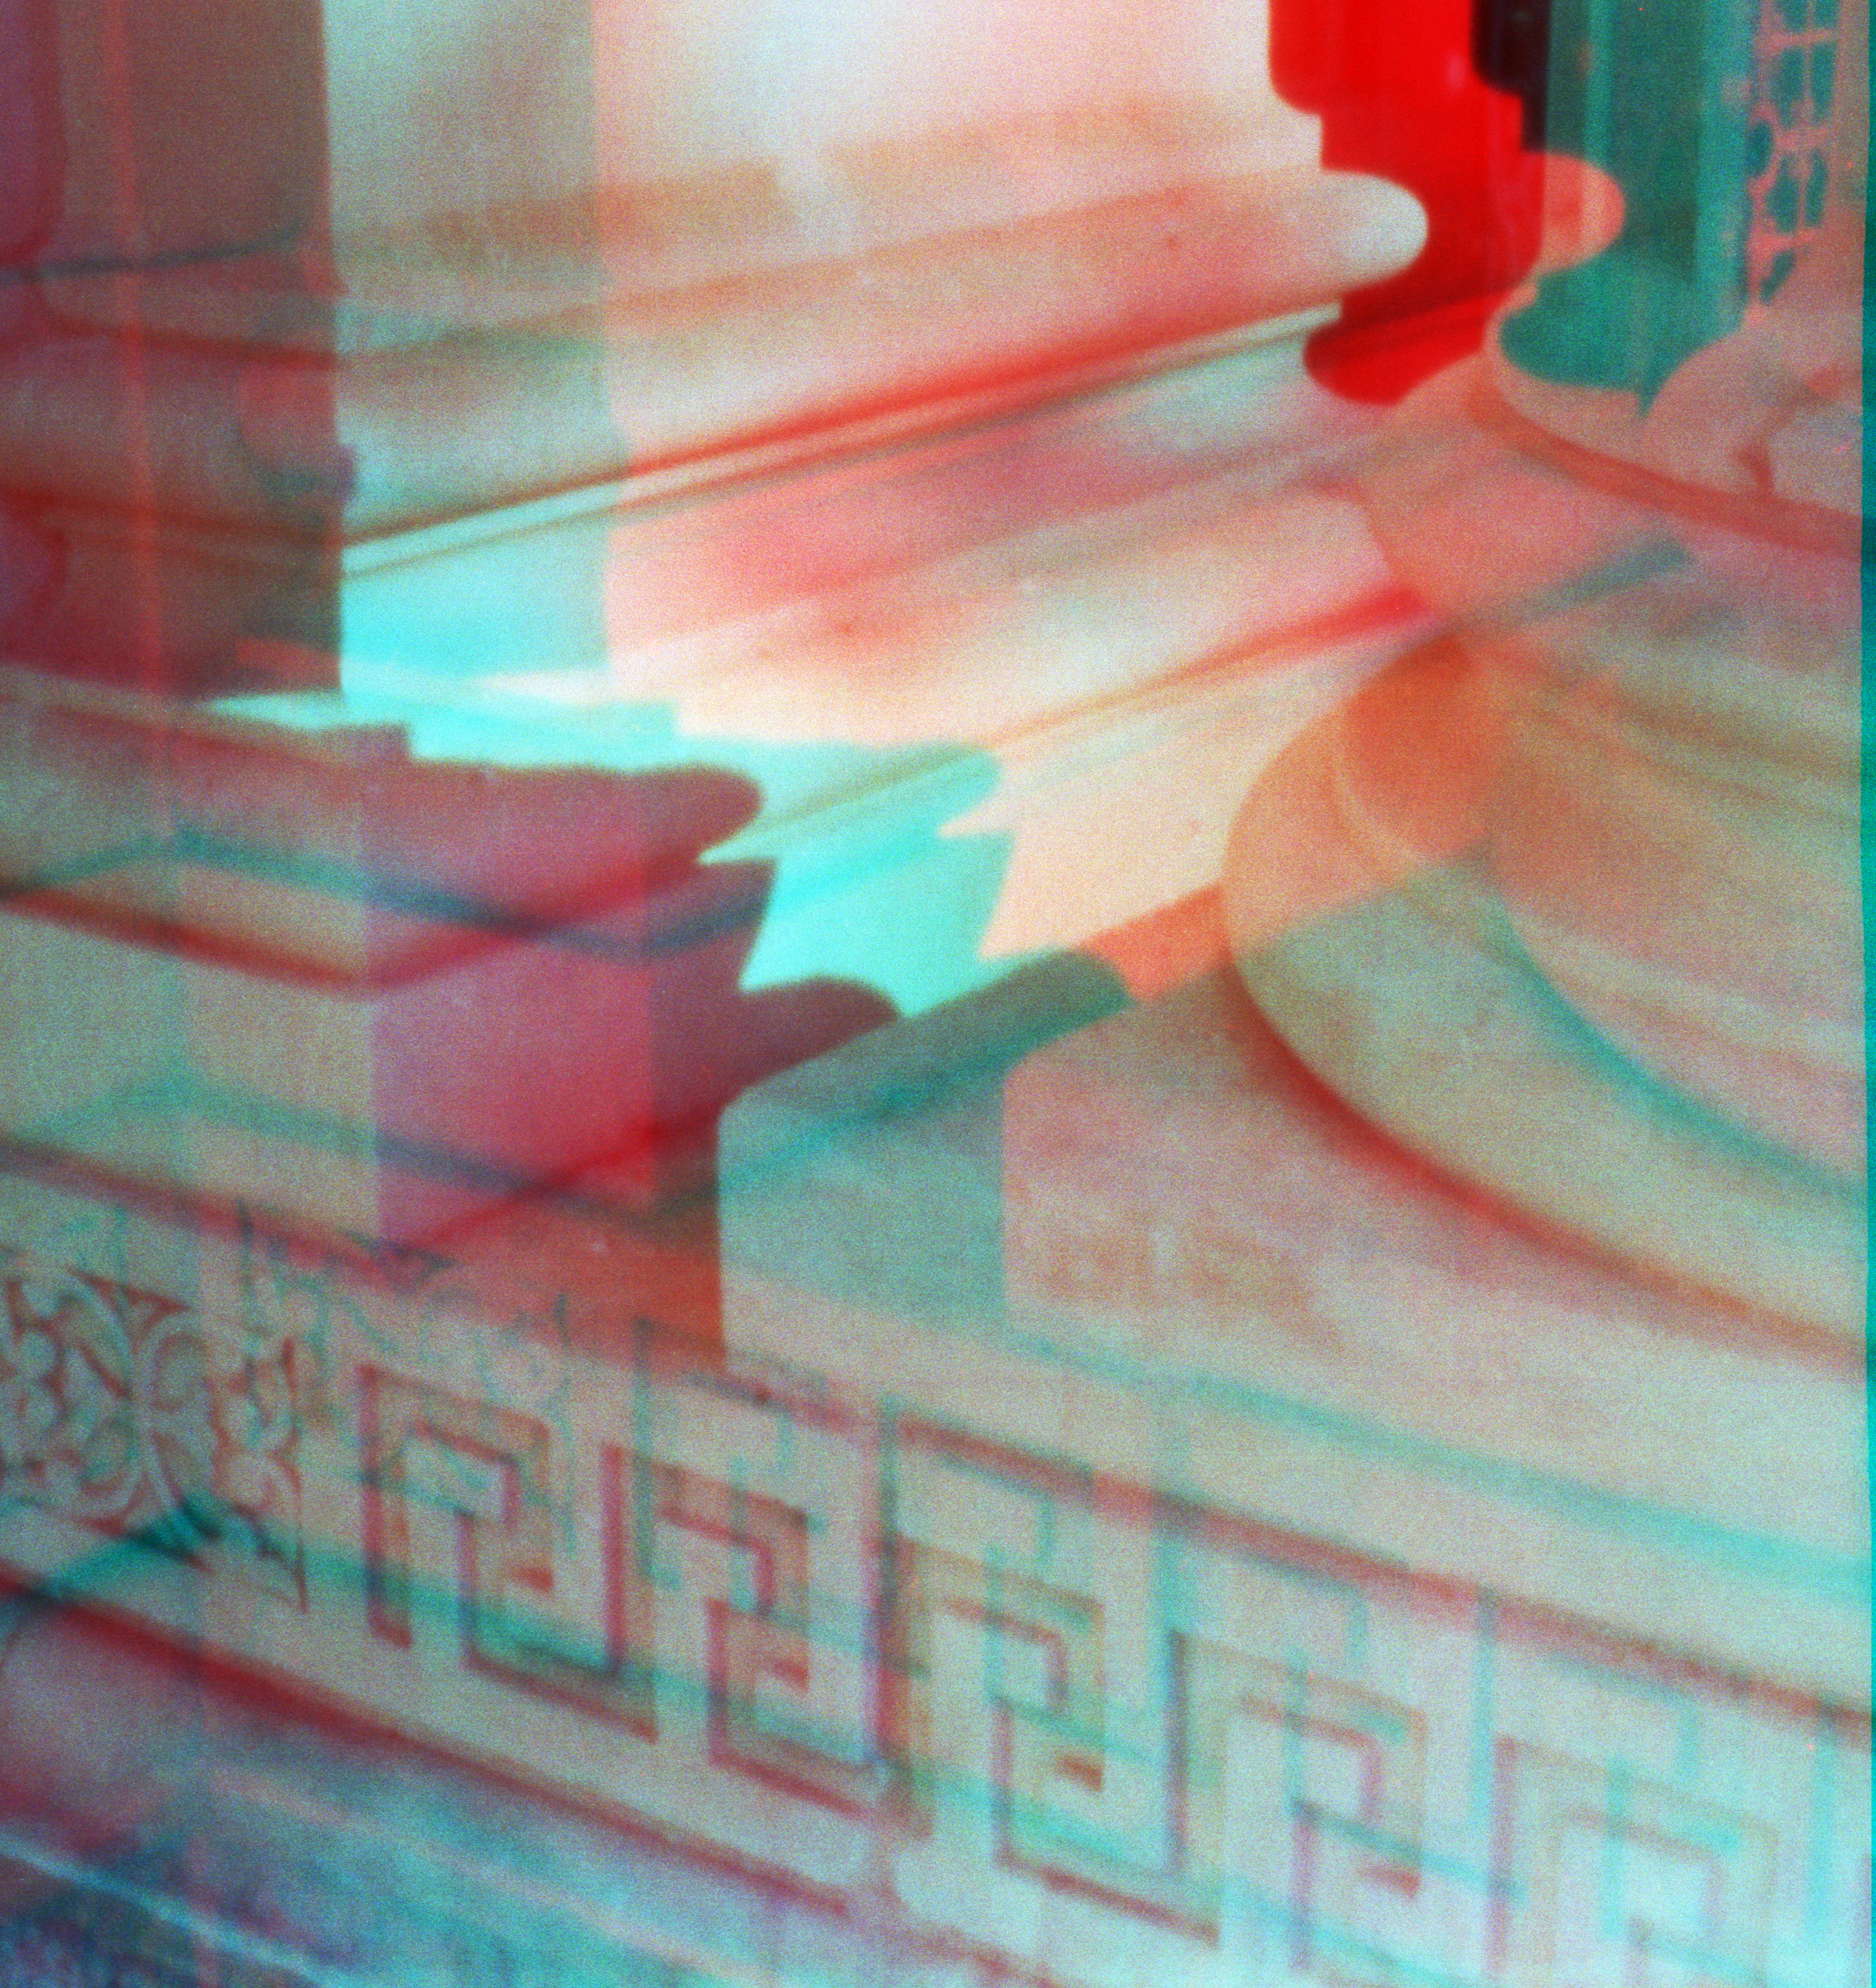
The second method is color analglyphs where the left image is rendered in red and the right in cyan. By wearing spectacles filtered to allow just one eye to see each side of the pair you can see the depth. I was curious how this would deal with color images. Turns out not very well, you get at best a very faded version of the color image. I eventually learned to improve color by increasing contrast of the anaglyph generated by Anaglyph Workshop. With a lot of experimentation I could probably learn to edit the original for better color. Anaglyphs are also very exacting about alignment. It doesn't take much misplacement of the pinhole from the exact same position in front of the film so the two images aren't exactly the same. This was difficult especially for the extreme wide-angle camera where everything is a little exaggerated. I also made the chambers on that camera a little too wide and they overlapped with the image next them which gave the scanning software fits. This all required a lot of cropping and aligning to get a decent anaglyph.
If you've got some kind of 3D headset, you can do parallel viewing or if you want to print them for classic stereocards, here's a PDF of a slide show of the pictures in parallel format.
First the 30mm camera.
Leon's Frozen Custard. I thought it might be interesting to see the depth in the reflections on the windows.


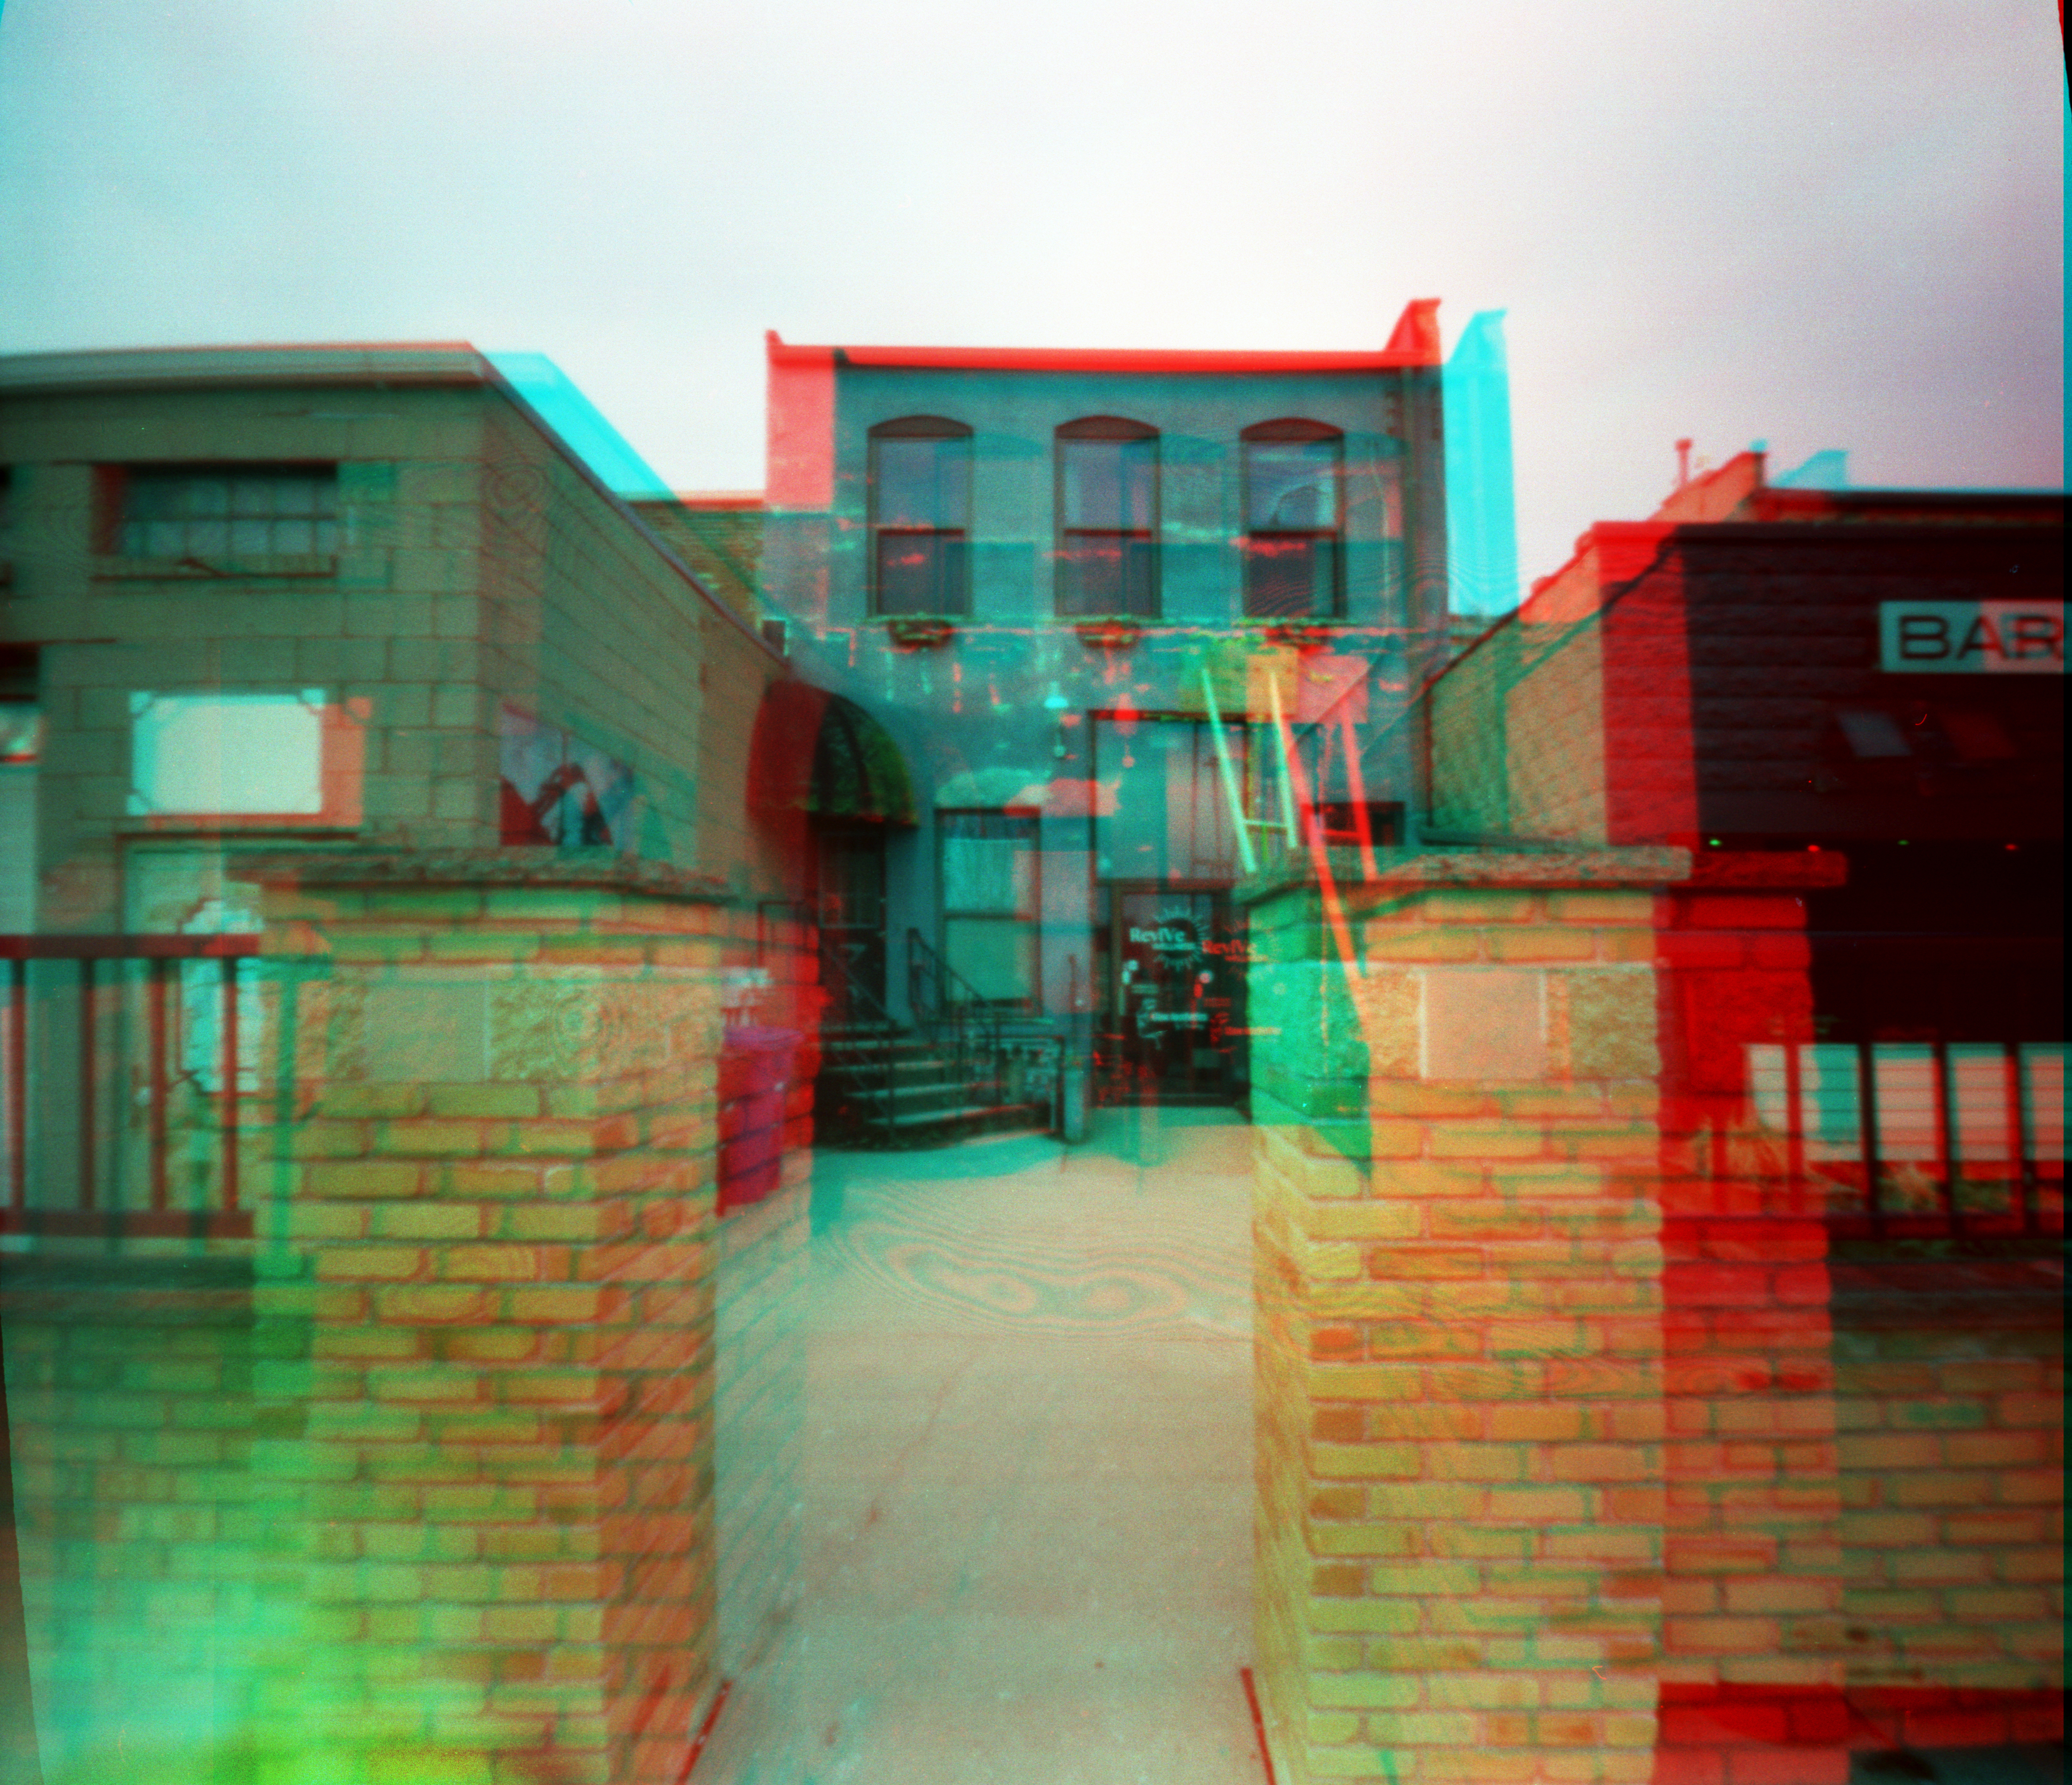
The sunken courtyard of The Public Library.


Behind the 400 block of Main. The minimum distance for the stereo effect to work is supposed to be 30 times the baseline which in this case is 3.6 meters, but the wide angle exaggerates depth so I should be able to get closer. I was only about 2m from the pillars. Really makes the 3D pop when you have objects this far in front of the others.

I had worse luck with the 90mm camera. I thought this rather subtle arrangement of planes would be a good test for the extended baseline.


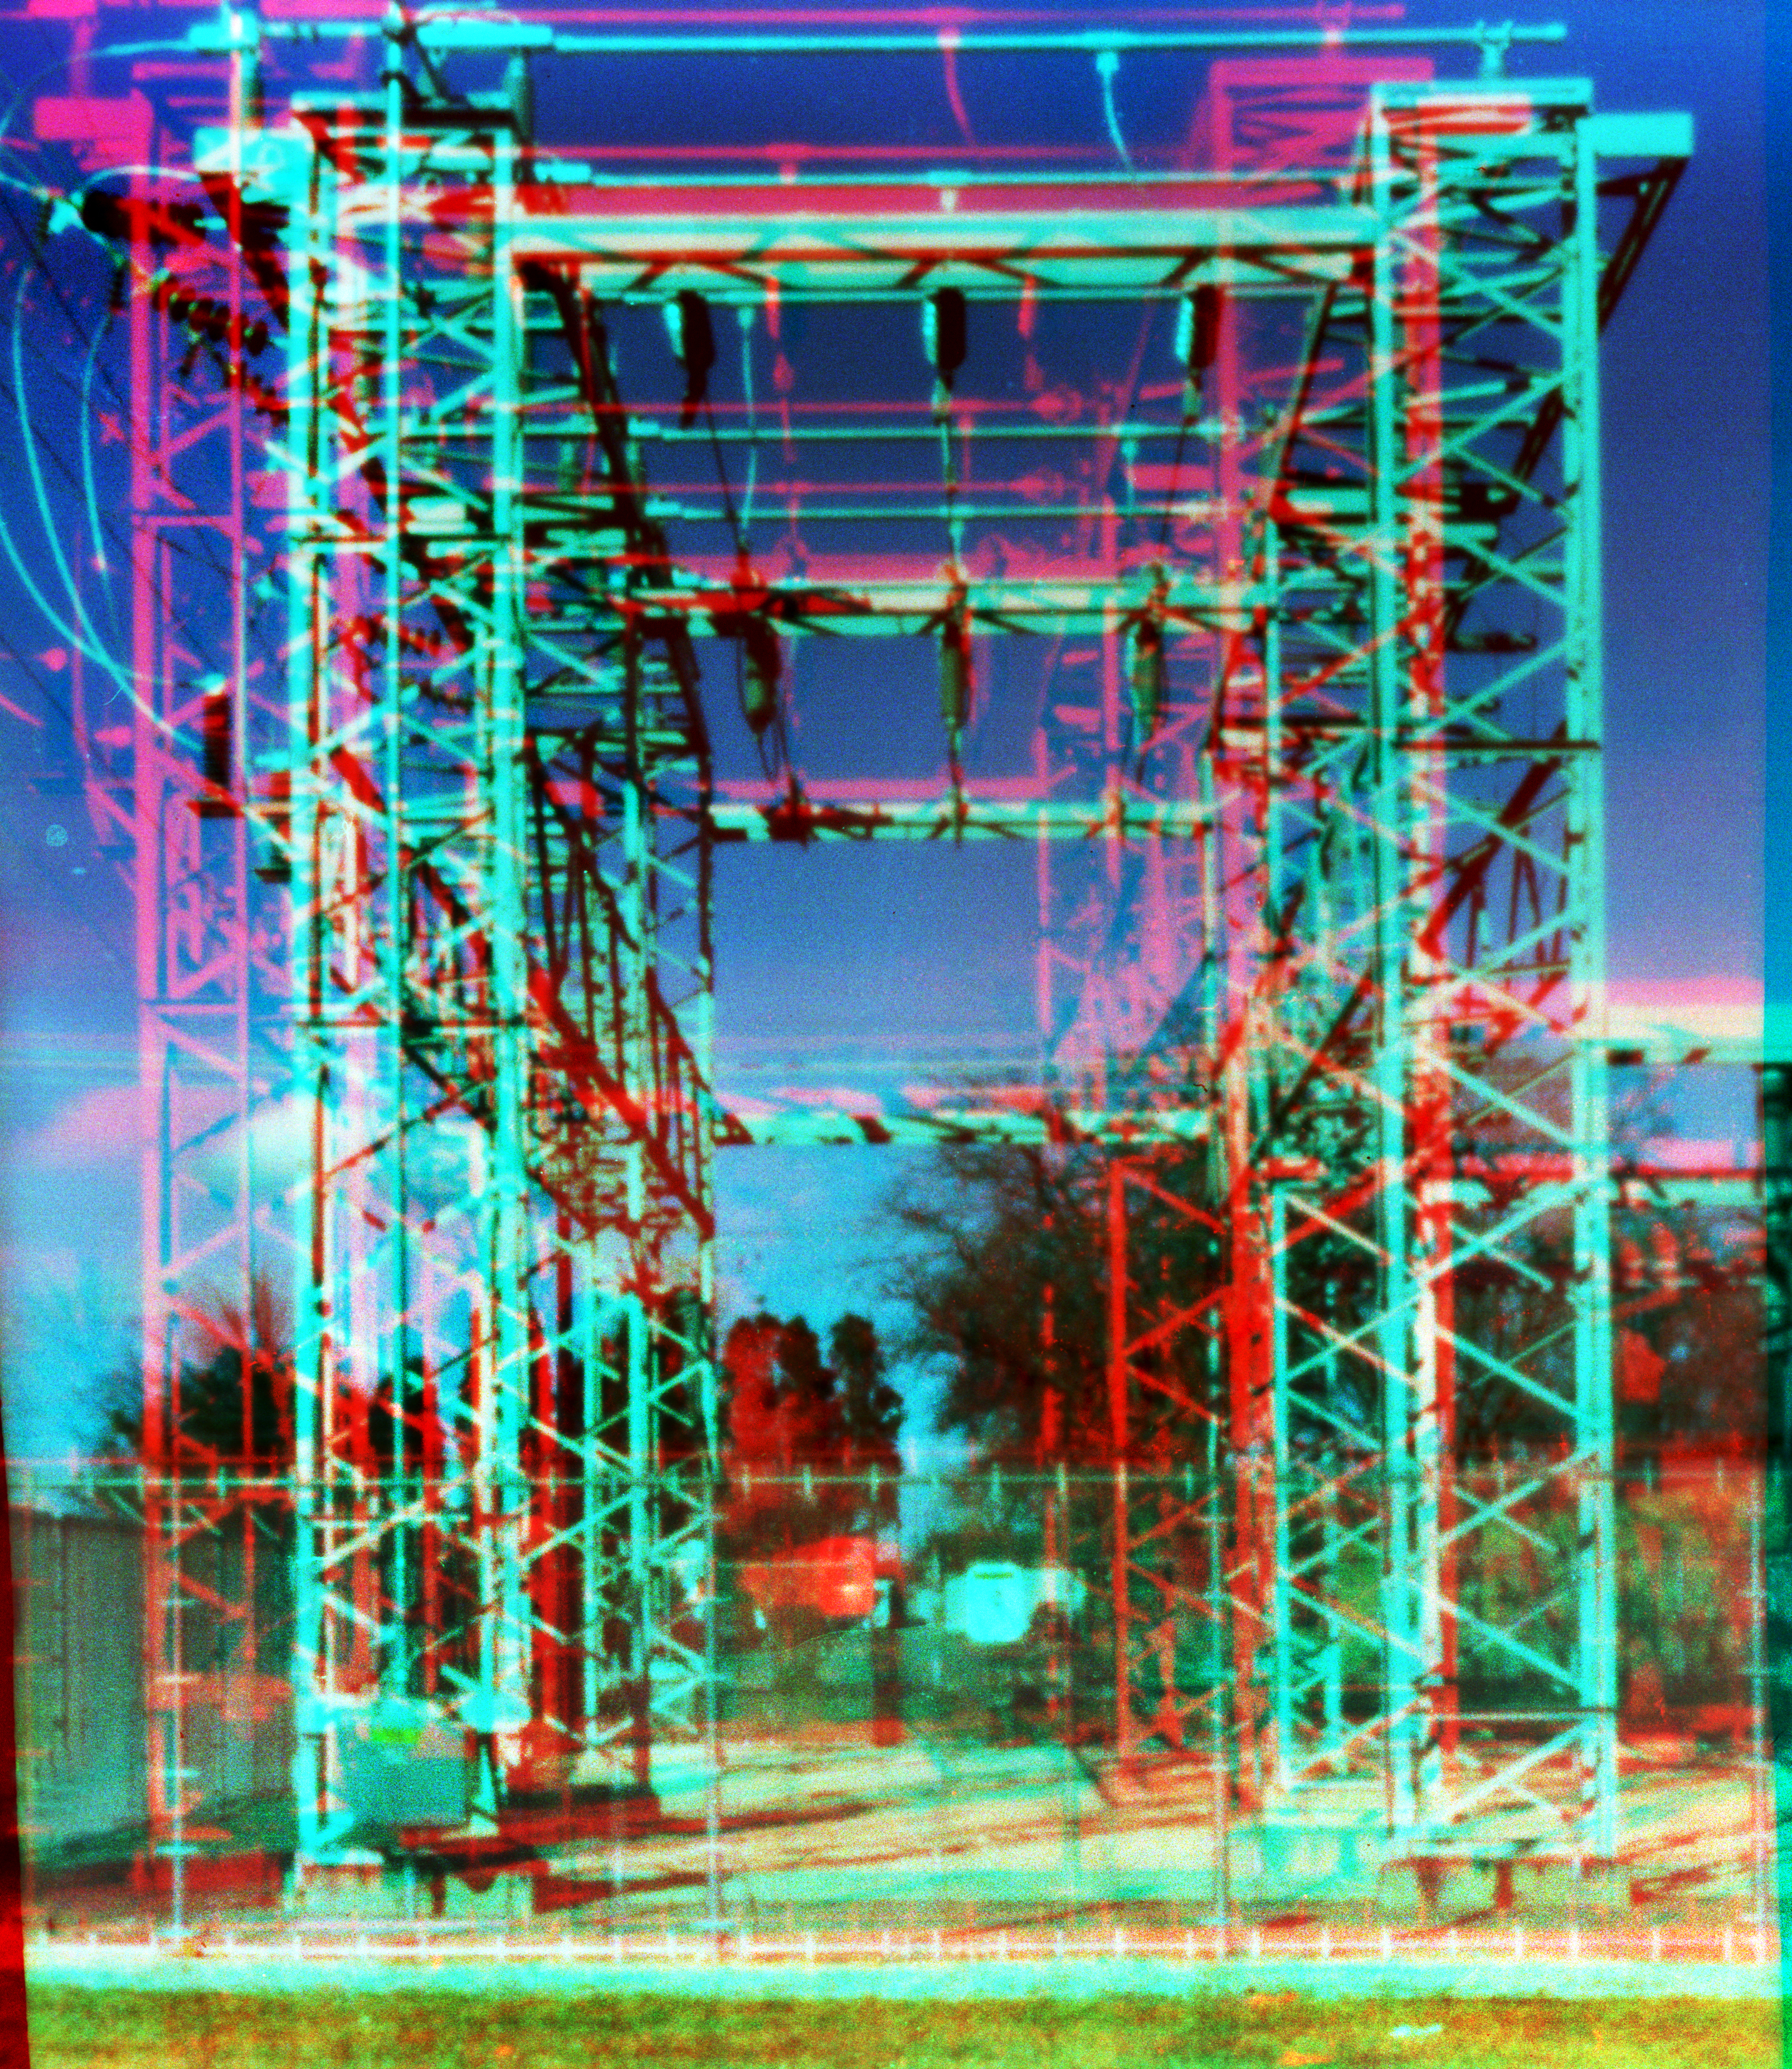
I had to race to catch the light on the railroad bridge, which I won, but it might be too far away to perceive much depth even with the extended baseline.


After some surgery to correct a blocking shutter on the rising pinhole of the wide camera, tightening the supply film bays a little and adding a little extra lightproofing inside, I reloaded them in total darkness.
Then I taped the floppy tops of these extra wide cameras closed and doubled the number of rubber bands. I still had some unexplained anamolies, but a much better success ratio.
From the wide camera.
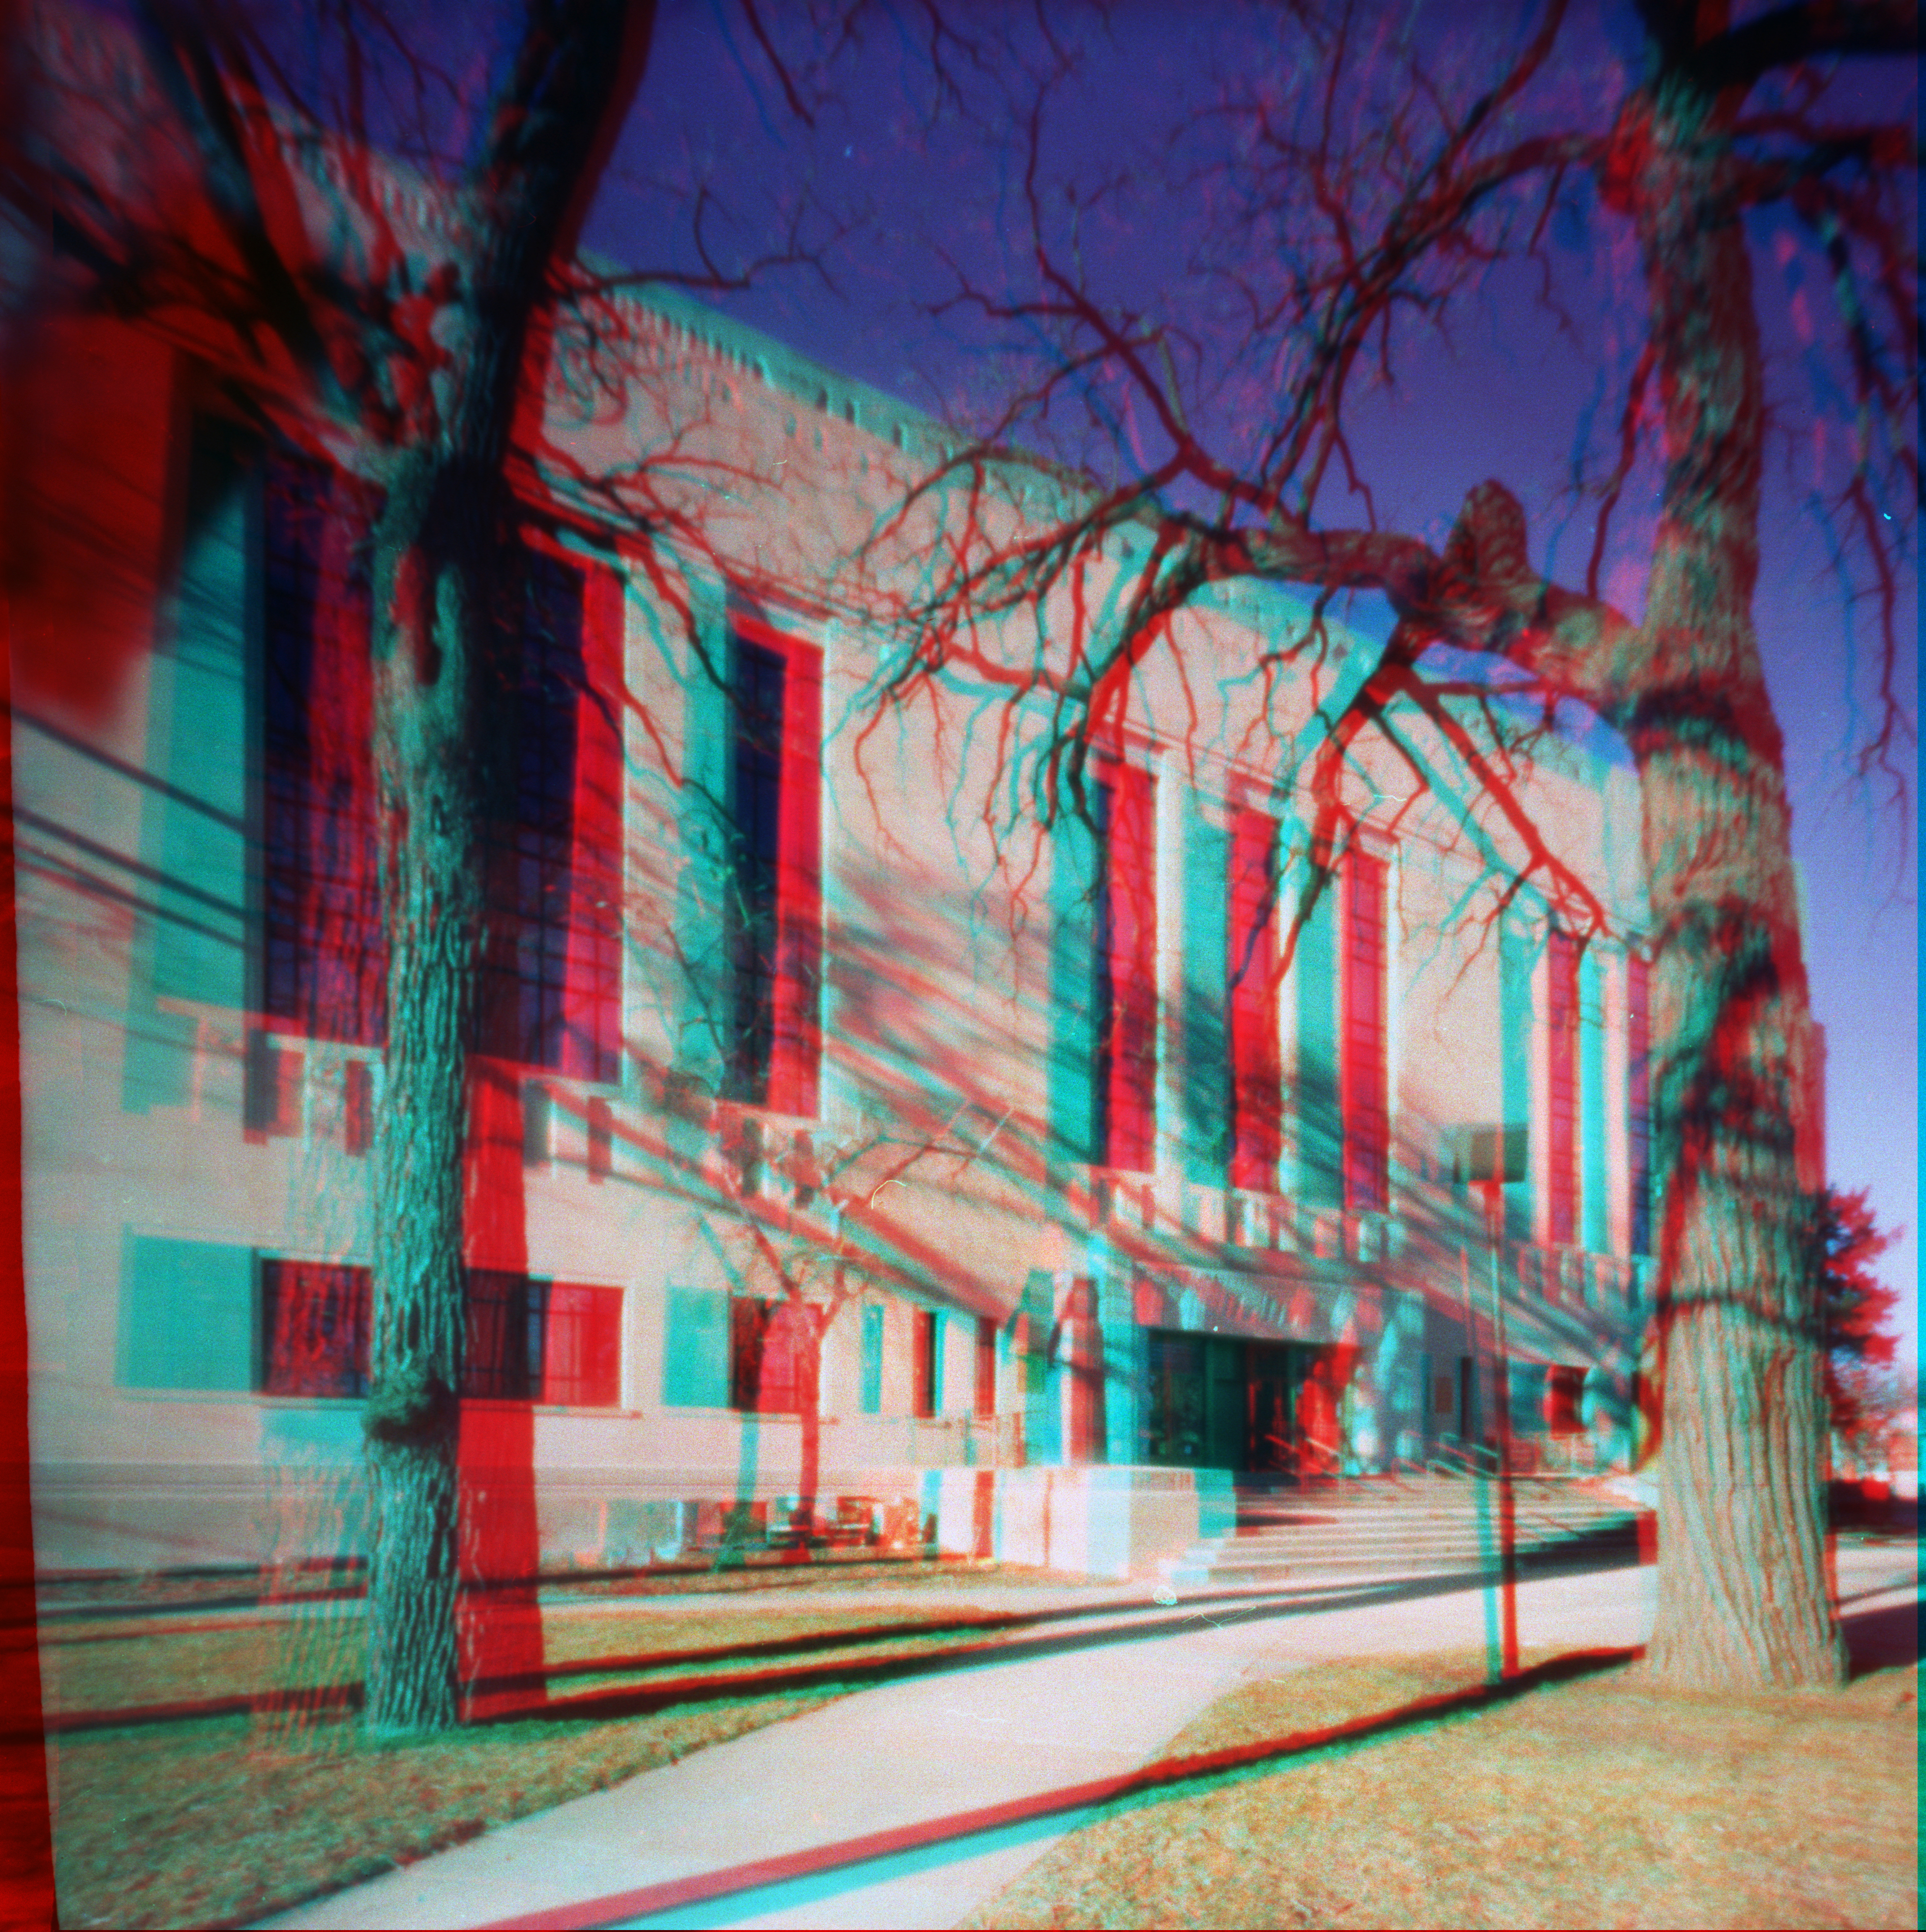
The bushes in front of the convention center should pop out nicely. This and the next are done with the rising pinhole.


Plenty of depth in my picture but not much in the ice. This view would normally be filled with trucks and ice fishing huts at this time of year.


Lots of depth to work with in the canoe racks. Again, lots closer than 3.6 meters.


The trees in the foreground are the most common kind of stereo trick, but would there be depth in the stonework? The rising pinhole for these next two as well.

There was a nasty bit of flare on the right frame which I very clumsily retouched but it doesn't seem to affect the stereo much.
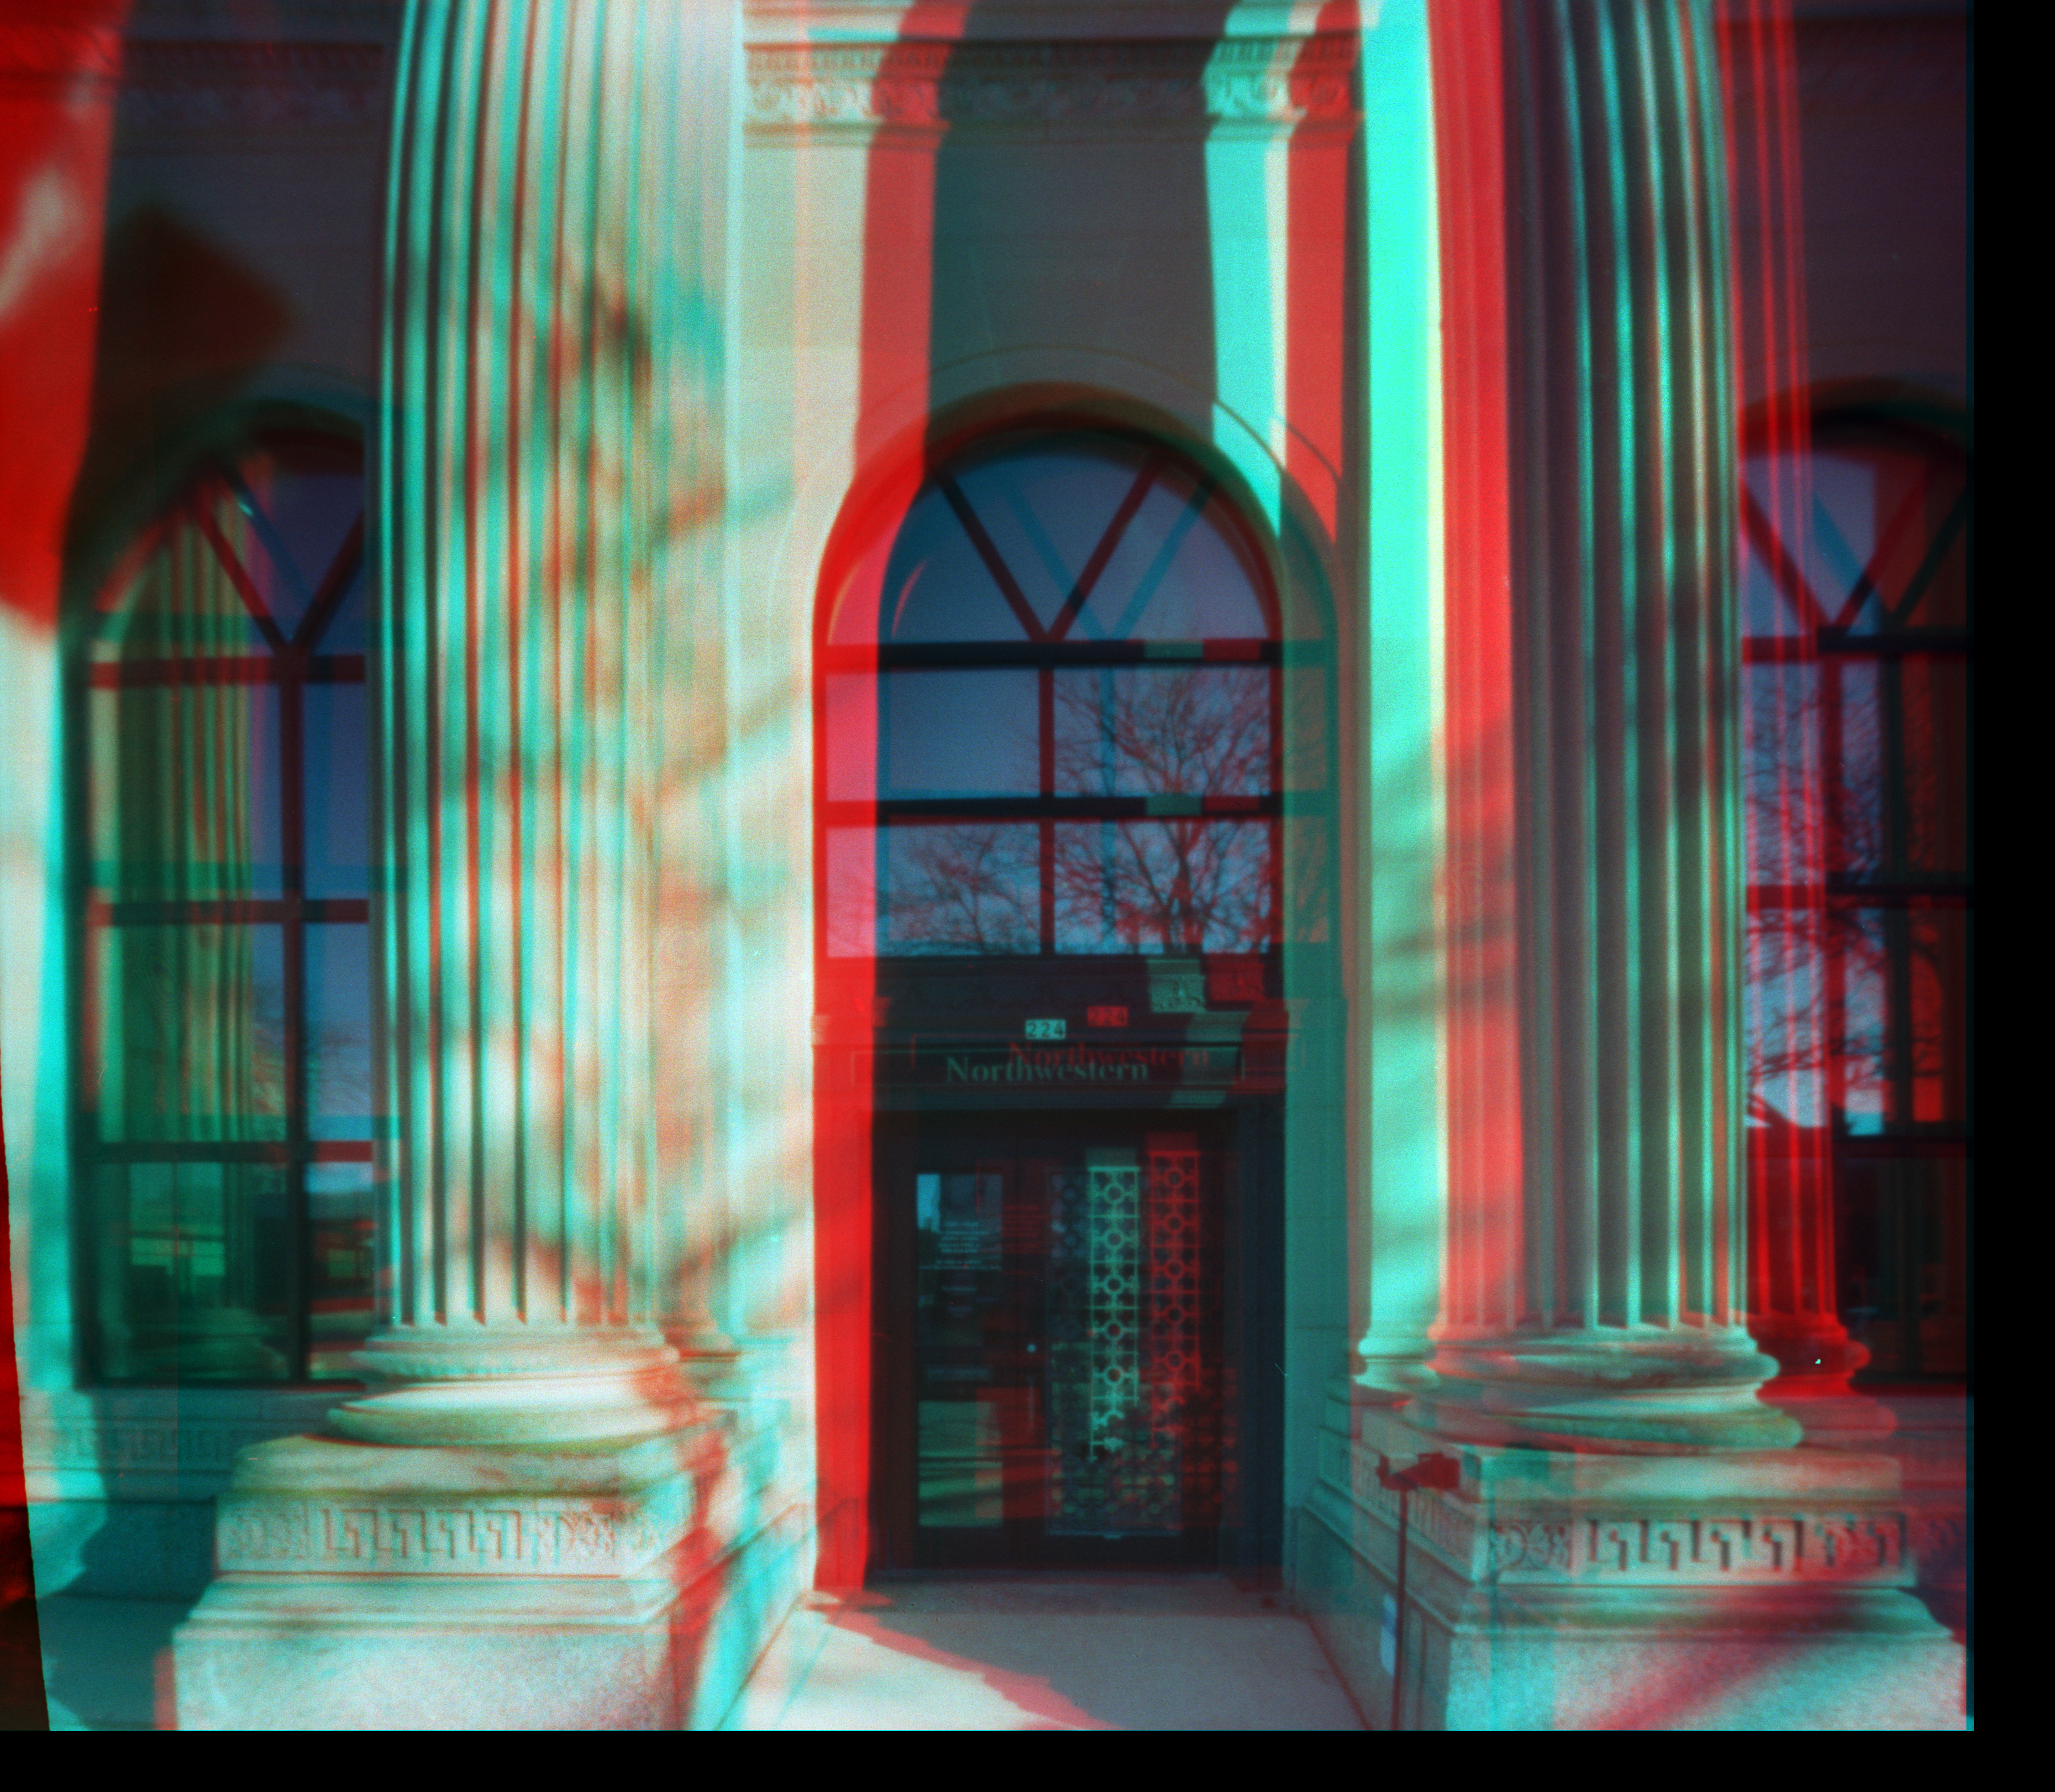
How about the long camera? More fluted columns at the Yacht Club with the rising pinhole.


More of that sketchy ice. Pushing my luck this close to those foreground wheels, but I think it works. The tripod was on a rather steep slope and somehow it was almost 5 degrees off level. Some identical cropping and rotation on both sides and realigning the distant horizon restored the stereo effect.


They had to cancel the Battle on Bago ice fishing contest but they kept up the party tent all weekend and raffled off the prizes.


It might be interesting to see how the stereo effect separates the trees from their shadows on the wall behind them. Upper pinhole again for this and the next.


I think the extended baseline enhances the stereo effect a bit, but for most architectural work of entire buildings, I think you need a little longer baseline. I should have put a pinhole in that space between the chambers and could have directly compared the views with the 60 and 120mm baselines. For longer baselines, thanks to the many factors of the number 12, you could make a camera that made exposures 2 frames apart (1-4, 2-5, 3-6, 7-10, 8-11, 9-12) or separated by 4 or 6 frames with similar schemes. Definitely have to load those in the dark. But right now my brain hurts and I think I'm going to load a regular camera with monochrome film.
The 30mm Extended Baseline Stereo Populist has hand drilled .25mm pinholes on the axis and 11mm above it. The 90mm Extended Baseline Stereo Populist has .40mm Gilder Electron Microscope Apertures on the axis and 13mm above it. The first roll through both cameras was Kodak Gold 200, the second Lomography 100. Kodaks developed in Arista.edu C-41 liquid kit, Lomos in Cinestill's liquid kit.


