Thursday, November 19, 2020

The Highway 41 Causeway over Lake Butte des Mortes

The defining characteristic of the city of Oshkosh is its location on the short stretch of the Fox River between Lake Butte des Mortes and Lake Winnebago.

The Fox River was part of the waterway that had been used for time immemorial to travel from the Great Lakes to the Mississippi River.  In 1831, as more settlers from the east began moving overland, James Knagg began operating a ferry just downriver from where Lake Butte des Mortes narrows into the Fox River. More recent settlers congregated further down stream near where the Fox flows into Lake Winnebago. In 1847, a float bridge was built at the site of the current Main Street Bridge. 

In 1955, U.S. Highway 41 was rerouted to bypass the city to the west. This required the construction of a causeway over the eastern end of Lake Butte des Mortes. In 2013, the highway was expanded to six lanes and a recreational trail was included along side it. I cross the river on this trail several times a week on my bicycle.

When I made this image, the wind was blowing across the lake at a sustained 25 miles per hour and the temperature was hovering around freezing which created these crystalline bases on the vegetation on the shore.


The trail begins where Oshkosh Avenue goes over the highway, with a wall decorated with reliefs depicting recreational activities of the area.


The trail itself is designated as The Tribal Heritage Crossing. There are 14 overlooks with displays featuring the stories of the Native American Tribes of Wisconsin. The one dedicated to the Menomonee Nation includes an illustration based on a daguerrotype of Chief Oshkosh, after whom the city is named.


One of the displays is a sculpture representing “an offering fire that provides light and direction for all who visit.”

Most of the overlooks only have the informational kiosks, but the one for the Lac du Flambeau Band of Lake Superior Chippewa includes a miniature version of the offering fire.


The three bridges along the causeway each have a theme depicted by the decorative railings. The northernmost repeats the fire theme.

The center one is the Water Bridge that someone has attached this handmade cross to. A worker was killed when a crane collapsed constructing the bridge so it’s possibly a memorial.


There are two “fishing trails” which lead down to the water on either side of the central bridge. The one on the south side includes a path underneath the bridge. The first two bridge supports are decorated with motifs representing the reeds and wild rice which historically filled this part of the lake.


The rest of the supports are decorated with the species of fish common in the area.


In addition to fishing from the shore on these trails, it’s not uncommon to see boats anchored next to the bridge.


The causeway not only carries the most people across the Fox, it’s also moves most of the electricity over the river.


It takes a pretty massive chunk of concrete to anchor those towers to the ground.


Despite the huge amount of power overhead, something is being powered by this little solar array.


This pleasant little recreational trail is just feet from heavy traffic moving at 75 miles per hour.


They built a causeway instead of a bridge because Lake Butte des Mortes is mostly a very shallow marsh.  The maximum depth is only 18 feet and most of it is less than 6 feet.


Near the northern end of the causeway is this little island.  I’ve often wondered whether it was a natural feature or a remnant of the logging industry that used the lake to store rafts of logs brought from upstream on the Fox and Wolf Rivers, or possibly from the construction of the causeway.

All with the Variable Cuboid at 35, 45, 60, 100 and 200mm from a 6x6cm frame on Tmax 100 semi-stand developed in Rodinal 1:100.

Tuesday, November 10, 2020

Before f295: The Pinhole of Nature.

A couple things happened recently that inspired this post.

First of all was that someone just created a Facebook Group “Photography Books and Theory.”  The purpose of the group is to share books of photographs and about photography which participants have found useful and inspiring.

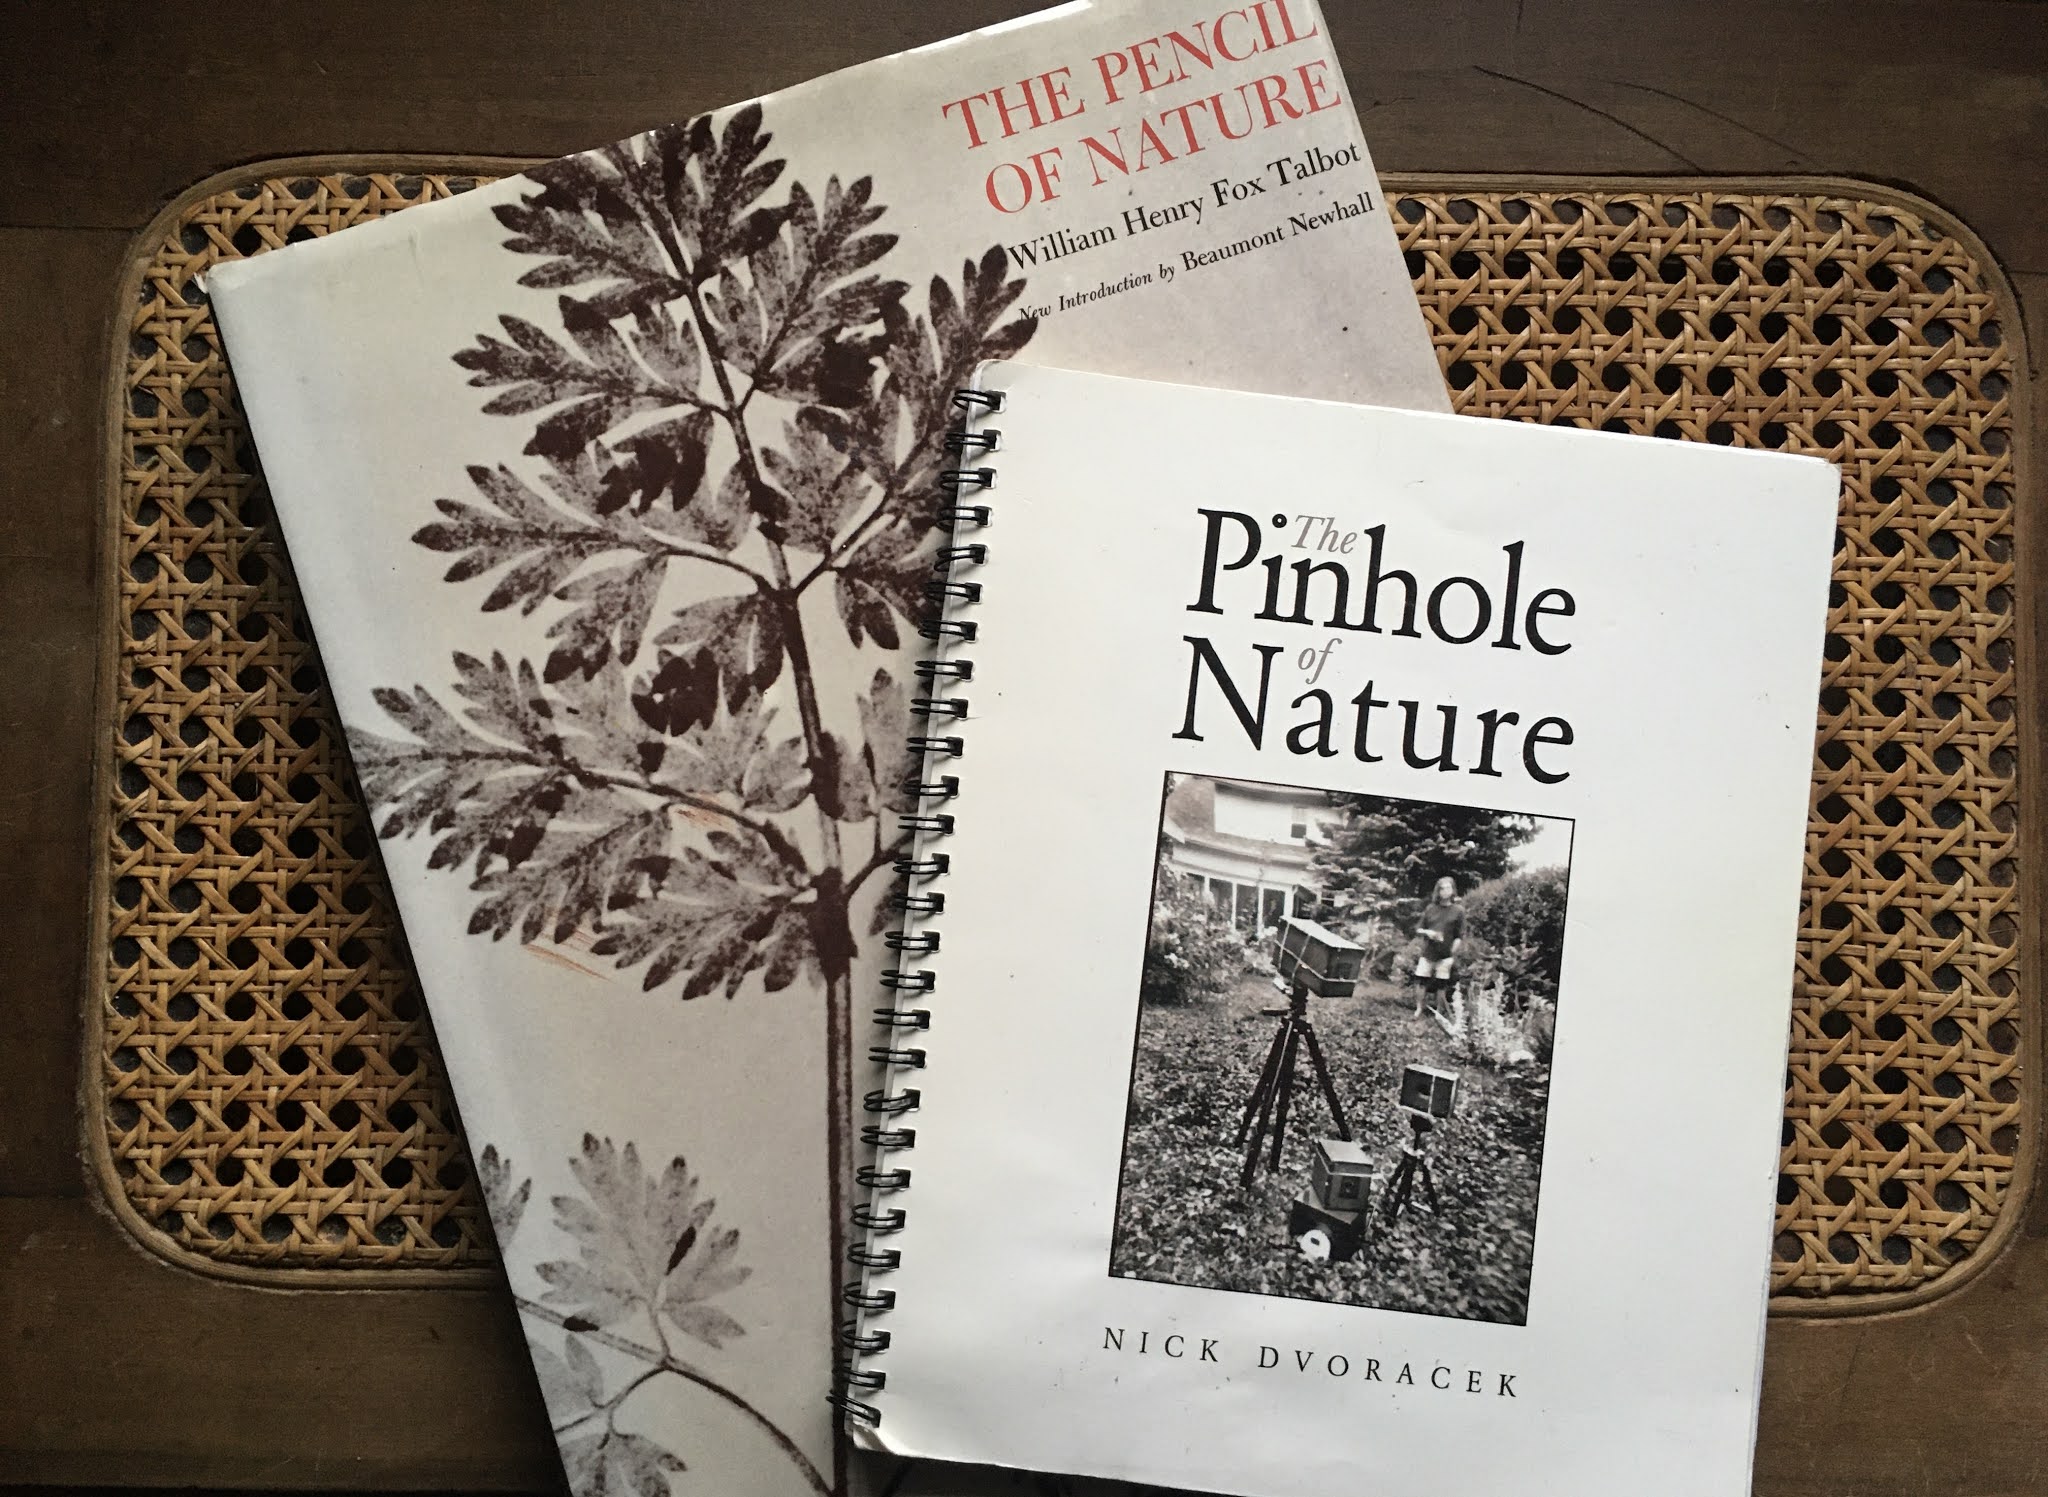
I immediately thought of the first photographic book, The Pencil of Nature by William Henry Fox Talbot.  

Yes, I know about Anna Atkins’ Photographs of British Algae: Cyanotype Impressions  but that was illustrated by photograms, not camera photographs and Excursions Daguerriennes whose illustrations were engravings of Daguerreotypes.

The illustrations in The Pencil of Nature were tipped in salted paper prints from original calotype negatives by Talbot, who invented the process. Most of them are camera images but two are photograms. Talbot’s process, based on paper negatives, was often negatively compared to Daguerre’s process because it wasn’t as sharp. Hey, pinholers, does that sound familiar? I’m sure that a lot of people, if shown Talbot’s photographs without knowing where they came from, might guess they were done with a pinhole. 

Although I’m nowhere near the scholar Talbot was, I kind of relate to him because he was just trying to figure out how to do something. He was frustrated at not being able to draw. He had made some rather clumsy attempts to use a camera lucida and pondered how cool it would be if you could just record the beautiful image the camera projected. He was a member of the Royal Society, but his areas of expertise were mathematics and philology (the study of languages). He invented photography basically by just trying things out. Occasionally that included some observations that proved critical. He noticed that the edges of his negatives where his imperfect brushing created a less concentrated coat of silver chloride turned out to be more light sensitive. I sometime think that describes my approach to camera making.

One of the reasons I find his photographs inspiring is because most of them were done at Talbot’s home, Lacock Abbey, or in fairly nearby Oxford and London. A great majority of my photographs are done in my house or in the surrounding community.

I’m also impressed that even though he was one of the first persons to do it and had no formal training in visual arts, he took some pretty good photographs. I’m often inspired by them as I ride my bicycle around the city.

The Haystack, Plate X from The Pencil of Nature

The text is far from being a formal scientific paper. It’s hard for us to imagine now, but photography was totally alien to the understanding of people of the day. He’s trying to explain what photography is, how it differs from previous methods of making images and what kind of things it might be used for. One of my favorite observations is that, unlike drawings, no matter how complicated or detailed the subject, it took the same amount of effort that it took for a simple subject. He also expressed surprise that his images recorded things that he wasn’t even aware of when he took the picture.

It was originally published in four unbound sets between 1844 and 1846. About 40 complete copies still exist. I once tried to see if I could get a look at one at the New York Public Library and was told it was too fragile to be accessible to the public. The copy I first encountered in the college library I worked at was a facsimile version published in 1969. Sarah later gave me a copy for Christmas. There’s currently a deaccessioned library copy on eBay and few used copies on Amazon for a reasonable price. The local public library system doesn’t have a copy, but the University Library has the same facsimile version I have. There’s a pretty cheap paperback version on Amazon.

The Gutenberg Project has a version on-line. It’s not a facsimile, but it does include all the text and the illustrations.

Another thing that brought this to mind was my piece on my distant participation in the autumn photo walk of the League of Upper Midwest Pinholers. I mentioned that I had never attended one their events. Tom Miller reminded me that he considered the events he used to organize at the Minnesota Center for Photography as the early gatherings of the League.

Tom and I became aware of each other just before the turn of the millennium on Gregg Kemp’s Pinhole Visions email list and later the on-line forum where we shared our photographs. In spring of 2003 Tom invited me to drive over to Minneapolis to talk about my photographs and how I made them to an annual event on pinhole photography he had been organizing for a couple years at the Minnesota Center for Photography. Impressed by the statewide institution, I totally misinterpreted the nature of the event and thought I was being asked to give a formal presentation like you might see at an academic conference and went completely overboard.

Tom Miller’s photograph of my entire presentation at the Minnesota Center for Photography in 2003

In preparing what I was going to say, I thought of Talbot and his attempt to explain photography to the masses. The Pencil of Nature consists of an introductory chapter and 24 photographs with an essay accompanying each one where he tried to illustrate some aspect of photography. I decided to use that as a model. I mostly used photographs I had already done, but I did take two specifically to make points about pinhole. Most of my work at the University where I was employed was helping faculty prepare graphic materials to present their research. This was also at the beginning of the availability of print-on-demand books and I was curious to try that. I set it up as a little 84 page book with the punny title of The Pinhole of Nature.

I published it on Cafe Press with a spiral binding, the only option they had available then. I sold eleven copies. They eventually deleted my free account for lack of activity and I recently put it back up on Lulu as a perfect bound paperback. No one has bought a copy yet.

I used to have a PDF version on my University web site, but that disappeared several years ago and I never got around to including a link on the blog.  Here’s a link to the PDF.

Seventeen years later my practice of pinhole photography has changed quite a bit, but I think the piece holds up fairly well. It still expresses my answers to the questions: Why Pinhole?; What Pinhole?; and What-Me-Pinhole?

Tuesday, November 3, 2020

Making a camera with double faced tape instead of glue


Occasionally on the Lensless Podcast, when homemade cameras come up, I hear guests question the durability of cardboard and I think I can hear them wrinkle their noses when mentioning they have to use glue. Some kits I see that use cardboard to make a camera often prominently state “no gluing necessary.”

I don’t have any such prejudice against glue or cardboard. I’ve been happily making and using cameras made with them for years.

However, sometimes when I’m thinking about conducting a pinhole photography workshop which includes making a camera, the time it takes for glue to dry and the necessity for everyone to have enough clamps, seems like a limiting factor. I wondered if permanent double stick adhesives would work as a replacement for the glue.   

There are a variety of products available in sheets and in rolls of tape. Most have a release layer on one or both sides which you peel off to reveal the adhesive. There are also a variety of thicknesses from mounting foam to paper-thin. I would need something pretty flat to take the place of a layer of glue. I went down to my local hardware store. They only had two possibilities. One was dispensers of half-inch (12mm) Scotch Double Sided Tape (“No glue mess”), which doesn’t include a release layer. I thought it would be impossible to apply and handle without sticking to everything. The other was this Duck Carpet Tape. It’s described as “Tear resistant cloth” so I was concerned it would be a little thick, but I decided to give it a try. It’s also an inch and a half (36mm) wide so I wouldn’t have to apply so many strips to make a continuous layer.


I decided to use the Evil Cube Template for my experiment. It’s more complicated than a Populist so I thought that would make for a good test. To make things slightly more tricky, I also decided to make something from a package where an image could be aligned on the shutter and the camera body. I had this carton from a 12 pack of Fantasy Factory beer from Karben4 Brewing in Madison I’d been saving for a while that seemed appropriate to the season. The cardstock is a little heavier than usual and combined with the thickness of the tape it was a little concerning, but this is a test so I went with it.

I laid down strips of the tape on the template. I quickly discovered that I couldn’t cut it with my regular scissors because it stuck to the cutting edge and also left a sticky residue on the blade. I eventually found that I could lightly place it on my cutting mat, cut it with an Xacto knife and carefully peel it off without the adhesive detaching from the release layer.


One nice thing about having the separate strips is that you could peel the release layer off one strip, attach that and then continue peeling and attaching. That was much easier than trying to manipulate a large area with the exposed adhesive.


It did work, but I think a simpler non-glue solution would be to print the template on adhesive labels for laser and inkjet printers. They are available in full size sheets that come with multiple slits on the release layer so you could use the same method to stick and peel a step and a time. During the pandemic, I’ve been printing templates using the Public Library’s very excellent curbside printing service, so I couldn’t try that.

When it came to assembling the camera, it was easy to place the tape where I needed, turn it over and cut it to the edge with my craft knife.

It initially seemed difficult to work with but once I got used to it, it worked pretty well. The adhesive bonds instantly and is very strong. There’s something very gratifying about that instant bond and being able to go on working right away.

There were two worrying issues. 

It does add some thickness to things. That wasn’t really a problem with the 60mm distance to the pinhole in this camera, but with a very wide angle camera, it might not be able to make the shutter thin enough that it didn’t block the edges of the image.

The other issue with this particular carpet tape is that the adhesive layer includes a cloth mesh.

In cases where you needed a double layer of cardstock, that would also have two layers of this stuff attaching the template, a cut edge turned out to be sticky. It left little beads of adhesive at the ends of those threads. That could be a problem where you had moving parts. I discovered this fairly soon with the little stop which keeps the film reel parallel. Initially I had trouble rotating an empty film reel. I eventually covered the edge with a thin strip of tape. 

The other place where it would really be a problem was with the sliding shutter. I eventually discovered that repeated scraping with the edge of my Xacto blade could get rid of most of it and a little work with sandpaper could remove the adhesive enough that the parts would slide without sticking.

I couldn’t quite figure out how to attach a knob to the winders with the carpet tape so I just reused some from another camera.

In order to determine how well this all worked, one has to expose some film. The first nine frames I did around the house with the axial pinhole. In order to give it a proper test I had to get out in the sunshine and try out the rising pinhole.

I encountered an interesting problem that had nothing to do with the adhesive.

When I first pulled the negatives out of the wash, those last three frames looked a little dense which made me wonder if the camera wasn’t really light proof. I’ve never had a problem with leaks with an Evil Cube and with that extra heavy cardstock that consists of a double layer everywhere but the back of the camera, it didn’t seem likely that it wasn’t completely opaque. On closer inspection, the darker parts of the image looked completely clear, so that wasn’t it.

When I scanned the negative I discovered that there was a double image on the top half of each one of these negatives. I was pretty sure I hadn’t opened the lower shutter accidentally on all three pictures.

With the 60mm pinhole distance and a separate opening for each pinhole with a divider between them, it also didn’t seem likely that the lower pinhole was seeing through a gap at the top like I experienced with the ultra wide setting on the Pinhole Lab Camera.

When I mounted the pinholes, I looked from the inside and tried to get the pinhole as centered as I could in the openings. I just taped them down enough to hold them in place.


What this cursory inspection didn’t show was that the brass didn’t completely cover the opening and there was a very narrow gap at the bottom. That small slit created a second, not quite as sharp image. Enough of it was blocked by that extra thick shutter that it only exposed the top of picture.


The first nine pictures with the axial pinhole turned out just fine.

These decorative brassicas are very popular with the flower vendors this late in the season.


A candy jar full of M&M’s by the living room window.


The stage of the microscope.


Who knew that spider plants produced flowers at the end of those runners?


A little sunlit succulent in the south kitchen window.


A collection of Sarah’s makeup brushes.


The key rack by the door has an extra function this year.


The haul from the last outdoor Farmers’ Market of the season.


This was all happening on the day before Halloween. I took advantage of this pumpkin stem before cutting the hole to clean the insides.


The carpet tape seems to be a workable solution. It held up well shooting the roll of film and numerous openings of the camera investigating that double image problem.

The Fantasy Factory Cube has two hand-drilled .30mm pinholes, on the film axis and 13mm above the axis, 60mm from the film plane.  The film is T-Max 100 semi-stand developed in Rodinal 1:100.

Later edit: One problem with the double face adhesive is that you have one chance to get it adhered. If you get it slightly out of alignment, you don’t get a chance to reposition. With the small parts involved in the Evil Cube, I didn’t have much trouble, but with larger pieces it’s difficult to keep things straight.