I didn't take any pictures of their cameras or get scans of their images. If anyone has posted pictures online, please email me a link and I'll edit it in here.
There were a few notable surprises.
When discussing determining exposure from the table I provided, someone brought up Pinhole Assist, and they all installed it on their phones.
There were older Paterson reels in the darkroom, which have a wide platform to guide you into the slot and are really easy to load. On the more recent ones like mine, it is barely wider than the edge and tough to find in the dark with floppy 120 film. Why'd they change that?
Three of the participants were experienced analog photographers, two of whom were alternate methods workers. The fourth was the daughter of one of them who had been listening to her mother talk about photography for a long time. When we were ready for development, we couldn't find any Rodinal that
I had planned for, but there was a bottle of HC-110. I went out to check the Massive Development Chart for dilutions and times, and when I got back, they had found a jug of D-76 and decided to use it straight for the shortest development time. By the time it got around to me, there was only 300ml left, so I did mine at the more common 1:1 dilution. I haven't developed film in D-76 since graduate school in the UW-Stout gang darkroom.
There was a small communication breakdown. No one was around to explain how to use their scanning workstation, and there was at least one critical problem with each of the three methods available. I tried with Negative Me on my iPad, but handheld without a solid stand, it wasn't feasible either. Unfortunately, we didn't get to edit and have a conversation about the photographs.
However, we did gather around the light table and look at the negatives.
It had been a very sunny day, and other than the overall density of the negatives we expected, one thing immediately caught our eyes. There was a set of negatives that looked like increasingly wide views of the inside of the shutter.

It was initially puzzling until I was handed the camera and could hear the pinhole mount sliding back and forth inside. When fallen all the way against the back it was imaging quite a bit of the back of the shutter. I know I mentioned taping the mount in place, but it's impossible to be sure everyone has heard when they're concentrating on a task. I'll make sure to check that in future. Strange this hasn't happened before. The warping is from the film slightly spooled out into the image chamber, which from our conversations, she probably likes.
n.b. These look like really interesting pictures that would probably polish up well with a decent scan and a little editing.
I handed out tripods, but kept the $30 generic tripod with aluminum legs and a plastic head with a sort-of three-axis adjustment. Because it doesn't take much to support a three-ounce camera, I bought one to see if it was usable. The legs and their locks were quite good, but the plastic head is a mess. It has, not particularly smooth, different, separate locks on each axis that need to be released and retightened. Even the crummiest ball and socket mount I've had was more flexible and easy to position. The elevator has a stiff crank you have to wind, with a different type of lock. I prefer a lock that just releases the elevator, and you can just pull it up and down.
But its mortal sin is the side-to-side axis only tilts one way and pressed down to its limits, where the camera's supposed to be level, it's still about three degrees off. Not being able to tilt both ways is bad, but this is really irritating. You can level it by adjusting one of the legs, but after you struggle with the head, that will probably have to be redone. One nice thing about the square format is it doesn't matter if the camera is horizontal or vertical, and the tilt platform does go just enough past vertical to level the camera that way. Several years ago, I changed the sliding shutter from coming out the top to the side after a few incidents when gravity closed the shutter before I had planned. Notice where that rotation leaves the shutter handle.

When everyone was practiced, loaded and ready, I got distracted by something, and when I looked up again, they were all gone. So I set out on my own. We had agreed to meet again in an hour and a half. In some previous workshops, I had left three hours to expose a roll of film, but everyone kept coming back in an hour. For me, that's really a rush, and I acted like it.
Photo Midwest's facility is in a suburban business/industrial park. Across the road is Exact Sciences, a gigantic molecular diagnostics laboratory. The road forms a low valley with the building up a slope. Frustrated without a rising front to control converging verticals, I put the tripod up on a low wall and extended it as far as I could reach. After struggling with leveling it and having a stupid problem with a rubber band in the way, I thought I had accidentally opened the shutter. It turned out I hadn't and advanced past an empty frame. I repeated the process. On the bright sunny day, the exposure measured a third of a second. I was particularly careful to wave my phone away from the pinhole and back as fast as I could (I had forgotten to take one of the black cards). The misplaced rubber band also got in the way closing this second exposure, and I wrestled to get it and the tripod situated without an errant exposure or falling over. I forgot to wind the film. My next exposure was from the driver's seat of a forklift. The very light tripod was again difficult to use in one of my leaning-against-something-with-one-leg-extended arrangements to get to the angle I wanted, and it seems it eventually worked. Looks like I was pretty good at keeping that first exposure short because you can barely see it.

Nearby, behind a meter-high retaining wall, was a flat plane with an enticing set of contrasty pipes in the corner. They were a little farther than I would have liked but I went ahead, again using the wall to get a higher viewpoint. After a similar struggle, I discovered gravity had done the deed while making the last adjustments. This was quite a dense negative, but not as bad as I thought at the time.
Where I was standing, it sloped up slightly to where the wall was low enough to climb over. I got a little closer and, with most of the adjustments already done, got the photo quickly. Paranoid that sirens were about to start going off, I jumped back over the wall and forgot to wind the film. A little farther down the building was a set of pipes with shiny brass valves. I had used the trick of rotating the camera to make it level before, but this one, I did with the camera horizontal so the two exposures are rotated 90 degrees from each other.
Finally a picture I intended to take. The slope of the hill was in the right direction to use the tilt adjustment for a level image. This is another picture that triggers my pareidolia. Give me two side-by-side shapes with a vertical and then a horizontal line below, and I'll see a face. This one looks a little confused by the shadow falling on it.
I returned to Photo Midwest worried that someone might have had a problem and had gone back for my help. I've always avoided elevators for the exercise and am often taken with how the space is defined by the light in a stairwell. You also usually don't have to worry much about being interrupted during a long exposure.
Showing off the famous depth of field of pinhole.
Out the stairwell window, showing off how wide the camera is.
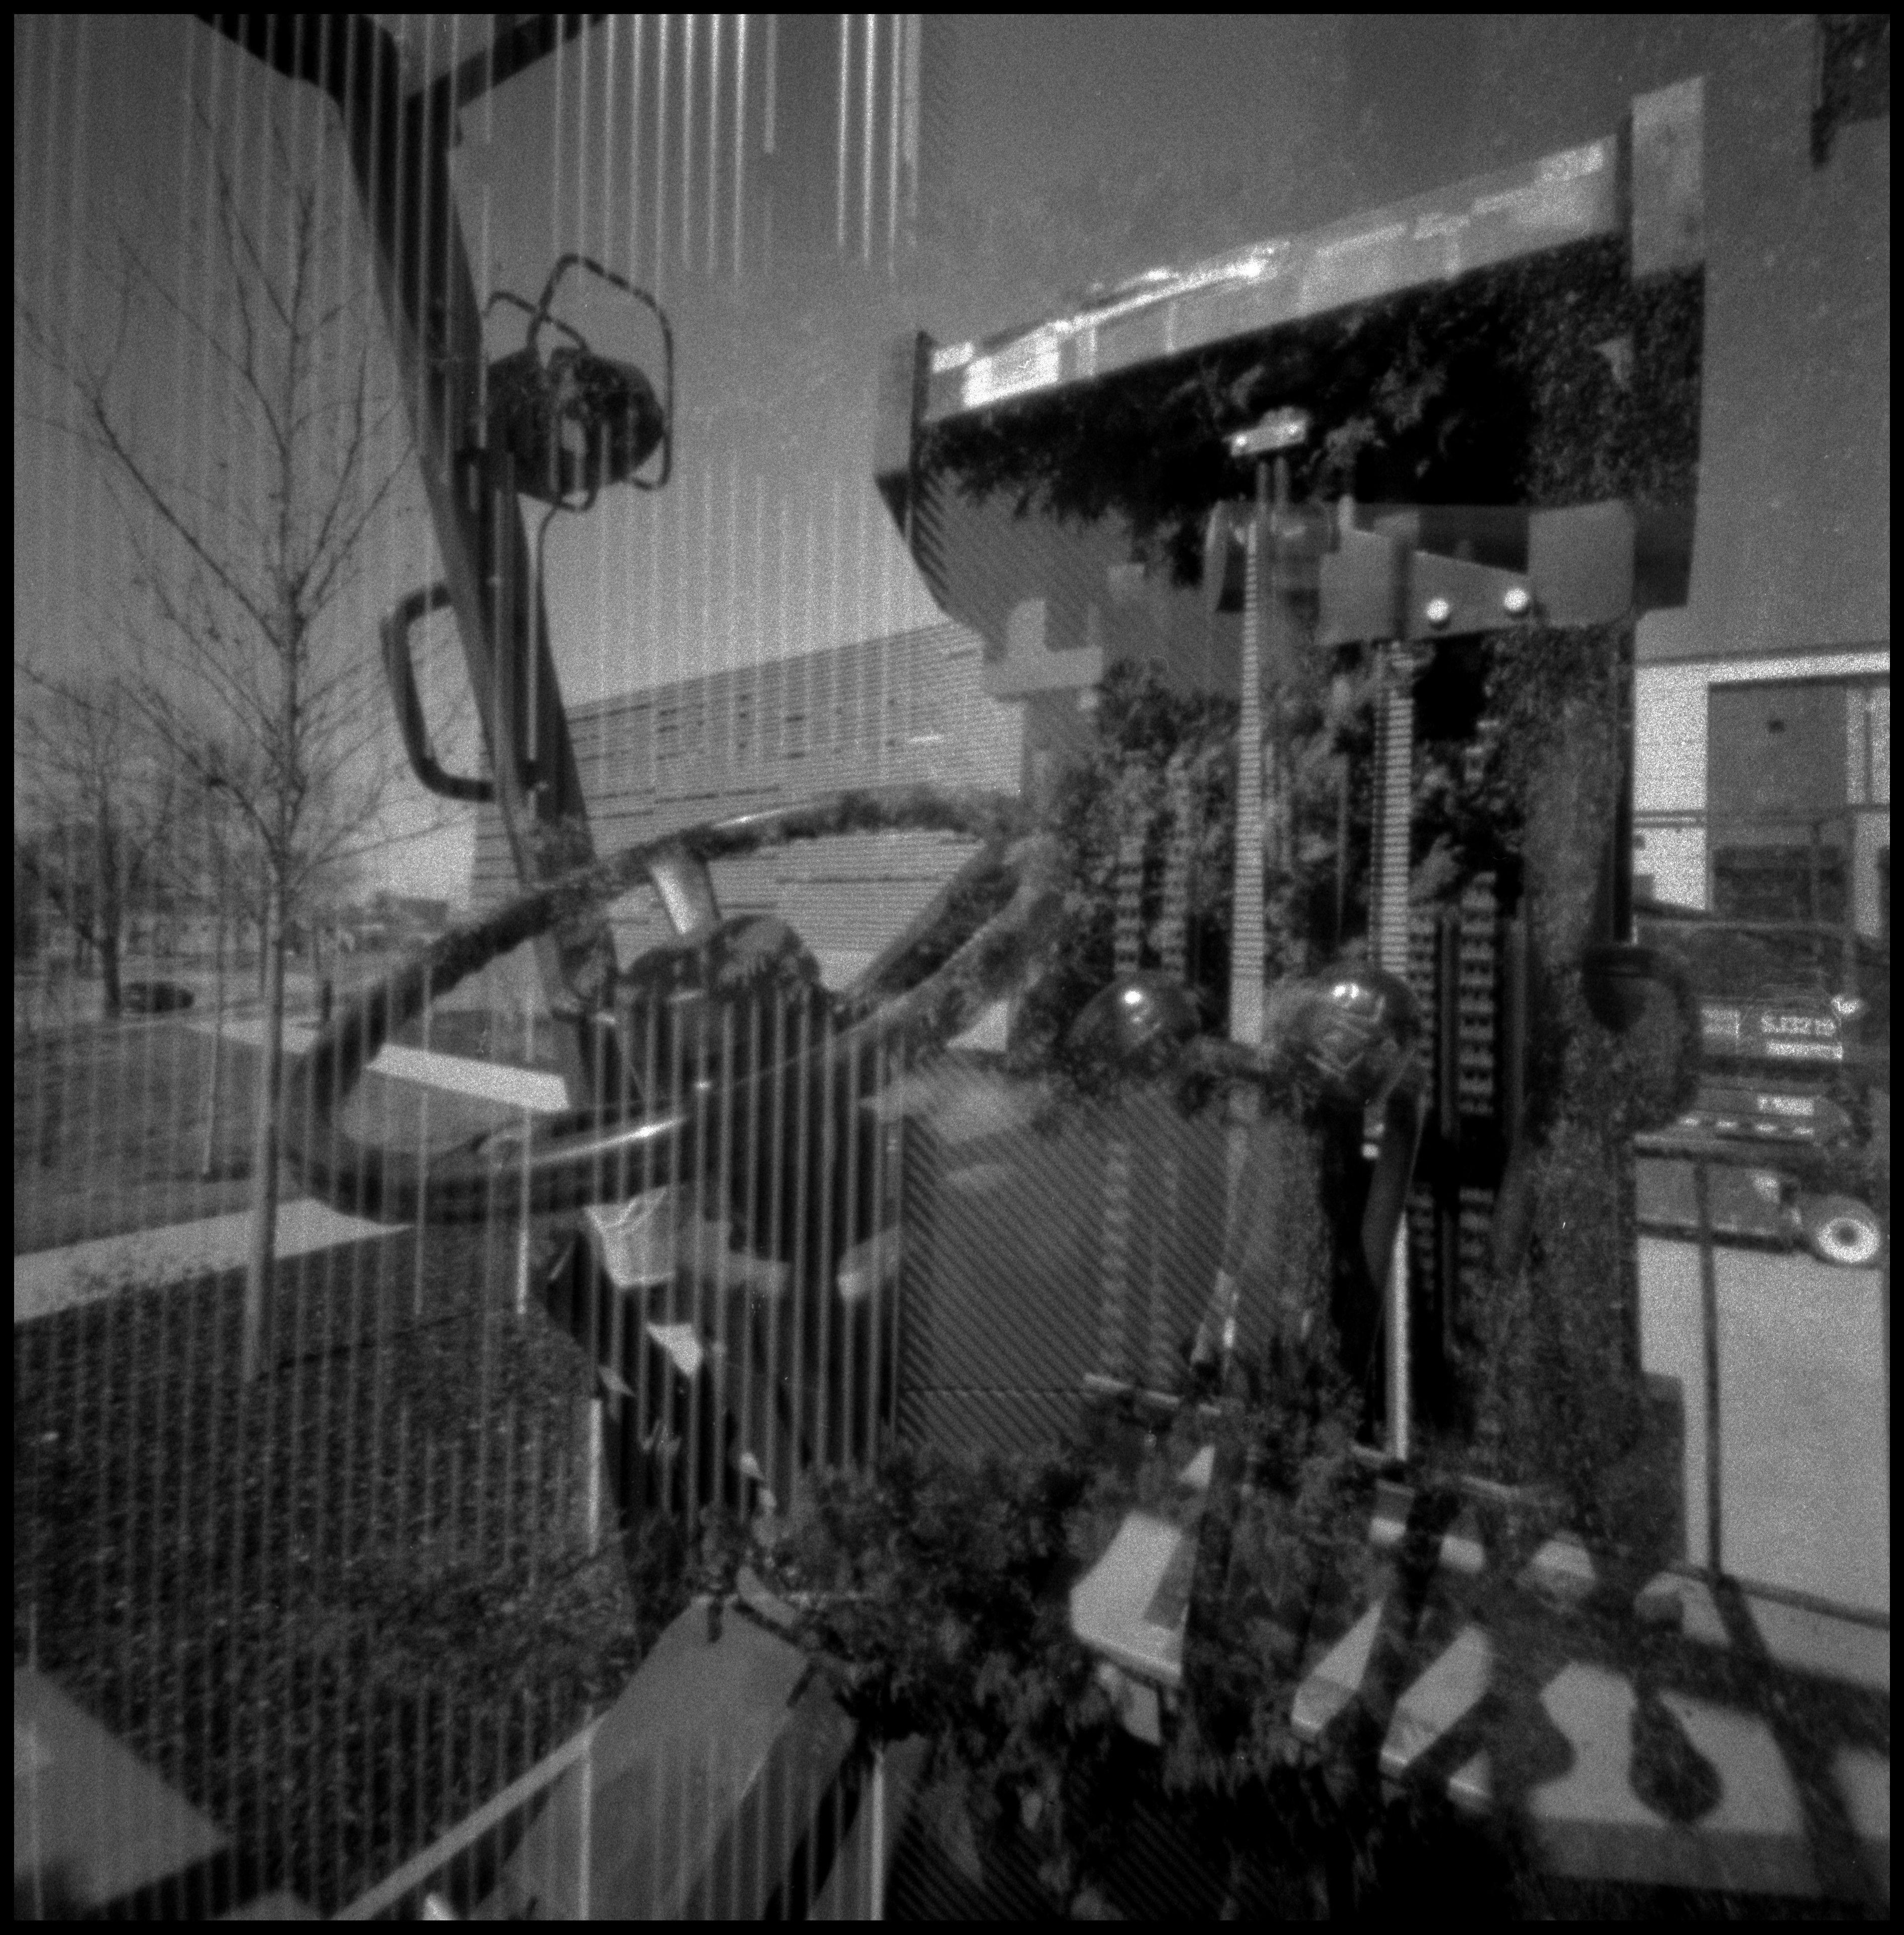
While making the cameras, we got into a conversation about two approaches to pinhole. One is based on how amazing it is how you can take such good photographs with the simplest of devices, and the other prizes the uncertainties in exposure, camera support, vignetting and long exposure to create ghostly and dreamy images. Here are two exposures representing those two camps. Down the hall from the classroom is Photo Midwest's gallery, at this time featuring photographs done by a camera collector, each done with a different camera. There was another battle with the cheap tripod, with the gravity-assisted shutter falling open during most of it and while retrieving my phone from the other room to measure the exposure. This is an incredibly dense negative, but an image can be retrieved with a 16-bit grey scale scan and the Levels tool.
The same scene with a stable camera and the measured exposure.
People were arriving back now, so for my last frame, I quickly set up this oddly composed close-up of a Brownie and half a Stereo Realist.
Thanks to all the participants and especially to Wendy Murvke, Programming Coordinator, who did all the administration and acted as a willing foil to my requests to keep a spreadsheet of my comic mistakes. This would be interesting to do again in the fall. Get in touch with Wendy and let her know if you're interested.
The Canadette has a hand-drilled (live in front of five people) .25mm pinhole 30mm from a 6x6cm frame. The film was Kentmere 400.


Sorry about the scanning issue, Nick!
ReplyDeleteWith this group it probably would've been interesting, but they all had a way to make positives, including contact printing! Hope I see your pictures too.
DeleteHi Nick,
ReplyDeleteI later learned there is a med format neg holder for the copy stand camera. Oh well. Was a day well spent. I will get up there to see your show this month.
Betz