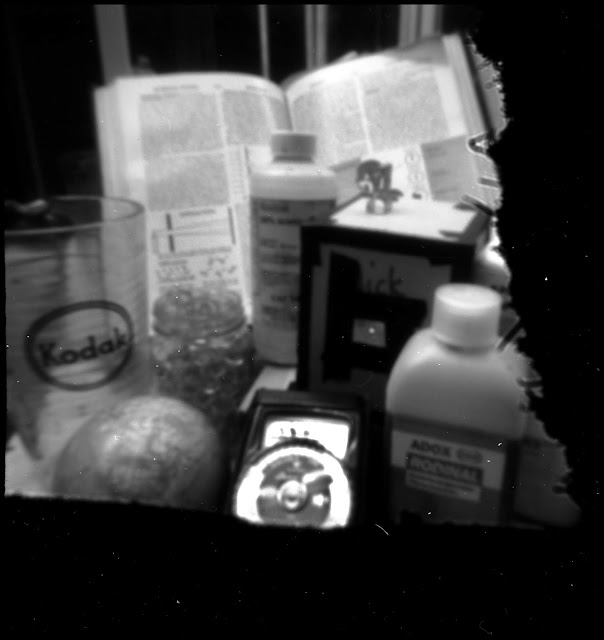
One of the never-ending discussion points of pinhole photography has to do with the “optimization” of the size of the pinhole at a particular distance to the image plane. A basic assumption is that the bigger the pinhole, the bigger the spots it transmits and hence the smallest feature it can render. Another basic idea is that wavy photons can turn a little when they squeeze through a too small hole and create a predictable pattern of fogging around each point. The visual effect of all this is usually described as sharpness.
Right away, I want to get out of the way the idea that sharpness and best are equivalent. Every pinhole has its unique character. Pinholes far from optimal can be used as artist’s tools, as well as other sharpness factors like pinhole shape and movement of the camera and subject. Sort of like the difference between a sharpened pencil and a stick of graphite.
But what does all this really look like? Let’s find out.
The film is TMax-100 developed in Rodinal 1:50. I used Pinhole Assist’s spot meter function to measure the cardboard top of the camera in the picture which looked to me like Zone 5 and went with the recommended reciprocity correction. I’m a little surprised the exposures came out so uniform, although there is a little variation and the scanner software has to put its two cents in. I tried to adjust them to match. Also, partly just to get out of it, I’m not going to touch up the dust spots, which will give some veracity to the sharpness of the scans but which creeps me out a little bit.
Don't jump over to Mr. Pinhole to see what the optimum is until you've looked at the pictures.
First the 45mm. Looks like the pinholes didn't get exactly centered in the opening.
.075mm pinhole, f600
.15mm, f300
2mm, f225
.3mm, f150
.4mm f112
.5mm, f90
Looking at the full image, it's hard to tell the difference between the .2, .3 and .4mm holes.
How about a detail at full resolution - here's some text and the label on the diagram in the left column of the encyclopedia. Each segment is 180 pixels wide. The full negative is 5000 pixels wide.
It looks to me like the .2 is just slightly more detailed than the .3. It's really obvious how diffraction reduces the image quality with the smaller pinholes.
Mr. Pinhole says the optimal diffraction is at .283mm, so maybe my habit of using smaller than recommended pinholes isn't so bad.
How about at 100mm?
.075mm, f1333. Well, this is disappointing. This was a six and a half hour exposure. When I made the switch, I set down the 45mm front next to the scene. For some reason which escapes me now, I went down there to get it and seem to have managed to bump the tripod leg reaching over. There goes that data.
.15mm, f667
.2mm, f500
.3mm, f333
.4mm, f250
.5mm, f200
This time the .3 and .4 images don't look all that different. Let's go to the details.
This time I have to give it to the .4, but not by much. Mr. Pinhole says .422 is optimal.
One of the things that got me going in my post a couple of weeks ago was a comment that said, even with an optimal pinhole, the image is always going to be sharper with a shorter distance to the image plane, so let's bring back the 45mm set and maybe you can get both sets on the screen at the same time to compare them.
Even though I tried to capture the same field of view, there does seem to be some difference in scale, but I can't say the sharpest of the 45mm looks much sharper than the sharpest with the 100, even though the pinhole is half the size. Makes me think that diffraction is a bigger contributor to sharpness than the size of the dot projected by the pinhole. High f ratios and long exposures are better reasons to avoid longer cameras than sharpness.
Since the theme of this piece is diffraction, I thought it would be appropriate to put one of those "points" of light in the scene. There was a lamp inside the camera shining through its pinhole.
A full resolution set at 45mm.
and at 100mm.
From this comparison, it looks like you can get away with a smaller than optimal pinhole close to the image plane, but diffraction seems to make that a bad bet for longer cameras. Maybe a little bigger pinholes on Long John Pinhole would be a good idea.
It's interesting to see how the disks vary on either side of the optimum and it's hard to tell the difference between too small and too large.
Another thing that the equations say is that the distance to the subject also affects diffraction. Where the shutter obscured part of the scene, that edge is rendered more sharply with the .075mm on the left than with the .3mm on the right.
My main take away is that there's a pretty good range around the optimum where it's going to be really hard to see the difference. If you're within a tenth of millimeter, it's probably good enough, so don't get too hung up about it and concentrate on all the other things that make a good photograph.


I don't know how I missed this when you posted it. This is the best pinhole diffraction test that I have seen . . . .
ReplyDeleteThanks, Nick!
4/29/2020