
The Brian May Archive of Stereoscopy has led a movement for June 21st to be established as Stereoscopy Day. When I first heard the date and who was behind it, I thought that's what happens when your lead guitar player is also a solar system astronomer. But it turns out it's when Sir Charles Wheatstone first presented his paper on the stereo effect in 1838.
Pinhole Photography and Stereoscopy are linked almost at birth. The first mention of someone taking a pinhole photograph is in Sir David Brewster's 1860 book, The Stereoscope. Although I don't think he questioned Wheatstone's precedence, what I remember about reading the book was frequent, sometimes a little snarky, criticism of Wheatstone. He might've been a little miffed that Wheatstone got credit for the date. Brewster also decided pinholes weren't practical and used lenses for his investigations.
In my modest historical collection of articles on pinhole is one in French from 1889 which is illustrated by a stereo pair.
Like pinhole, stereoscopy is as simple as it can be. It's always surprising how little it takes. You just take two images, coplanar and level, with a bit of a distance between them. You can do this at once in a camera that takes two pictures side by side, or one regular camera, moving it over carefully for the second exposure, often known as cha-cha.
I loaded three pinhole cameras - all with 6x6cm formats - a 45mm stereo camera, a 60mm stereo camera (both with 6cm baselines between pinholes) and a regular single chamber camera at 100mm with which I intended to play with cha-cha, both for too close and too far away stereo.
There are several ways to present stereo pairs for viewing. I'm going to use two in this post.
First is the most natural method, cross-eyed viewing, with the left view on the right and vice versa. You cross your eyes to make a double image. As the left and the right sides of the pair overlap in the middle, they fuse into stereo and depth is revealed. Note that you still see three pictures. It's the one in the middle that's 3D. That may seem unnatural to you, but they're just scanned (or printed) as they appear together on the negatives with no other manipulation or equipment. It does take some learning to view them. I created an exercise with simplified graphics at this link and have been told it does make it easier to learn.
The second is with anaglyphs, where the left and right views are rendered in red and cyan and overlaid on top of each other. Viewing through a red lens on the left eye and a cyan one on the right eye tricks the brain into calculating the depth. You of course need an appropriate pair of spectacles.
If you want to play along and you've got a lorgnette, Brian May's Owl, Google Cardboard or an Oculus rift, here's a link to a PDF with the pictures set up for stereo viewers, in the same order they're in the blog. If you've got a regular Stereocard Viewer, they should print 7 inches wide.
I started with the 45mm stereo camera with paired 6x6cm images. I built and used it primarily for the Then and Now exhibit at the Oshkosh Public Museum which was suppose to compare (not recreate) archival and contemporary views. Looking through the archives, they had hundreds of stereocards. In addition to pinholes on the axis, it has additional pinholes 10mm above the axis in order to maintain parallel verticals in the buildings I intended to photograph. They were presented with the old picture on one side of a card, and my new interpretation on the other.
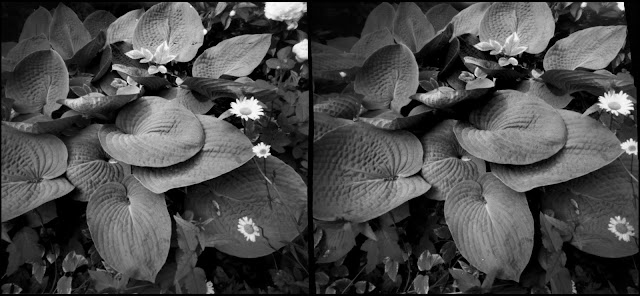
Our giant hosta and the daisies seemed like the kind of a 3 dimensional object that would benefit from stereoscopy. Not the most dramatic in-your-face depth, but it does reward a quiet look around.
One thing that always impresses me is how stereo viewing can change a composition. The tomato plants seem like a canopy over the bed, but stereo reveals them as individual plants.
After ruining
four frames by advancing only one frame before I made my next photo, I wrote 2-4-6-8-10-12 on the counter shutter.
At least I could still recreate that second picture. I used the rising front for the fire escapes from the floor and mezzanine levels of the Grand Opera House.
They're building a new middle school across the street from it so the fate of historic Merril School is uncertain. There's a movement trying to preserve it and they say they've got the interest of a developer to convert it to apartments. I could see having those leaded glass bay windows of the kindergarten in my living room.


To mimic the distance between human eyes, most stereo cameras have a 6cm distance between pinholes, or the focal center of the lenses
(how complicated). As you move away from an object, the parallax, which creates the depth, becomes reduced making the stereo effect less noticable. Things also get smaller. That can be countered with a narrow angle of view, but flattening of depth with magnification makes things worse. You can keep the narrow angle of view in order for it to look close up
and maintain the illusion of depth by moving the viewpoints looking at the scene farther apart. Some of my favorite stereo views of
Comet 67P/Churyumov–Gerasimenko by the Rosetta spacecraft and the
Trans-Neptunian Object Arrokoth by New Horizons were done with a telescope with the spacecraft traveling miles between pictures. For the Arrokoth picture, New Horizons was 28,000 kilometers away for the left frame and 6,600 kilometers for the right and were scaled to match for the stereo view.
The stereo effect is extraordinarily robust.
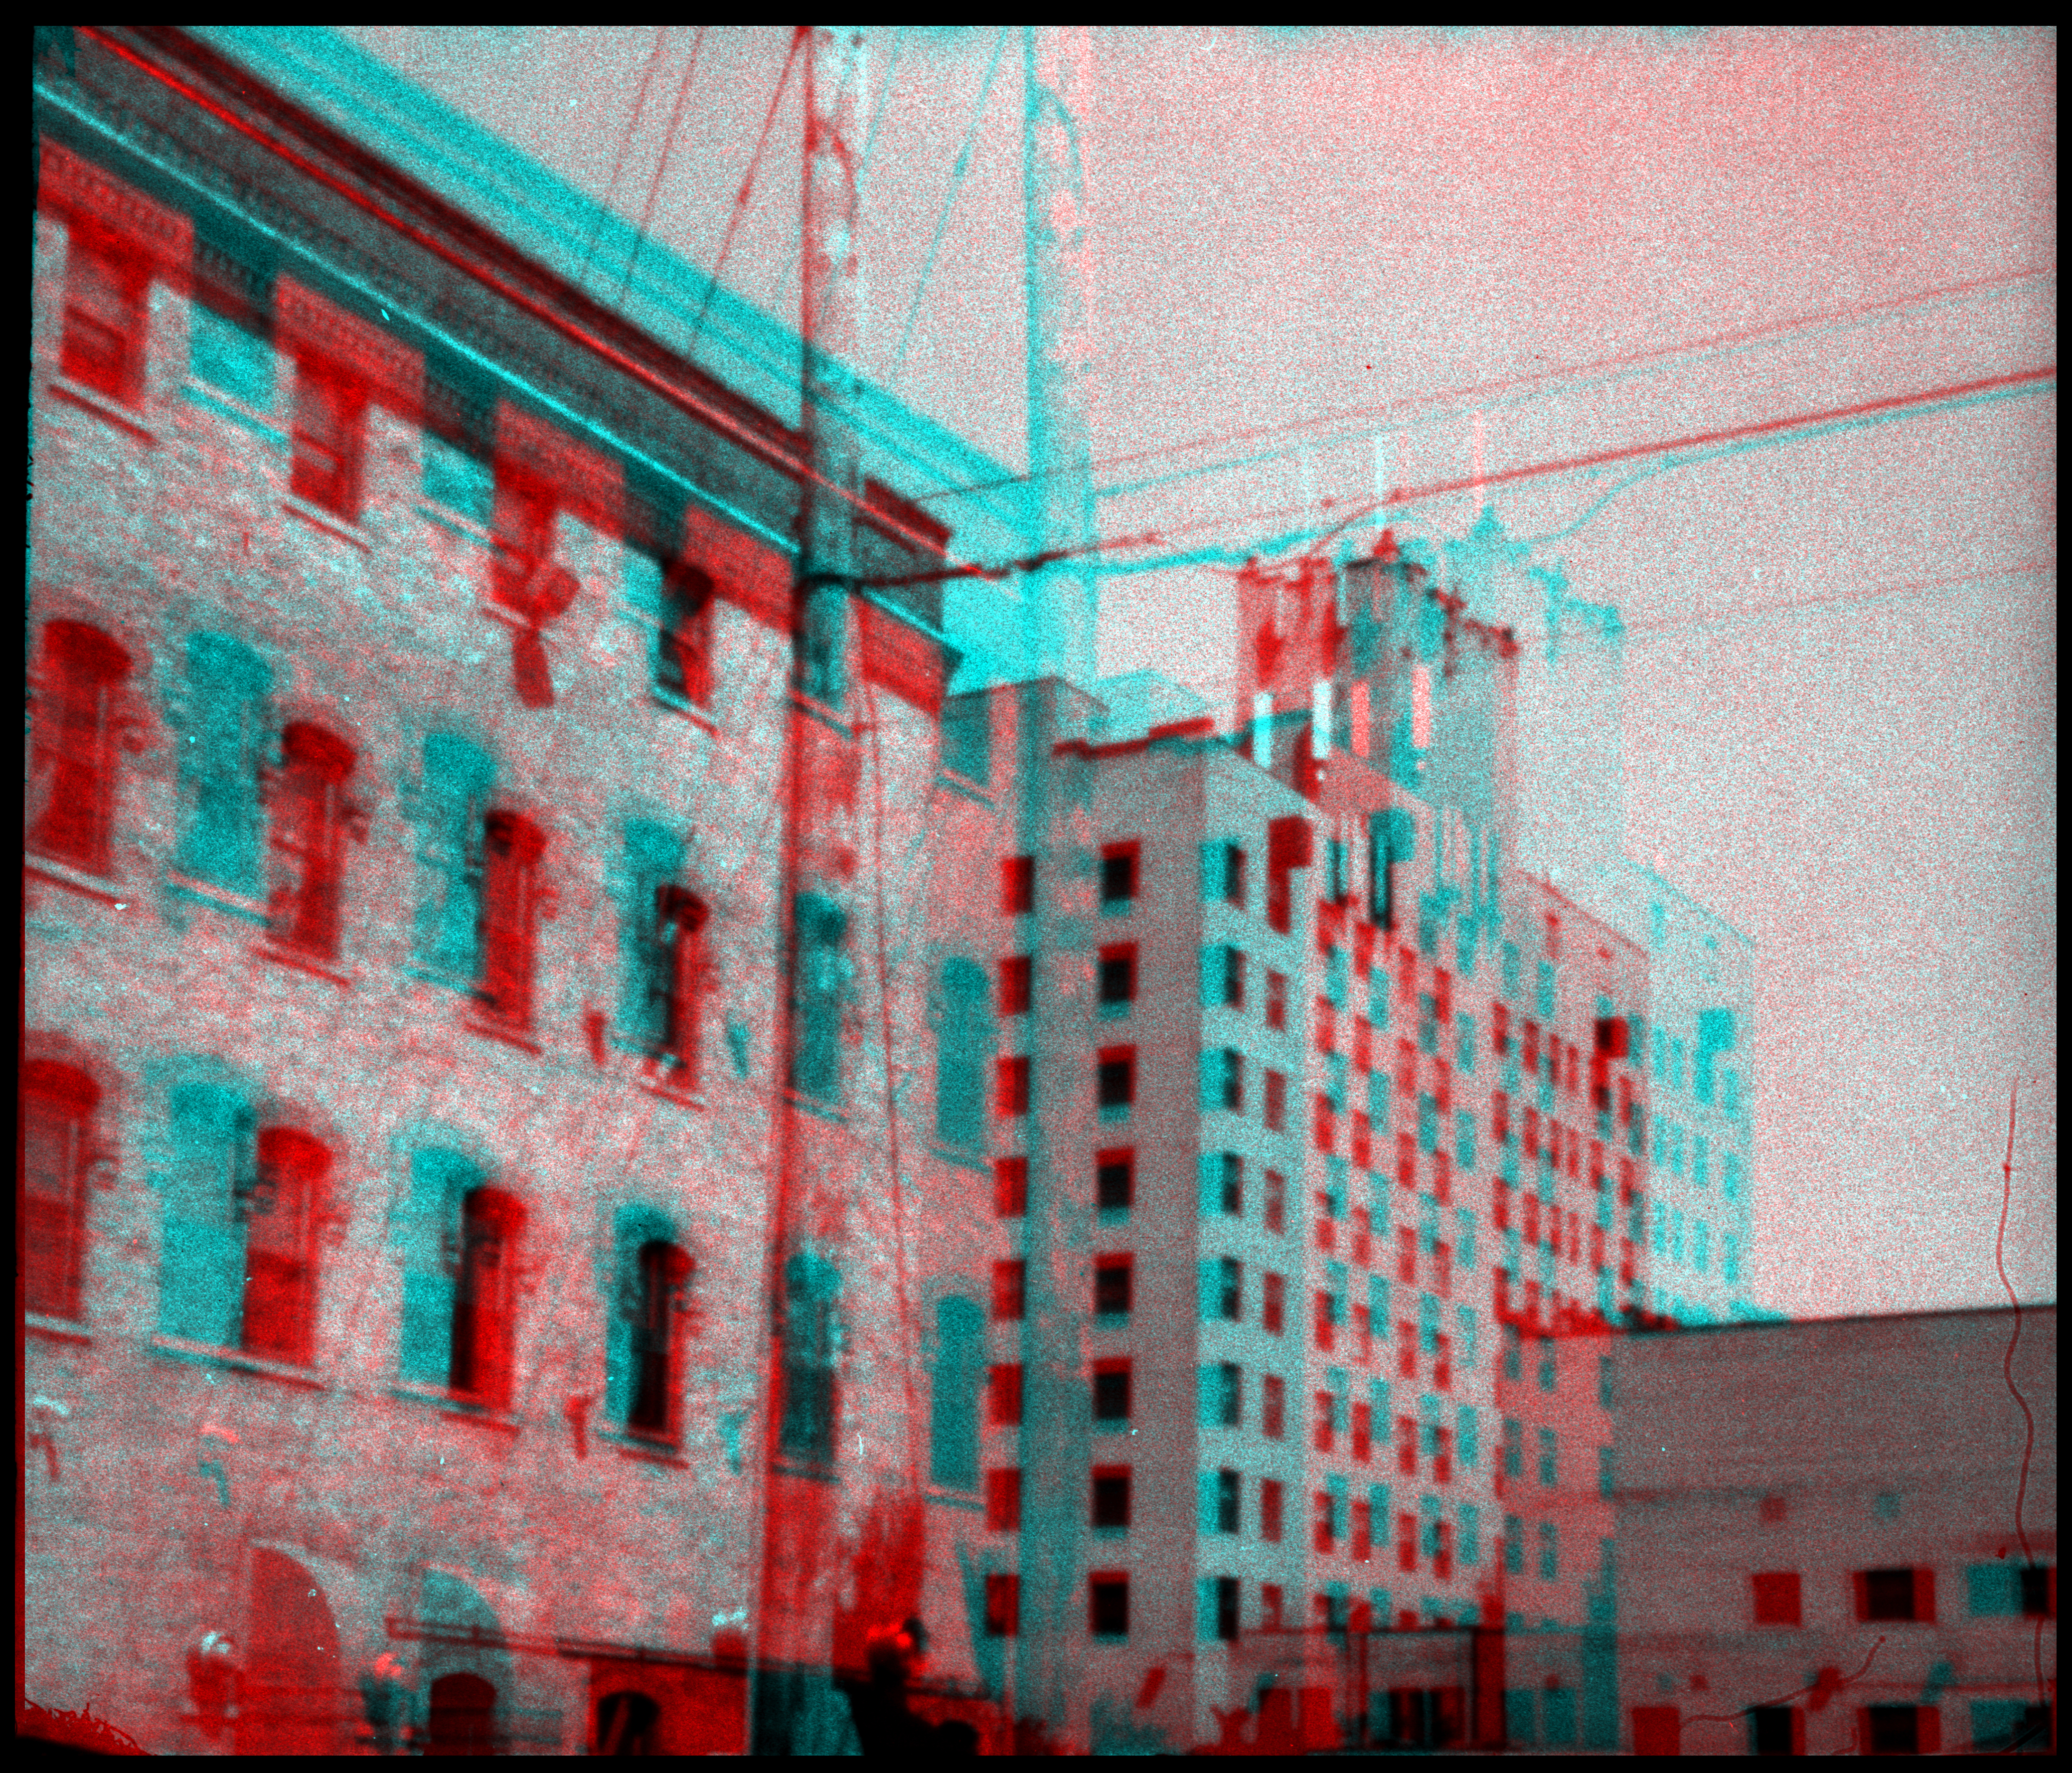
For the grand entrance to the Public Library, I also used the 45cm baseline, this time just eyeballing the parallel line and marking the new location for the tripod legs with pebbles.
Again a 45cm baseline. One trick with a normal photograph is to align foreground distractions with edges of buildings to disguise them. In this case I think this power pole interferes with the depth between the two buildings. A few feet to the right would have made a better stereograph.
If you get too close, the images can be too different for the mind to put them together. With two 6x6cm chambers you can't get any shorter baseline than 6cm, so this limits how close you can work. But with cha-cha, you can make the baseline anything you want. One of my tripods has a slot so you can slide the quick release adapter back and forth horizontally with a scale to measure how much you've moved it. This is from about 30cm away with a baseline of 12mm. I think I can see the depth.
One common perception with stereograms is that instead of continuous depth, the image seems to be made up of a series of planes. One way to counter that effect is to photograph a series of planes, here with a baseline of one of my feet.
You only get six pictures to a roll with stereo. I was upset that I destroyed three pictures on those rolls. I loaded my original 6x6cm stereo camera, 60mm long, which I had made in about 2008.
The last time I used it was for the February, 2019 Lunar Eclipse.
It's always nice to be able use a simulated depth cue like the movement of the ferns in the background to exaggerate the stereo effect.
One point perspective is another enhancement.
Minimalism isn't that common in stereography.
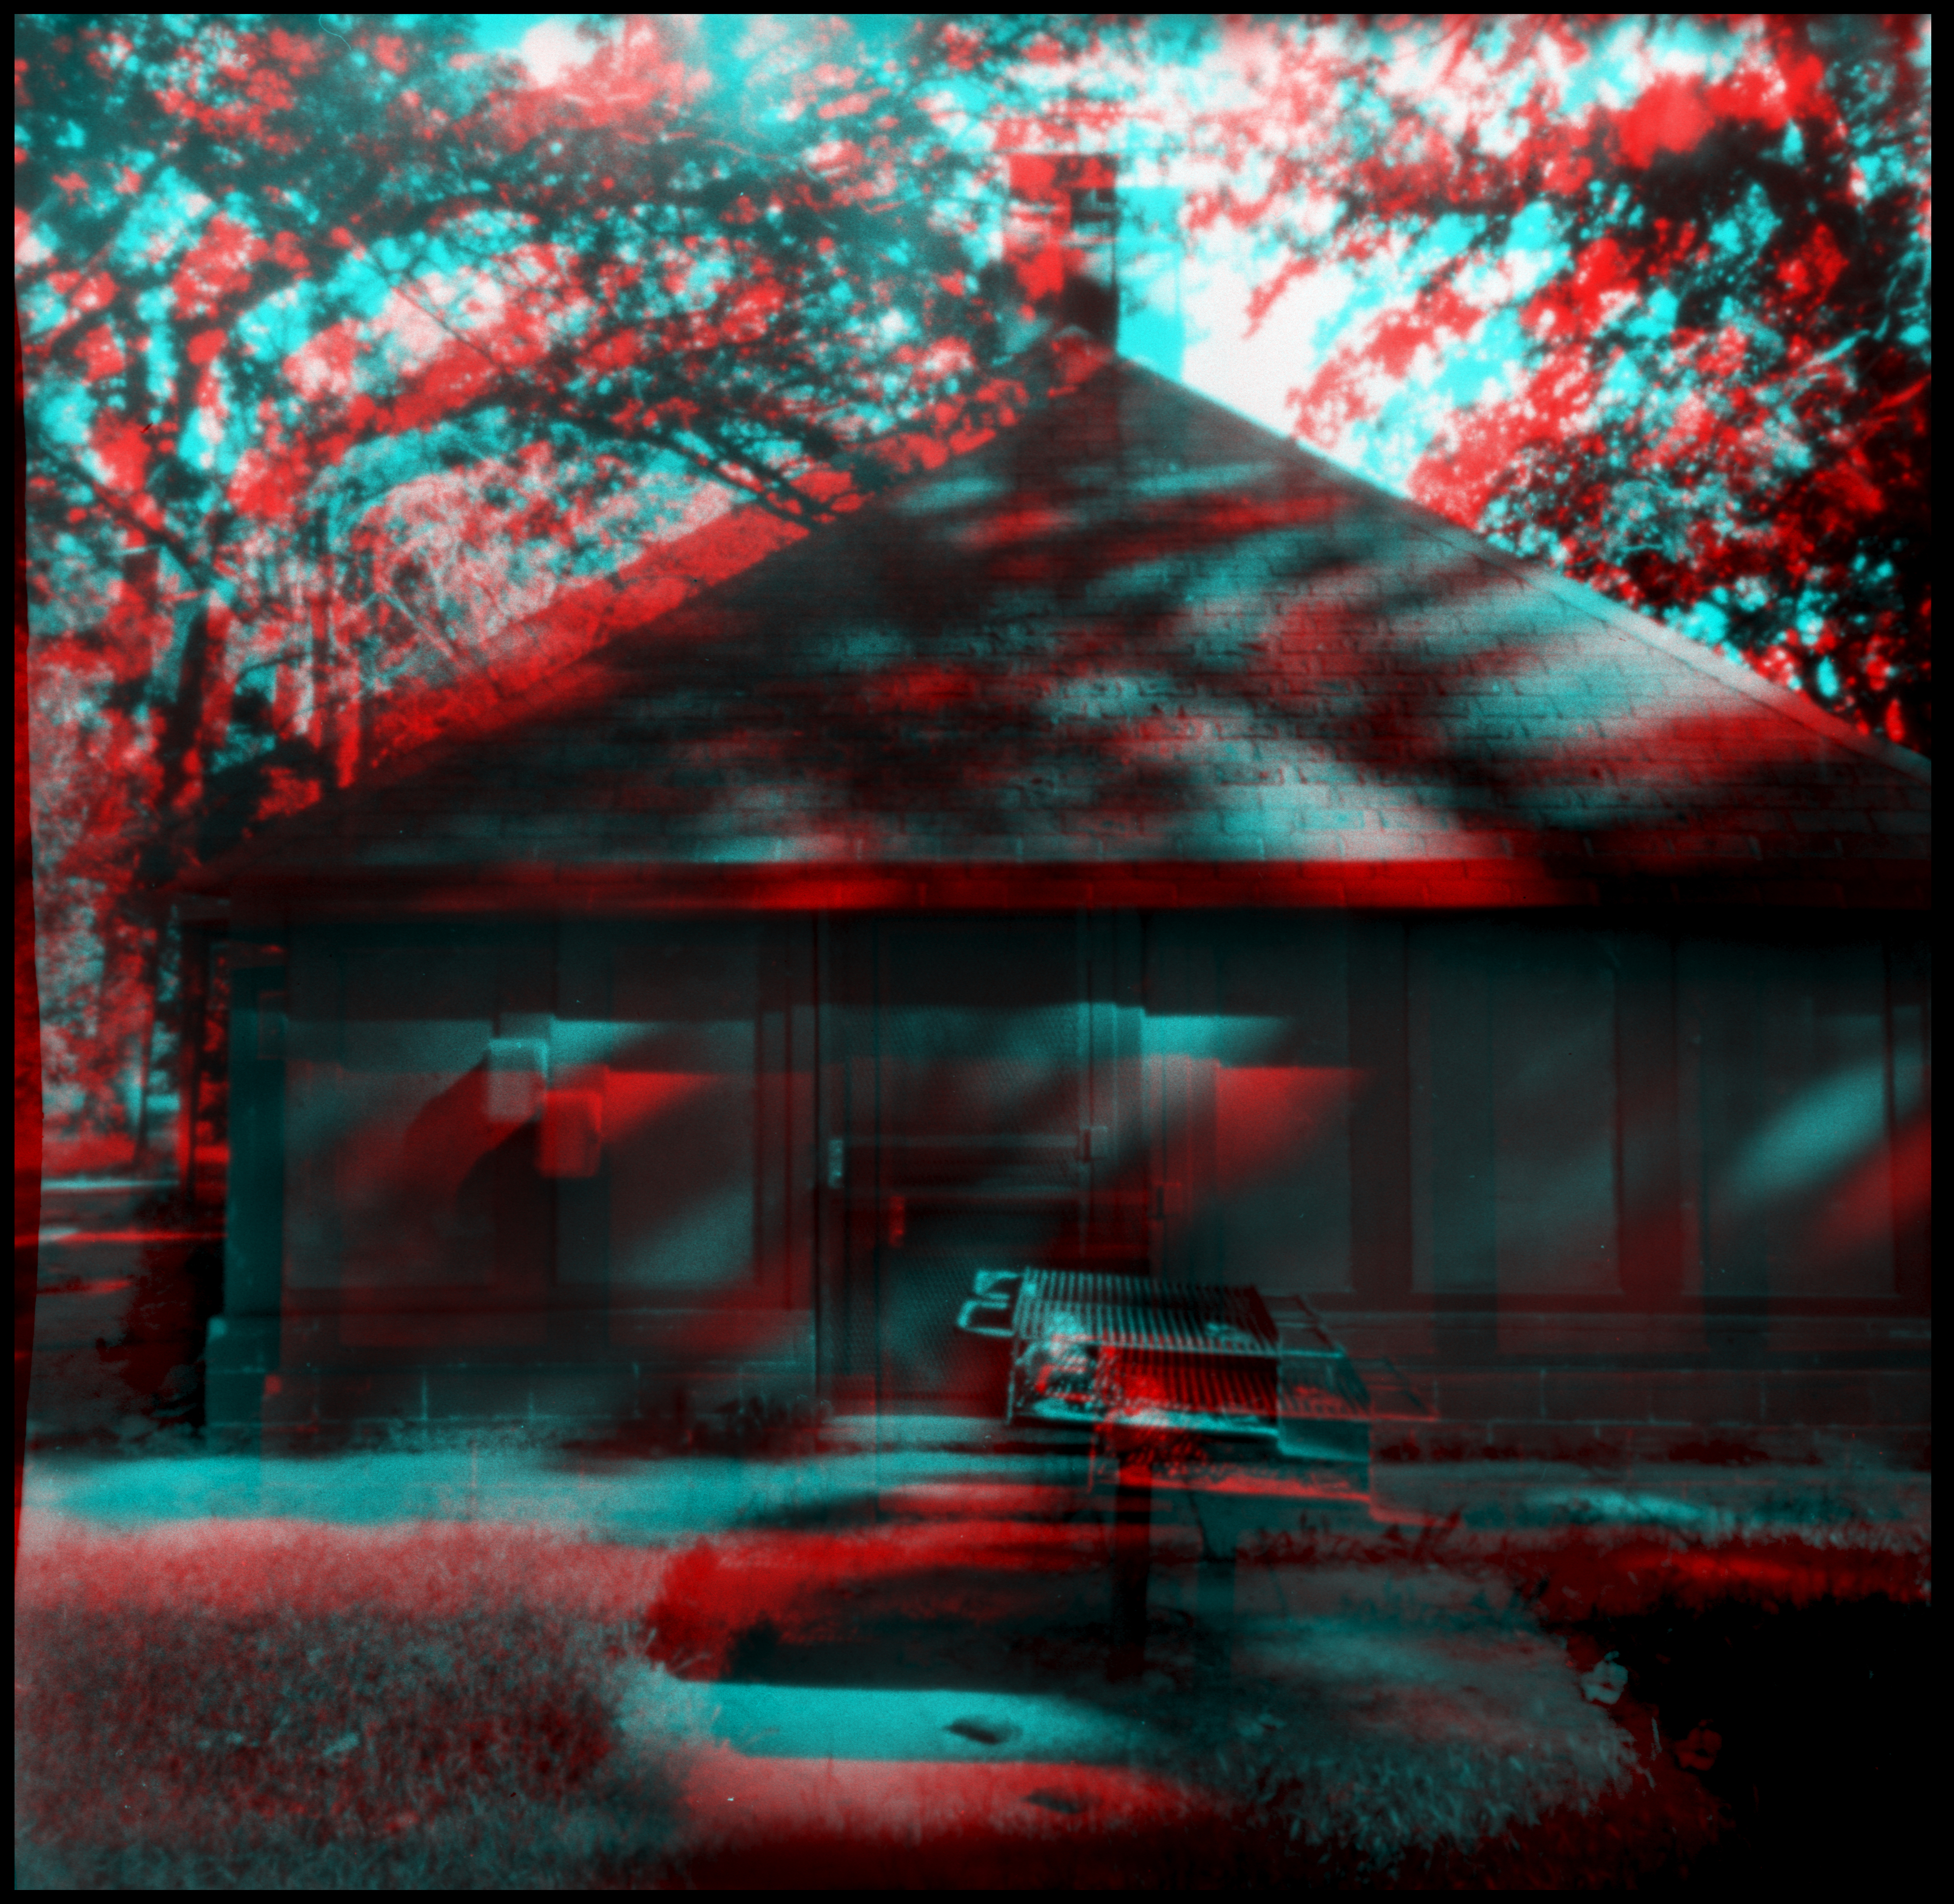
Dappled light on another scene without the wow effect but which is worthwhile to look around.
On Worldwide Pinhole Photography Day I always have this snooty reaction to people who only take pinhole photographs on Pinhole Day. I hope I'm not being that guy for the regular stereographers. Thanks for the nudge. Happy Stereoscopy Day!
The 45mm 120 Stereo Populist has hand-drilled .30mm pinholes, one on the axis, and one 10mm above the axis of each chamber. The 60mm Stereo Populist has .30mm Gilder Electron Microscope Apertures. The 100mm front on the Variable Cuboid has a .35mm hand-drilled pinhole on an adjustable rising front. All three cameras were loaded with Arista.edu 100. The first two were semi-stand developed in Caffenol and the last in Rodinal 1:100. The anaglyphs were done with
Anaglyph Workshop.


Really nice presentation as always, Nick. Happy Stereoscopy Day!
ReplyDeleteHappy Stereoscopy Day! Thank you so much for flying the flag for stereoscopy AND pinhole photography <3
ReplyDeleteI was biking along Merritt Ave one day last summer and saw you photographing with your pinhole camera. Interesting to finally see what I assume was the photo you were shooting that day (behind Wagner opera house)
ReplyDelete