

Worldwide Pinhole Photography Day can be celebrated during times of social distancing for those who are equipped and supplied for it, but a lot of people participate by attending group sessions which are not going to happen this year.
I’m the first one to say that you can build a very capable camera with stuff you probably already have around the house and analog methods are the most fulfilling way to experience pinhole photography. However except for solargraphy, any method using analog/chemical capture of an image is going to require development. A lot of rookies are not going to be able to do that without access to one of those public or school events.
So is there any way to create a pinhole image that could be shared in the Pinhole Day gallery that could be created without development?
You can, of course, replace the lens of a digital camera with a pinhole body cap, but you need an SLR or mirrorless camera to do that.
In recent years, the Pinhole Day gallery has included numerous images of room sized camera obscuras where the image was recorded with a lensed digital camera that allows total control of shutter speed. I did this myself once in 2006 with a 30 second exposure using Nikon’s first digital SLR.

My first thought is that’s not going to be an option for many people. I would guess that very few individuals would have access to a digital camera that would allow a shutter speed of over 1 second.
A room sized camera also pretty severely limits the scene you can capture to the view out your chosen window. And think of your mother’s response under a stay-at-home order when you say you want to tape up all the windows in your room.
I’ve seen this sort of thing done with a box-sized camera obscura.
My objective was to find a method any kid (with a little help from Mom and Dad) could recreate this idea with.
Everyone has a cell phone with a camera. I have an iPhone SE which is several years old so I think it would be comparable to what most people have. I don’t have an Android phone but there are similar apps available for those. I have no way to try them.
The basic concept is to make a pretty standard pinhole camera which will form an image on the back of the camera, then position your cell phone camera so that it can take a picture of the pinhole image. I’ve seen this done with a high end digital camera with pretty good results.
I took an old box I had which was 6.5 inches square and 4.25 inches deep. I needed to make sure it was far enough from pinhole to image plane that the phone camera would focus on it (Aren’t lenses a hassle?)
To make sure I had the most contrasty image, I lined the box with black construction paper. Although the box interior was already white, on the back of the box, I put the whitest card stock I had for the image plane.

I drilled the easiest pinhole possible by completely piercing a piece of drinking can aluminum with a #10 quilting needle to make a .56mm pinhole. My experience is that anyone can make a pinhole like this on the first try.

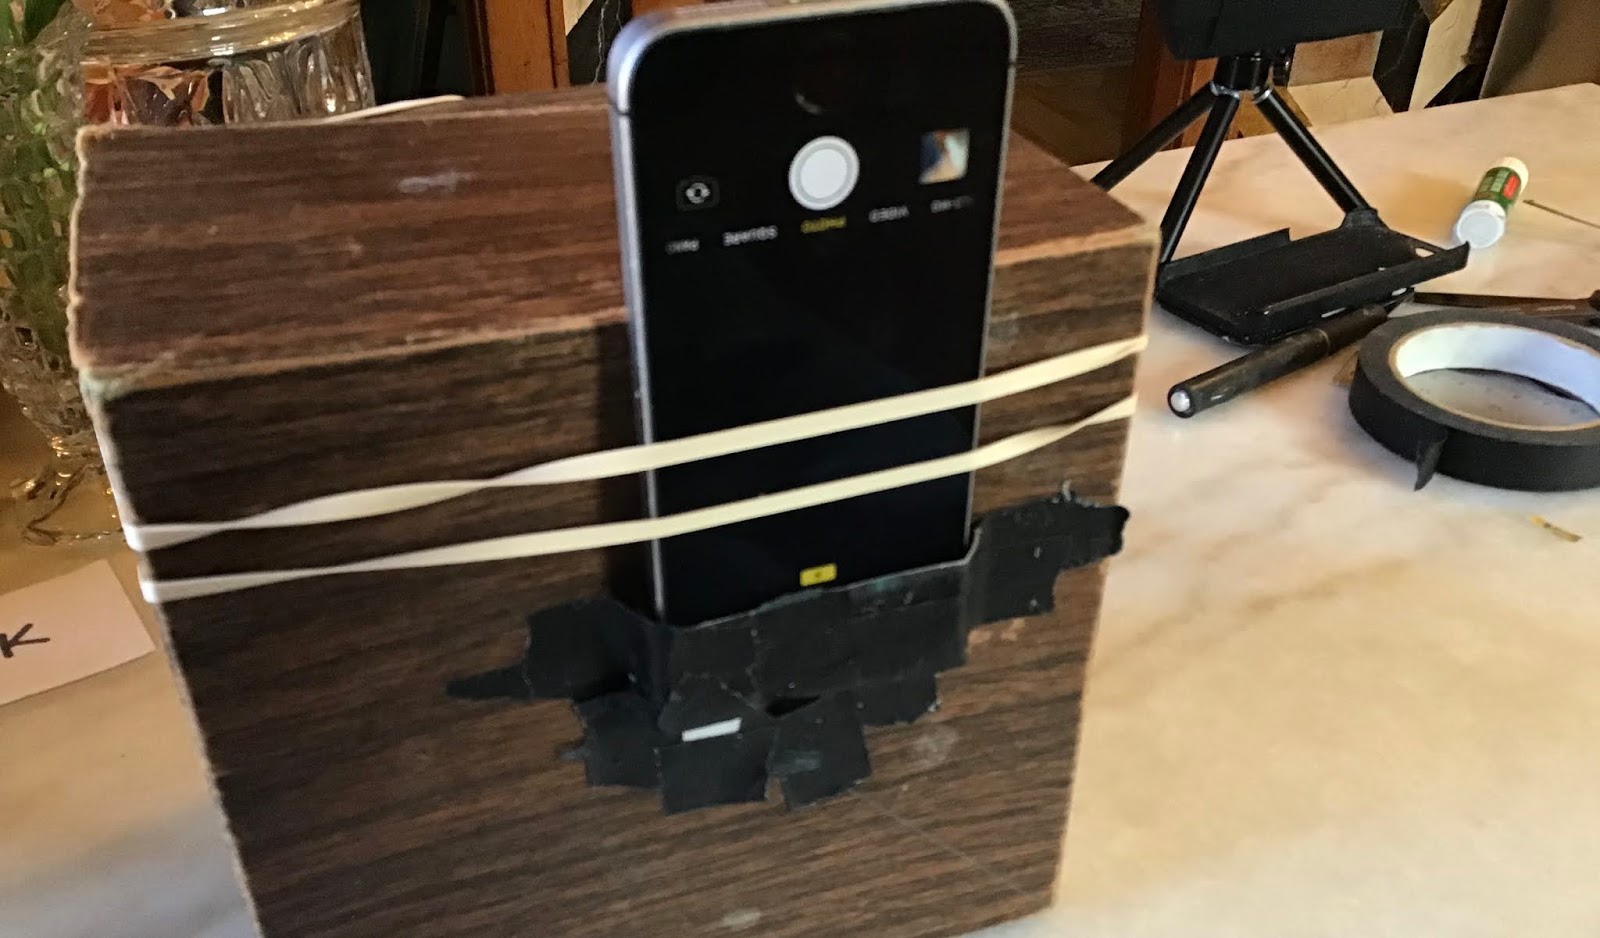
I mounted this on the axis of the box. I extended the hole so I could mount the cell phone as near as possible to the pinhole.

I made a cardboard sleeve so I could just slide the phone in and out with the camera positioned in the hole.

I taped it all on the box with the phone holder far enough away from the pinhole so that it didn’t block part of the image.

This puts the area that the phone captures a little off axis, so when viewfinding you want to use the camera’s position rather than the pinhole at the front of the camera, and any viewfinding marks on the back have to be offset in that direction as well. In order to keep the phone pressed tightly up against the box as well as keeping it from falling off and getting destroyed, I held it under a couple rubber bands.
My first attempt, even after as much editing to brighten the image as I could do on the phone was a little disappointing.
I supposed I could have gone to the computer and pulled out those highlights a little, but in the interests of universality, I wanted to limit the editing options to the phone.
I went back in and did a little googling about low light photography with the phone and came up with this article on MacPaw.com. It describes how to alter the “live” function of the iPhone. That function takes a rapid sequence of ten exposures. If you swipe up on a photograph made with this function, it offers several effects, one of which is “long exposure” which effectively combines all the images into one. The intended use of this is to create trails and blurs which we are all so familiar with in pinhole photography, but it also tries to auto correct the exposure on that stack, and effectively adds up all the photons captured by those ten frames. This is a common technique in astrophotography.
Although the original image looks totally black, after applying this long exposure effect you can see the beginnings of the image.

After using just about every one of the functions in the edit toolbox, I got a reasonable image out of it - probably as good as many of the images we see submitted to the Pinhole Day gallery using photo paper. (n.b. The highlight just in front of the driveway on the left house was because the card I used for the back of the camera was slightly glossy and created a hot spot directly under the pinhole)

This was done under sunny conditions. I tried this later on a cloudy day and couldn’t even pick up highlights. It might work better with a newer phone, and you could try using a bigger pinhole.
A limitation on this is the slowest exposure the phone makes is about 1/40th of a second, so even with them all stacked that’s only 1/4 second. Apps exist that will allow you manually control the exposure, so I downloaded a bunch of those. Again, in the interest of universality, I limited it to ones that were free to download.
Unfortunately, all those are extremely limited versions with only a few of their functions available and require viewing a five second ad for every exposure. I got extremely frustrated and eventually paid the $1.99 (USD) for the cheapest one Slow Shutter Cam, which had gotten good reviews.
It allows adjustment of shutter speed and ISO. It took a few tries to dial in the right exposure, but it did yield better results.

This was a 4 second exposure at ISO 400.
I tried again on a cloudy day. One important feature under lower light levels is to lock the focus. I just held the phone against the box focused on my hand at the other side. The focus lock is a button at the top of the screen. You have to be very careful putting the phone into position because virtually any touch on the screen will cancel the focus lock. It’s also easy to accidentally zoom in. But it’s digital so you can tell right away that you’ve done either of these.
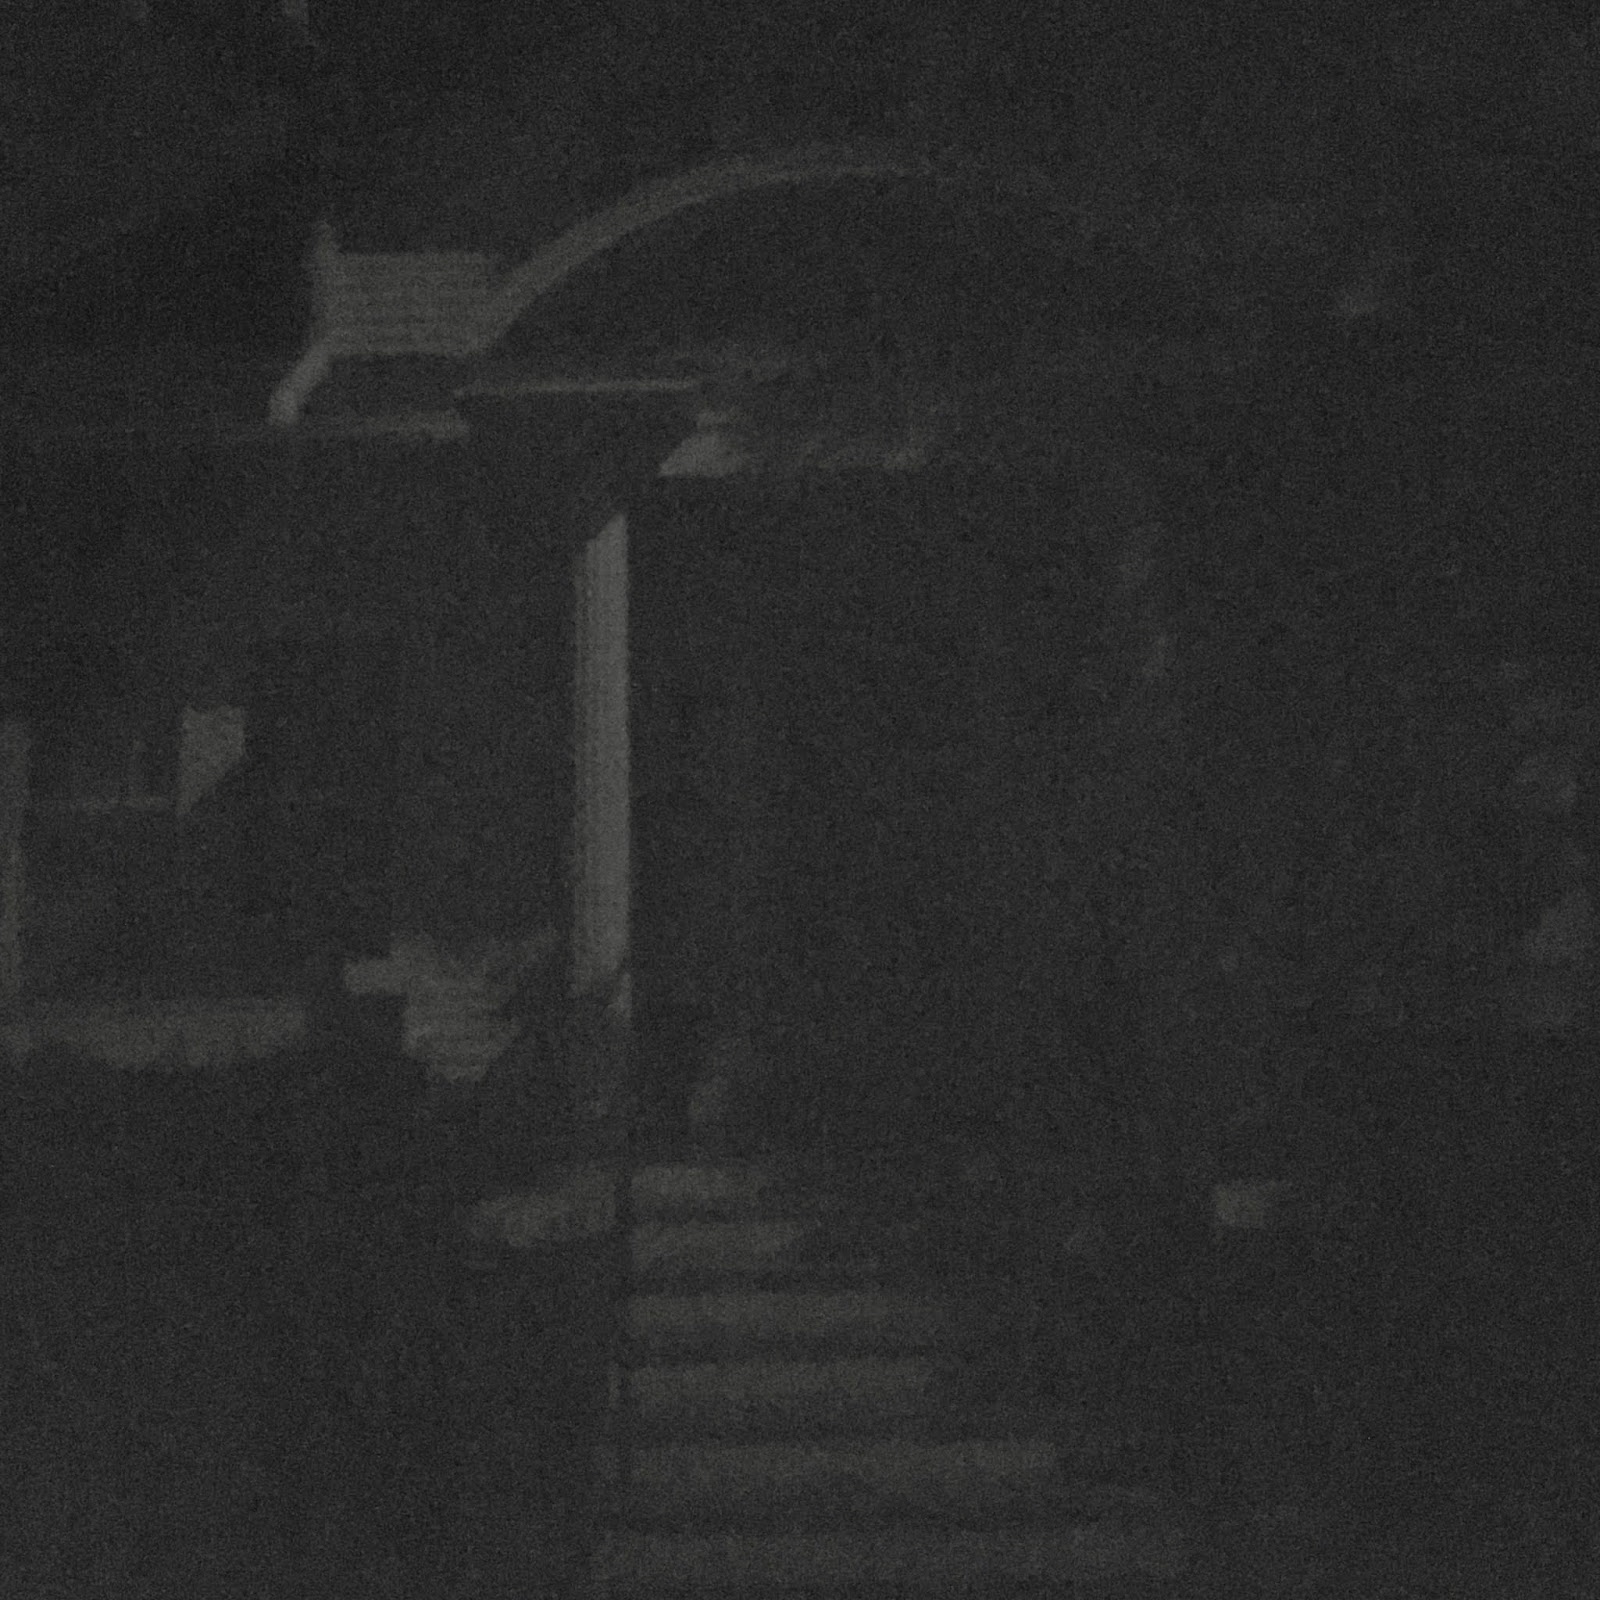
These were at 15 seconds at ISO 800.


The maximum shutter speed is 60 seconds, but it also has a bulb setting. You touch the shutter button to open it, and then touch it again to close it. I tried up to a half hour exposure on my dining room table and didn’t get so much as a highlight.
The image quality is very noisy, but pretty distinctive. I can imagine with a little experimentation getting some creative imagery.
As long as the original image is created with a pinhole, images captured with a lensed camera like an iPhone are acceptable for the Worldwide Pinhole Photography Day gallery.
If you don’t have any other option.
Excellent post Nick! We can still be together with a single purpose, at a single time, even if we are separated by distance. John
ReplyDelete