I have discovered what caused the streak extending through the middle of the negatives of one of the participants from my recent workshop.
It was my fault. Once again, it was the result of an old habitual behavior just expressing itself without me realizing it.
To understand what happened, I had given John another roll of film and he agreed to expose it and send the camera to me.
I always load film in the right bay so the numbers are upright. I know I told them it didn't really matter which side it was loaded on but repeatedly mentioned it, demonstrated loading that way and showed them the dots going by with right side up numbers. I just expected them to load it that way. John had loaded the film in the left bay, the way he's accustomed to doing it in his 35mm Minolta.
When I received the camera, I could see backing paper was still visible in the counter window. Before unloading the camera, I thought I was winding it all the way onto the take-up spool with the left winder, but I was rewinding. This will cause the film, unnattached to the paper at the end of the last frame, to catch on the internal divider and spool into the image chamber. About when I thought I had wound it too long, I saw shiny film in the counter window! I immediately closed it and went into the darkroom. With the camera open, it all just felt bunched up. I really couldn't tell how it looked.
I must have done exactly the same thing at the museum, although I can't visualize exactly what's happening in the camera. I don't remember any of this when I wound the film on the reel in the class, but we had the other problem with the changing bag.
The streak appeared on the last two frames. Much to my relief, ten frames survived.
I've tried to replicate this by reattaching and rerolling a dummy roll of film to some backing paper. Every time the rewinding just bunched it up inside the image chamber until it jammed and nearly forced the camera open with the backing paper still visible in the window. I don't understand how that film got exposed to the counter hole but I'm not going to sacrifice a roll of FP4+ just to find out. I know what the cause was and how to avoid the problem.
I'm a little surprised that no one on the internet suggested this as a possibility. I do know someone who only had experience of 35mm film destroying his first roll of 120 this way.
On
a recent episode of the Lensless Podcast, Paula Smith related how "suffering the slings and arrows of analogue photography" was something everyone had to go through to achieve the rewards. I'm not sure if John can take solace in having an almost universal experience.
I was happy John would get to see the photographs he took. Here are a few examples.
Some flowers still looking interesting long past their prime.
This one is a bit of an unusual composition but I like the way the lighter path of leaves leads your eye to the tree-trunk with a roof and faux window with what might be a deliberate face, or might just be pareidolia.
In that podcast today, Paula and host Andrew Bartram noted the surprising realism that could be achieved with the pinholes on
manufactured cameras like Ondu, RSS, and Zero. This camera has the first pinhole that John had ever drilled.
Although I was pretty sure I already knew what caused the problem, the recommended protocol called for another roll of a different kind of film to be run through the camera. I loaded it with Arista.edu 200 and, a little dismayed and dejected by the recognition of my incompetence, started to take pictures.
This all happened late in the morning so to freak out in my stead while I made lunch, I enlisted the ghost pillow and some of it's compatriots in the sun room.
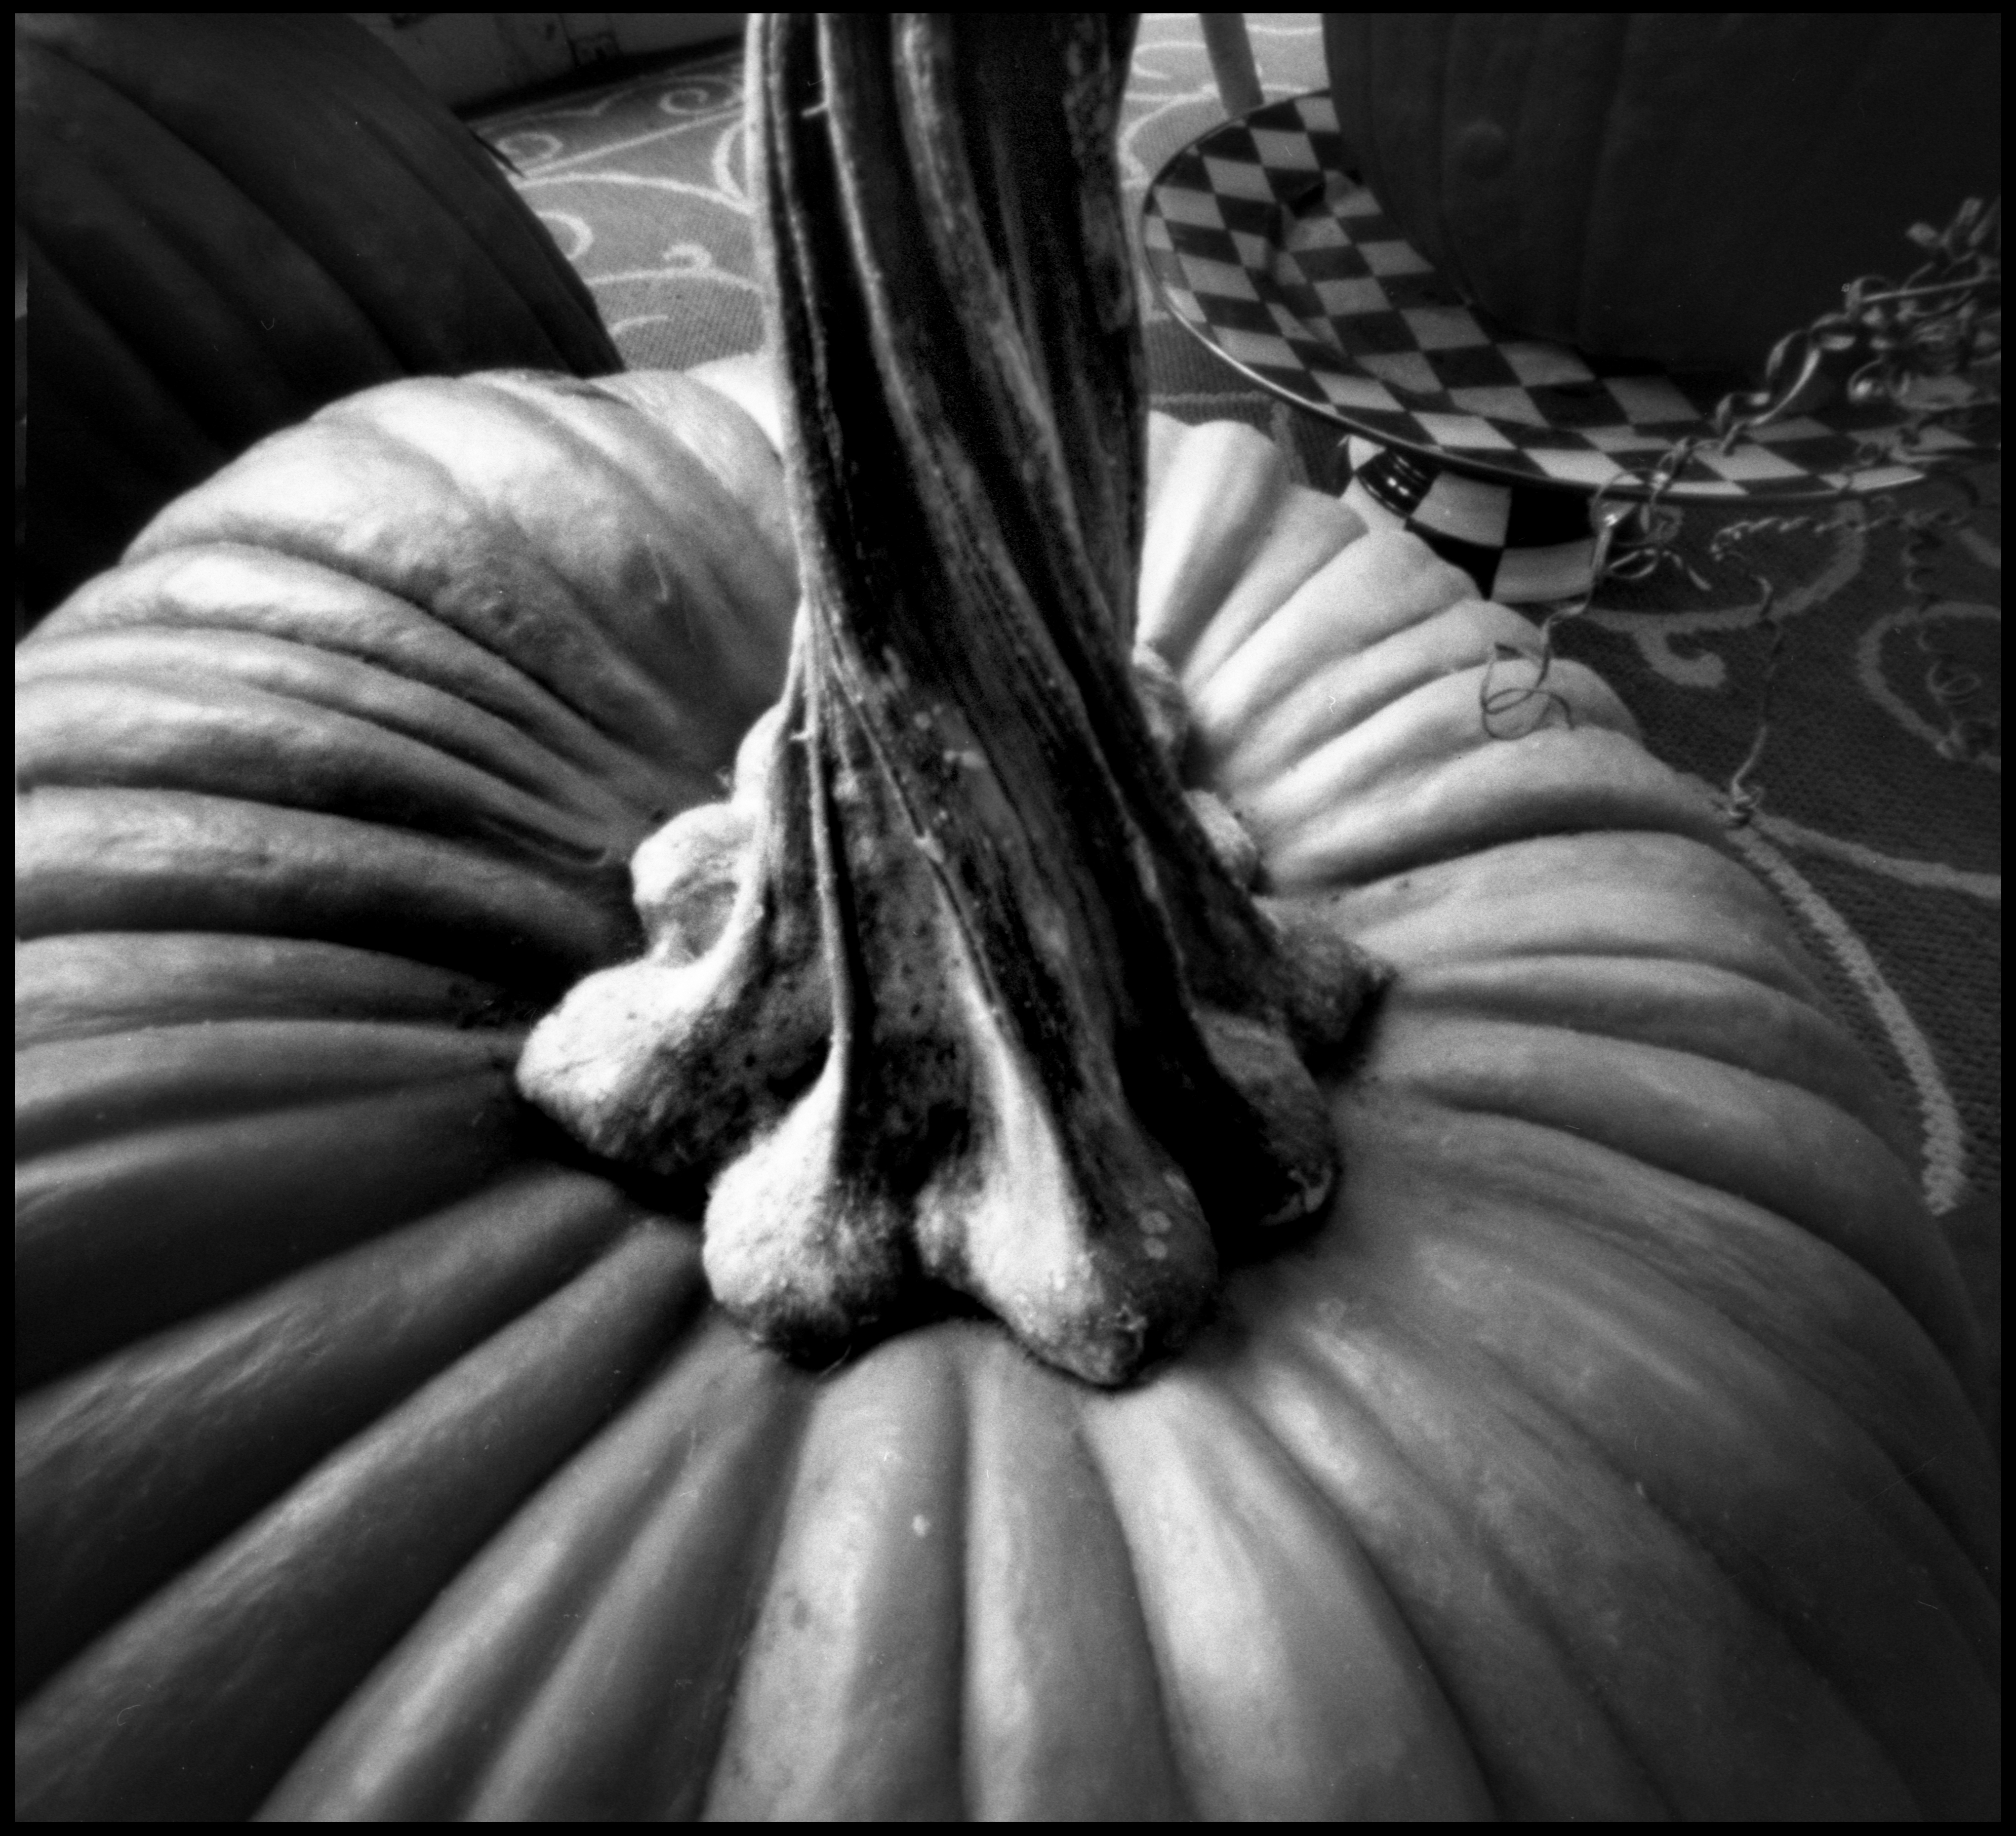
In the afternoon, I sat out on the porch to finish the roll of film. A pumpkin for carving next week.
Three small gourds with handles intertwined on the bakers' rack.
A small white "ghost" pumpkin.
One of the warty pumpkins from the trip that I swear will be the next blog post.
In our house, holiday decorating doesn't stop when you get out the door. A small bronze Jack-o-lantern with multicolored corn stuck in the top.
A mirror encrusted pumpkin atop a stump-like pedestal.
It was pretty dark and gloomy so I concentrated on the more shiny artifacts.

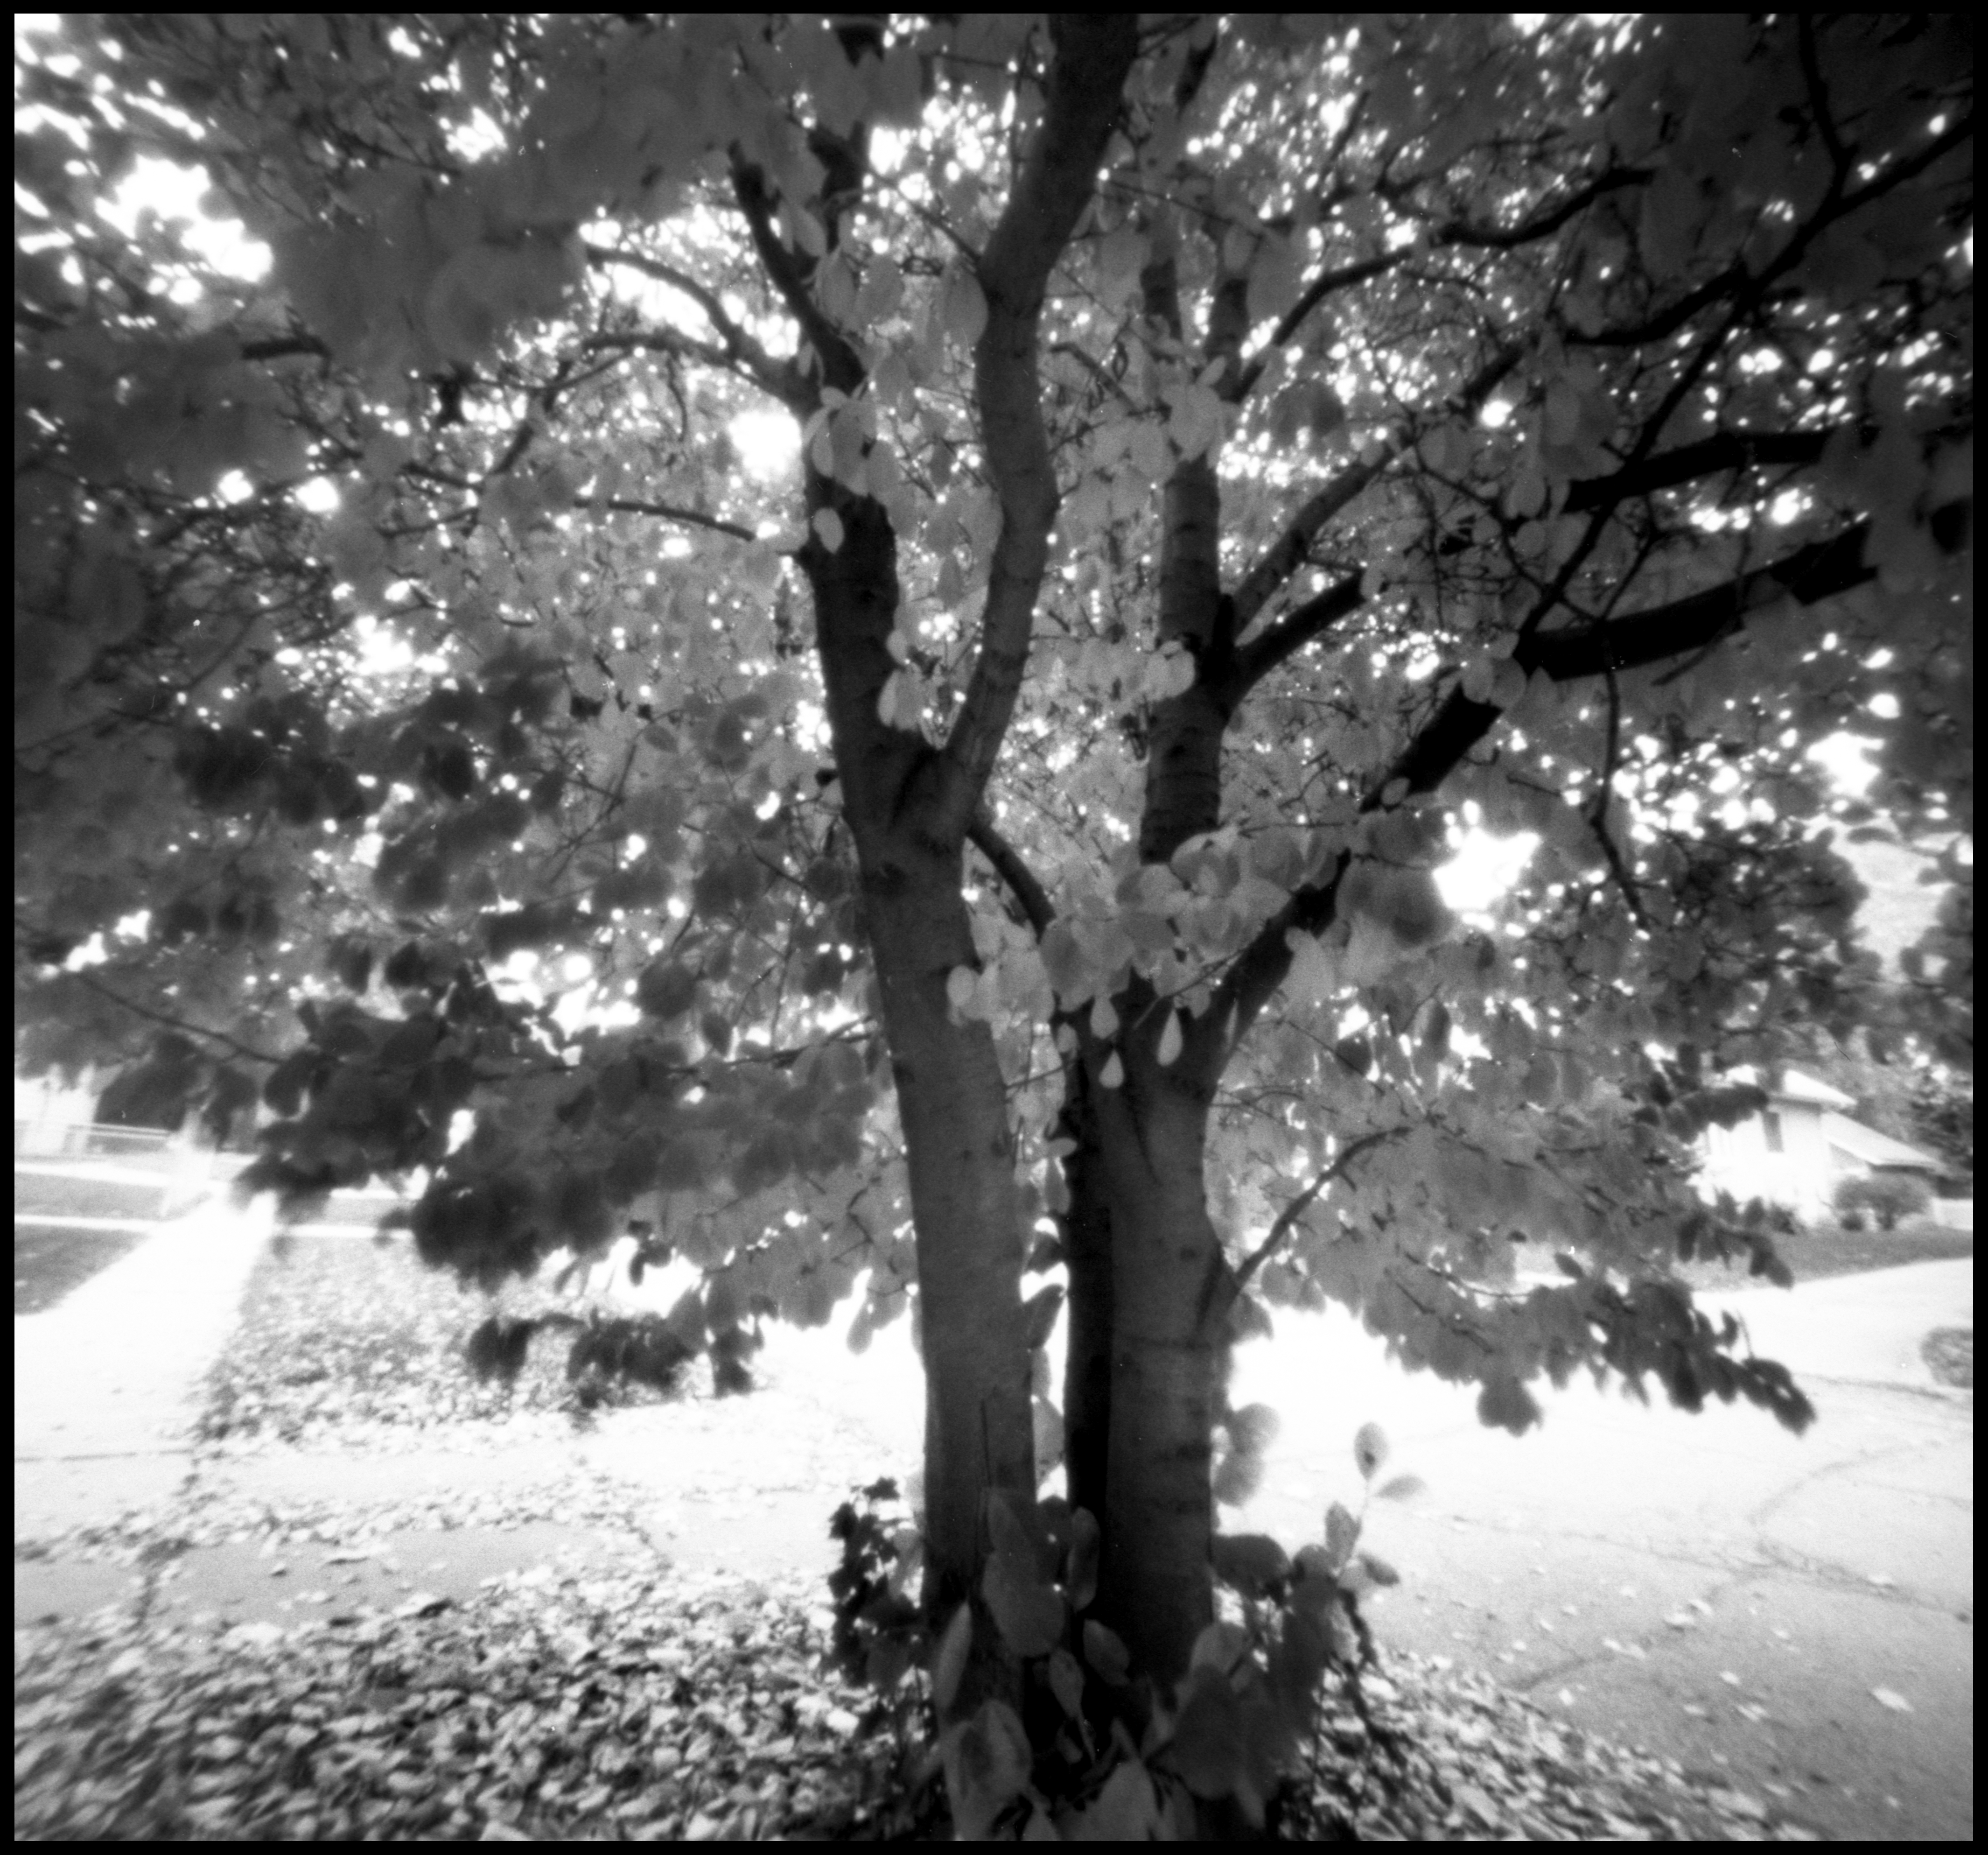
These had all been close-ups and I was a little sick of waiting for the five to twenty minute exposures on the porch so went out to get a long shot of Central Street. It was a little irksome how prominent that white car was but the extreme wide angle shrinks it to an almost unnoticable detail.
Underneath the magnolia.
Continuing with the shorter, but still minute-long exposures, a vine climbing the wall of the garage. The air was very still but as soon as I opened the shutter, a breeze came up, then became still again and repeated that several times during the exposure. Surprising how little motion blur there is.
An ornamental brassica on the bench by the door,
When I started, I was pretty depressed but as I took the photographs the thought that kept coming to mind was what a nice little camera this is. It's small so you can fit it in tight spaces. It's very light so you can position it by leaning the tripod over at a pretty severe angle over a table or bench. It was easy to load, the film advances like buttah, the shutters open smoothly and stop reliably when the shutter is fully open. It survived the tripod falling over several times without a mark. The viewfinders are simple lines drawn on the top and sides, but they're good enough, especially if you use an auxiliary stick to locate the edges of the composition.
It was well made by someone who had never done cardboard crafting before. It was his first experience with scissors since grade school. I didn't use Joanne's camera, but I think it was done just as well. Her camera also has the packaging design featured intentionally on the shutters and winder minder, which I told them not to spend too much time on. (Although
I did it with the demonstration camera I was building without saying anything).
And all in about two and a half hours, including drilling the pinholes perfectly. I guess I can feel good about part of the workshop and just pack away these painful learning experiences to use to control the old robot that apparently exists inside me.


No comments:
Post a Comment